
I still remember squeezing past knocked-over pots in my first greenhouse. It was messy, and I wasted so much growing space.
If you have a small greenhouse, you know that feeling. But here is the good news. A smart interior layout can change everything.
In this blog, I will walk you through how to set up functional growing zones, ways to use vertical and floor space well, and tips to keep your greenhouse organized and comfortable.
I have tested these ideas myself. They work, and I am confident they will work for you too.
Define Your Greenhouse Goals
Before you move a single pot, think about what you want your greenhouse to do for you.
Are you growing vegetables year-round? Starting seeds in spring? Or just keeping your favorite plants alive in winter?
Your goals shape every decision, from how you arrange shelves to where you place your potting bench.
I always say, plan with purpose, not just space. A clear goal helps you avoid clutter and use every square foot well. Write your goals down before you start setting anything up.
Choose the Right Location and Orientation
Getting the placement right from the start saves you a lot of trouble later.
Maximize Sunlight
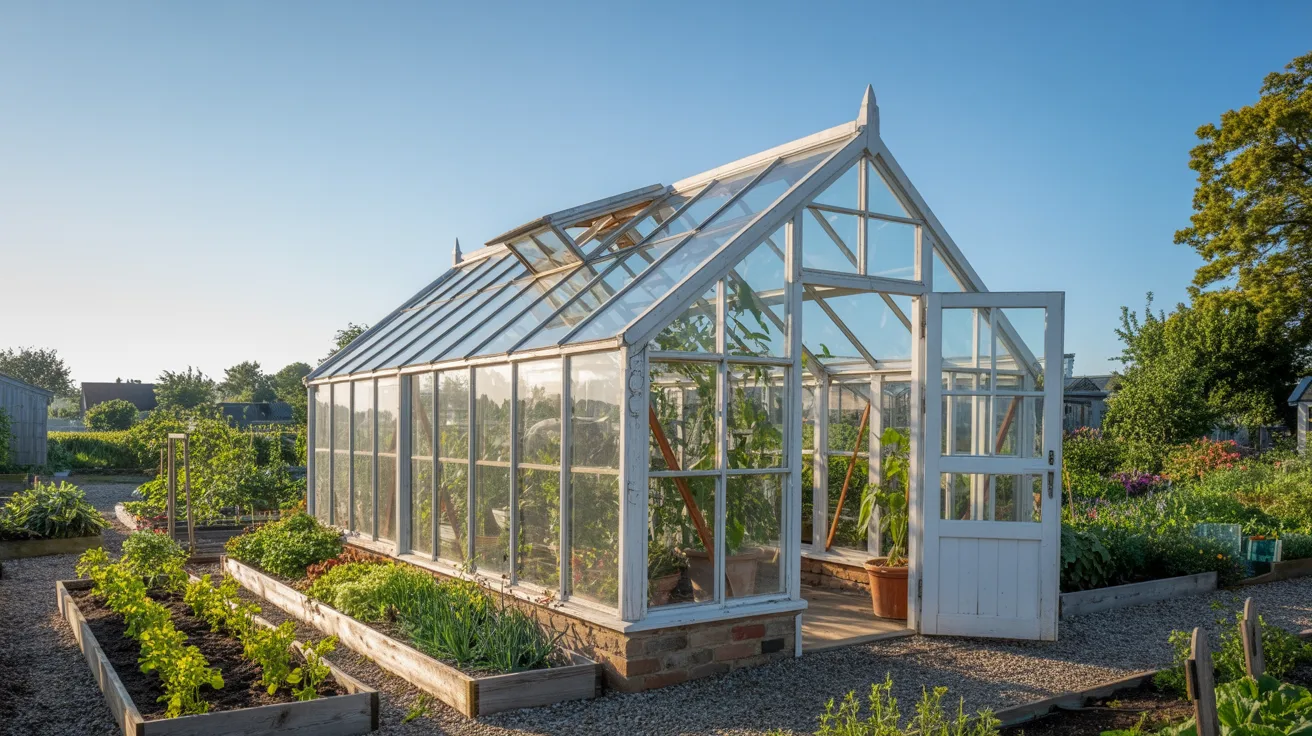
A south-facing greenhouse gets the most light during winter months. This is important for plant growth when days are short.
Make sure no trees or buildings block your sunlight from the south side. Even partial shade can slow plant growth.
Before you set up, stand at the site at different times of the day and watch how the sun moves.
Accessibility and Utilities
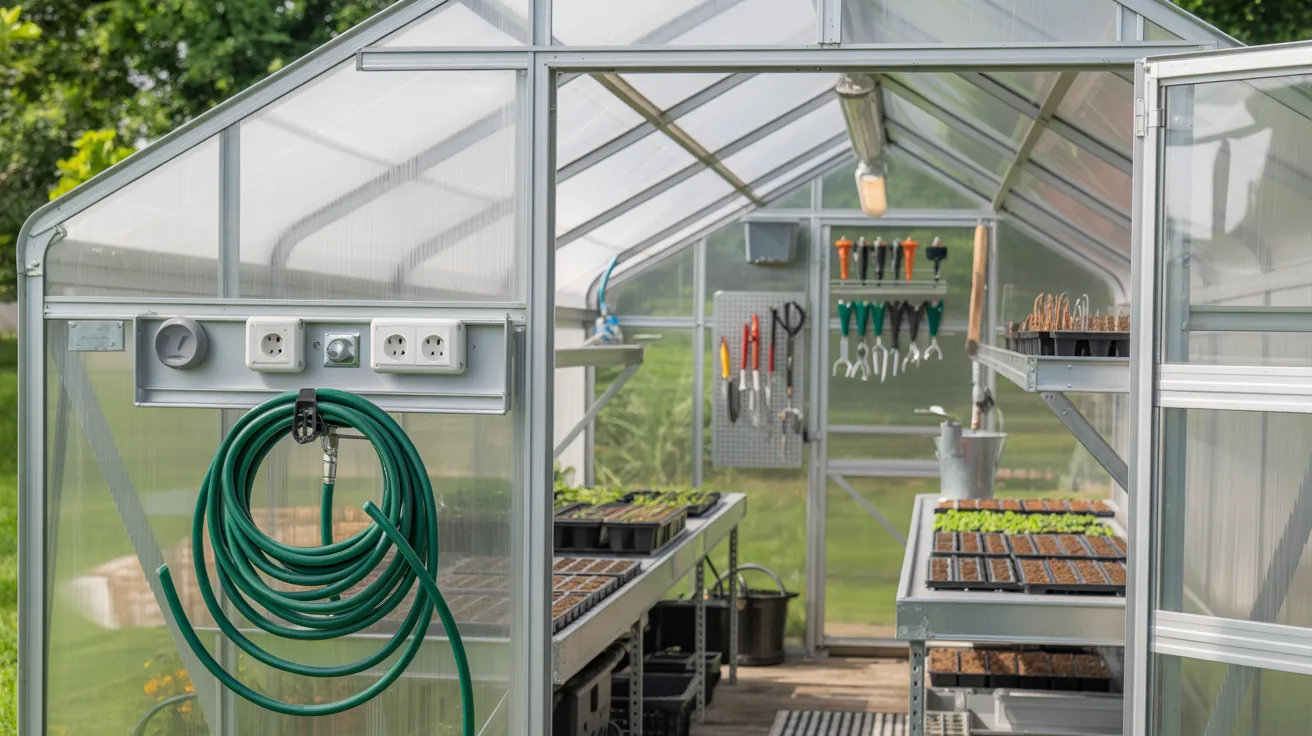
Your greenhouse should be easy to reach. Water, electricity, and your tools should all be within arm’s reach.
I once had my water source too far away, and dragging a hose through the garden every day got old fast.
Also, plan for heat control. Install vents near the roof and keep shade cloths ready for hot summer days.
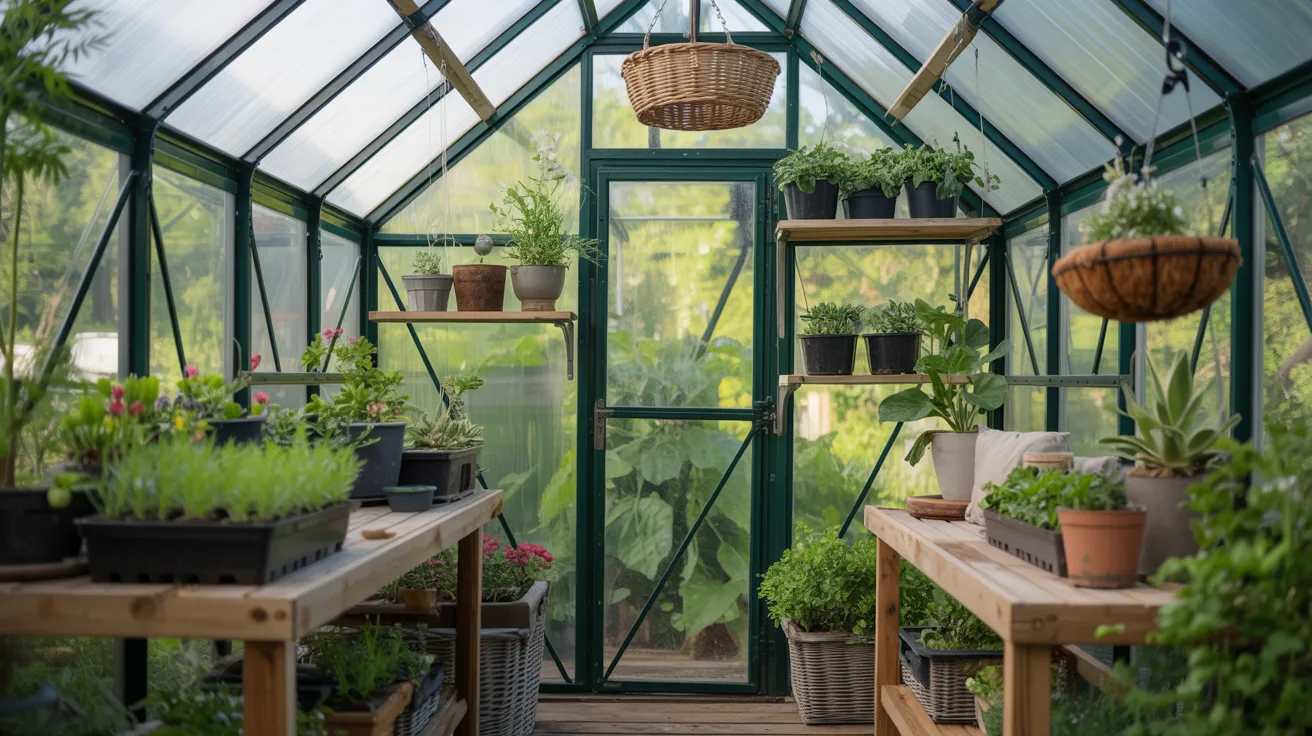
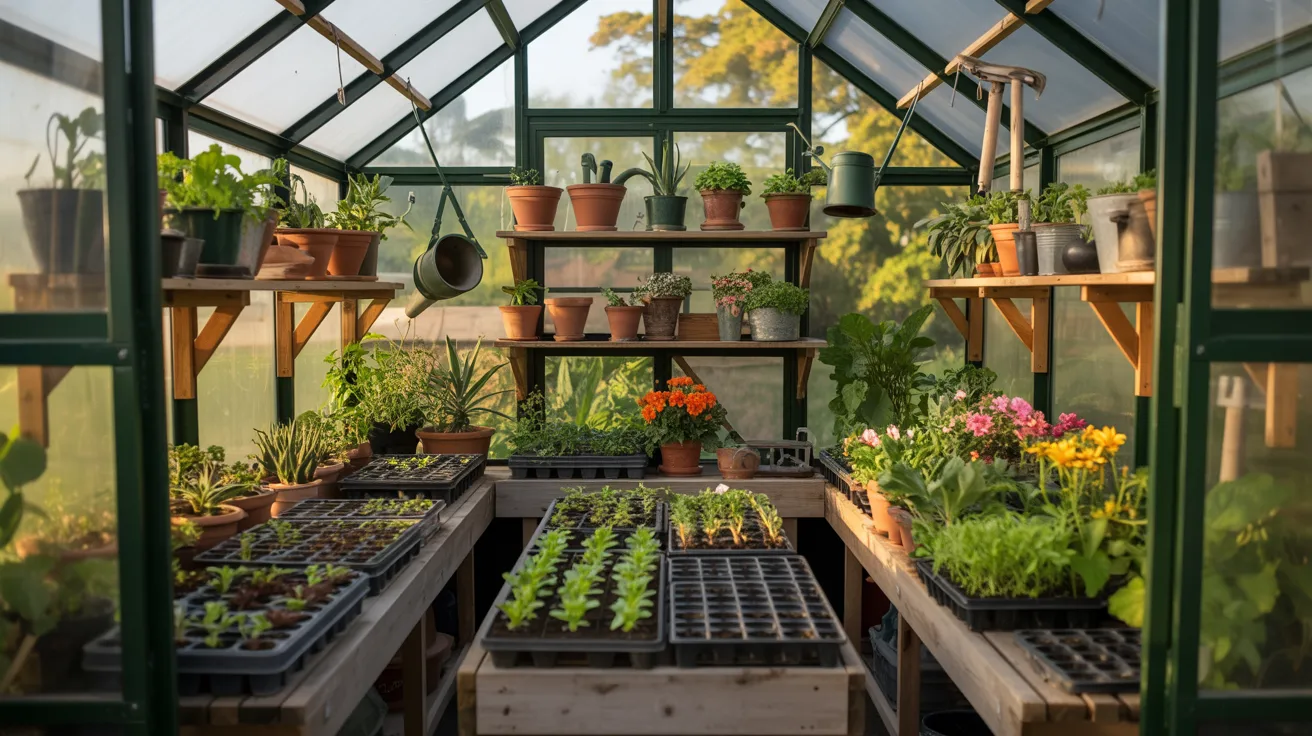
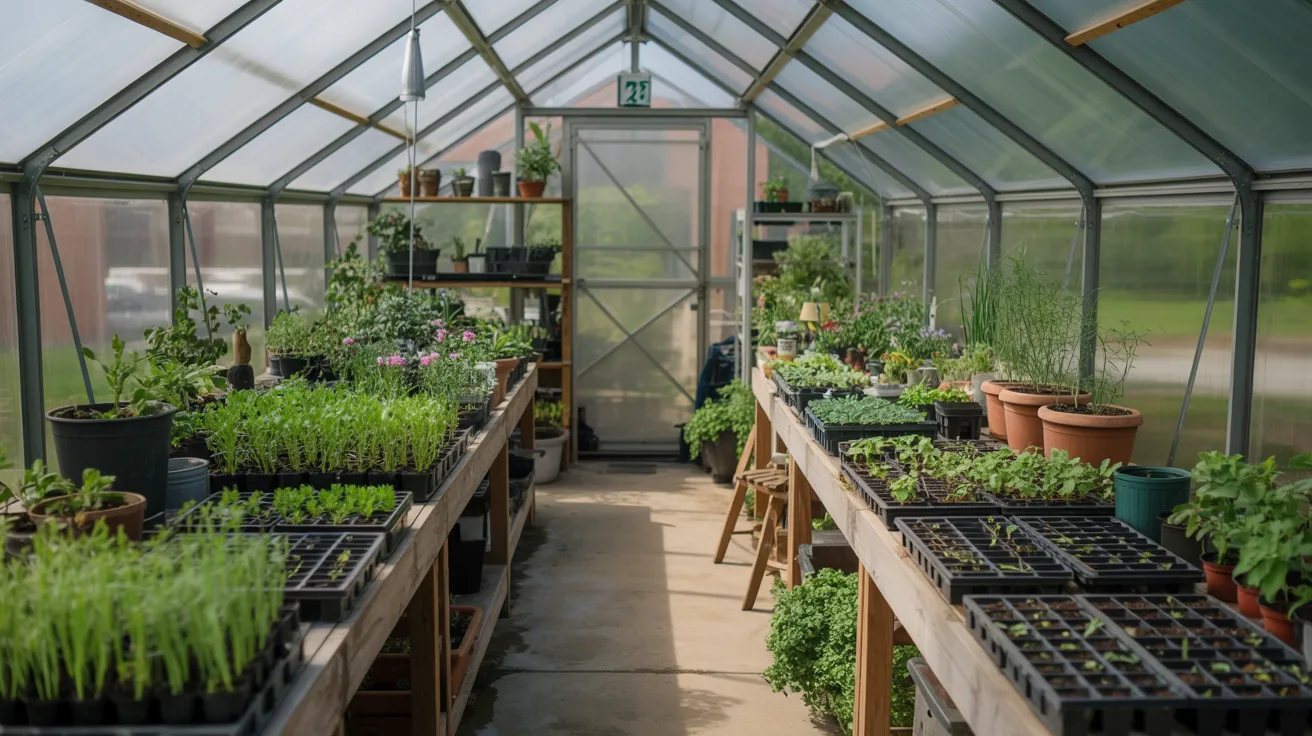
Create Functional Zones
Dividing your greenhouse into clear zones keeps work simple and plants healthy.
Propagation Zone
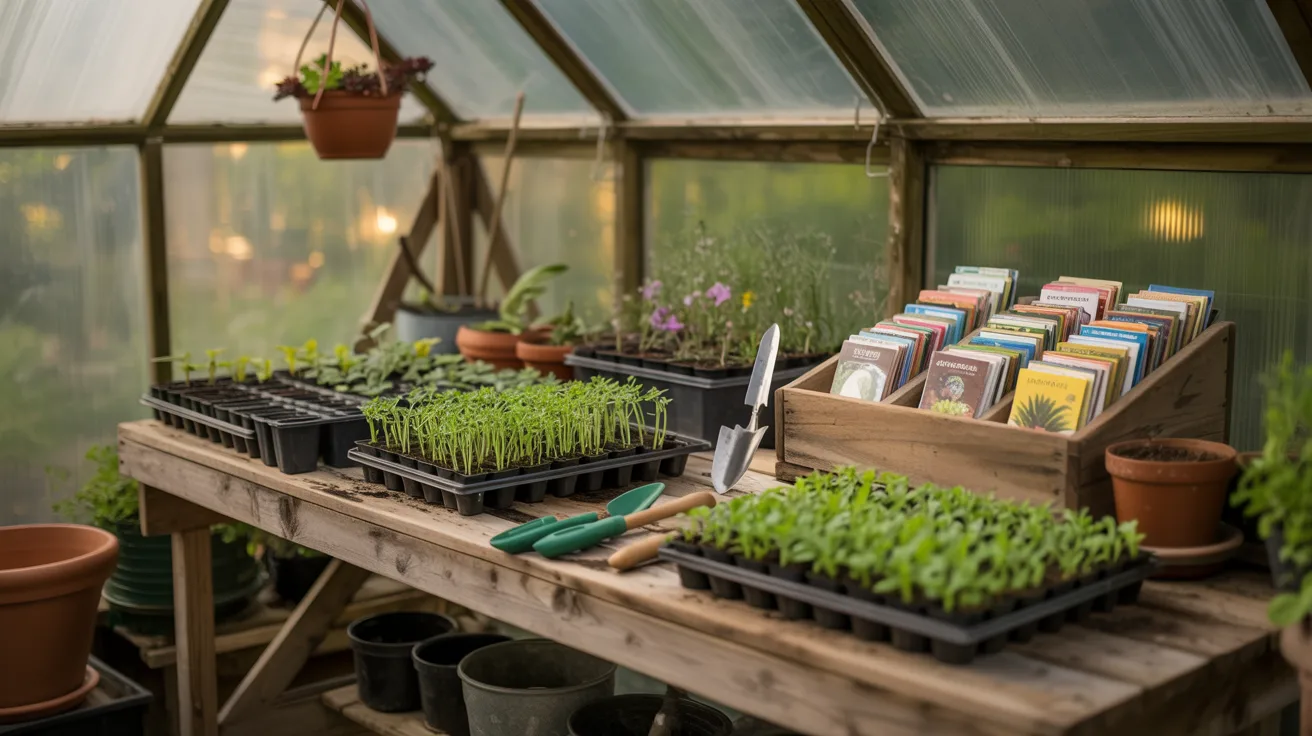
This is where seeds get started. Set up a potting bench with good lighting above it. Keep trays, labels, seed packets, and small tools in one spot.
A dedicated propagation area means you never have to hunt for supplies when you are in the middle of planting.
Main Growing Area
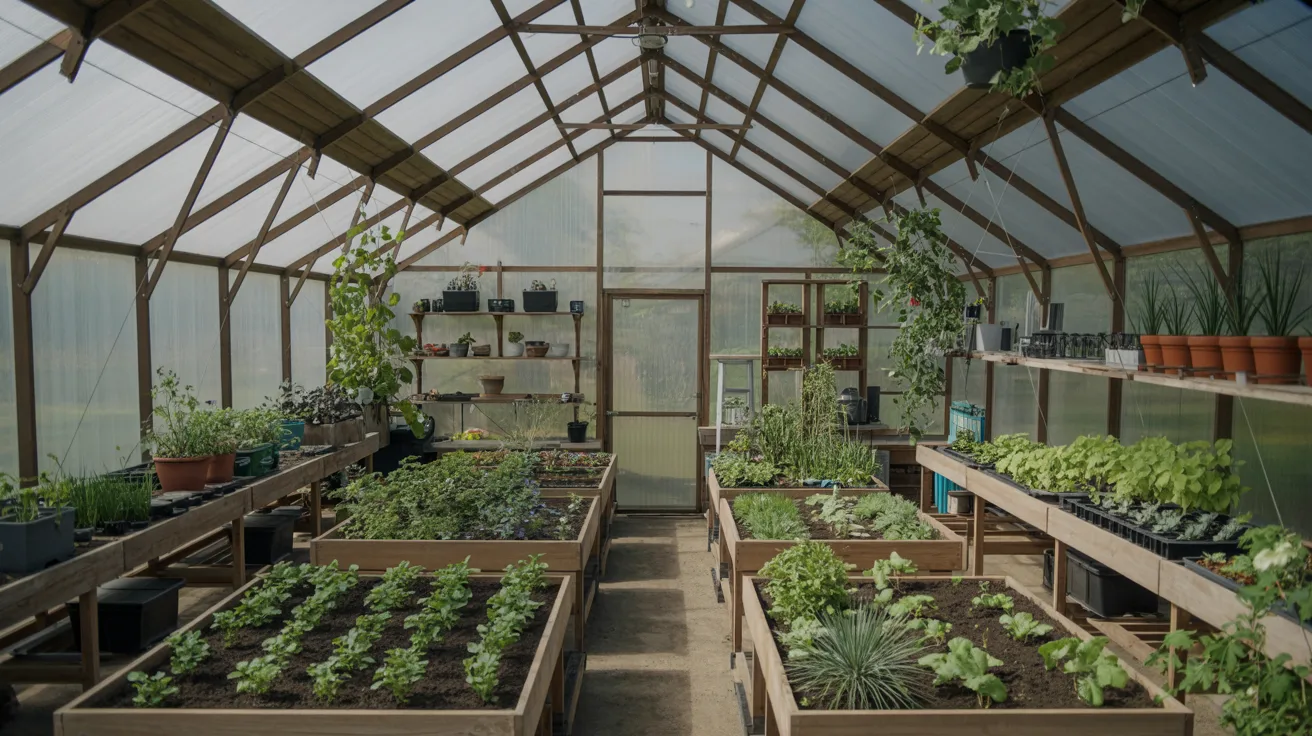
This zone holds your growing plants. Use shelves or raised beds to keep things off the ground. Group plants by their water and light needs.
Moisture-loving plants stay together, and drought-tolerant ones go in another section. This simple habit saves water and makes care routines much faster.
Storage Zone
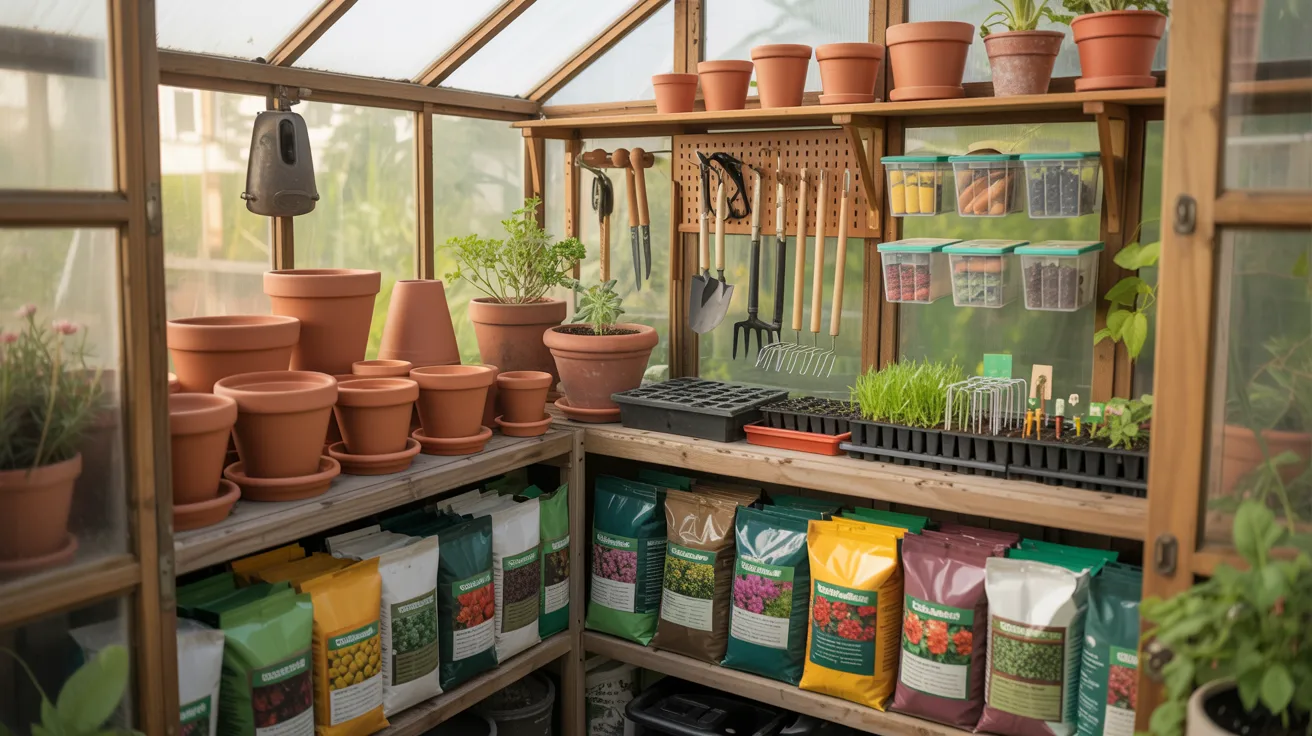
Every greenhouse needs a tidy storage corner. Keep pots, fertilizers, and extra supplies neatly stored here. Do not let this zone creep into your walking paths.
A cluttered path means slow work and the risk of knocking things over. Use labeled bins or a small shelf unit to stay organized.
Maximize Vertical Space
When floor space is tight, look up. Your walls and ceiling hold more than you think.
Wall Shelves
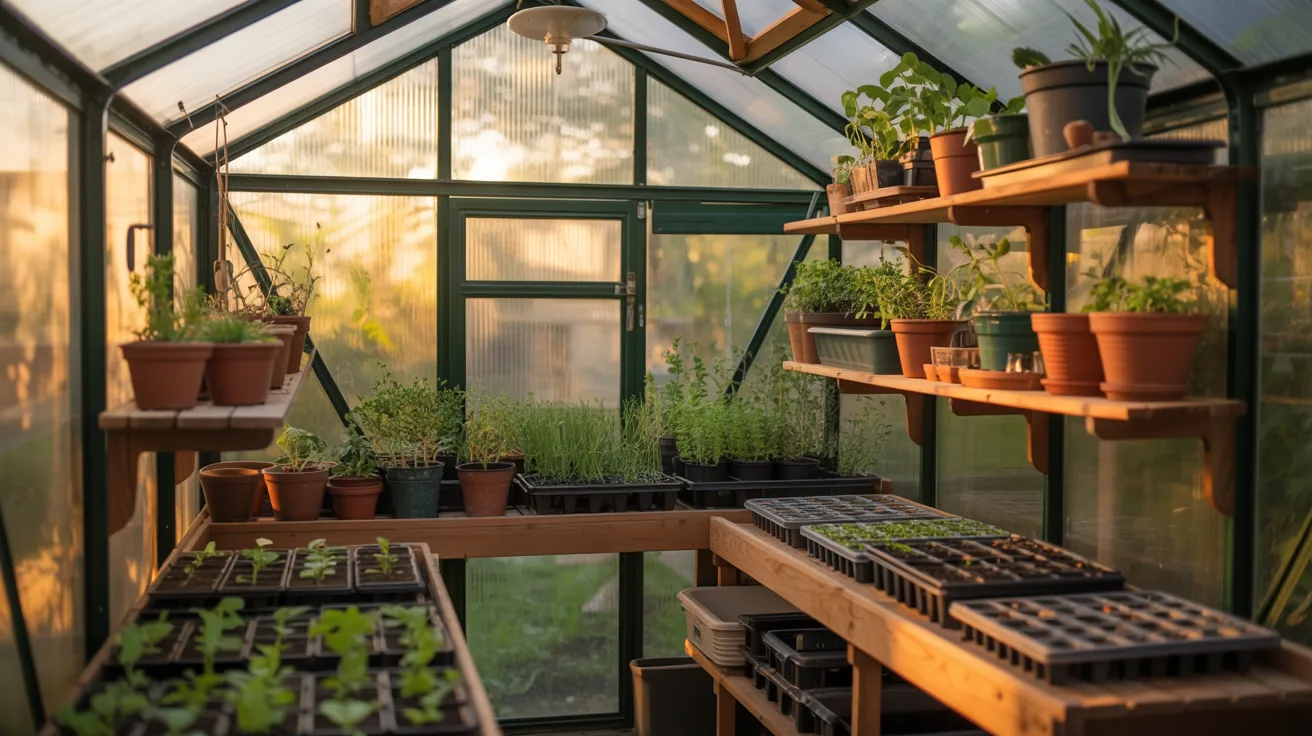
Install sturdy wall shelves at different heights. Use them for small pots, seedling trays, and tools. Make sure the shelves are well anchored, especially if you are using heavy ceramic pots.
I added two wall shelves last year, and it nearly doubled my usable space without taking up any floor area.
Hanging Baskets and Trellises
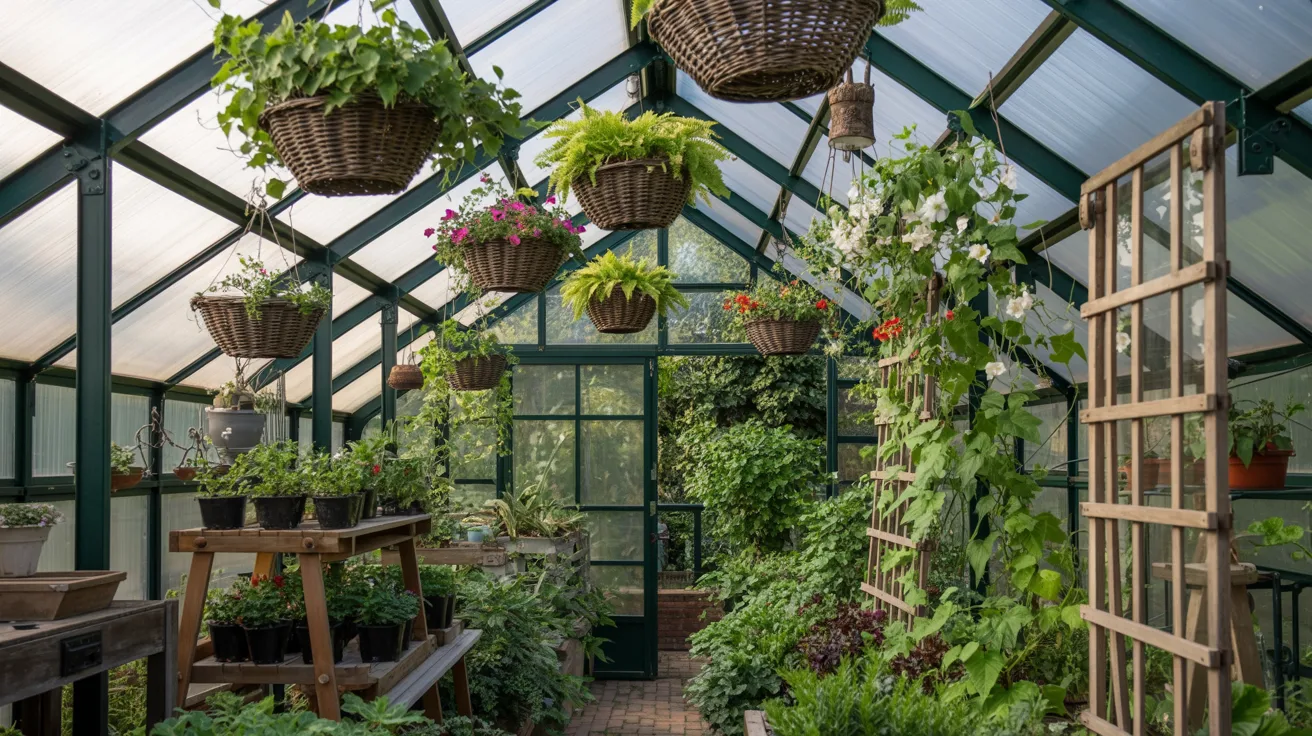
Your ceiling space is free real estate. Hang trailing plants in baskets from overhead hooks. Use trellises on the walls for climbing plants like cucumbers or beans.
This keeps them off the ground, saves bench space, and looks great when everything fills in.
Multi-Tier Shelving
Multi-level shelving units are great for seedlings and small plants. The key is to place them so the upper tiers do not block light from reaching the lower ones.
Stagger them or use wire shelving that lets light pass through. This setup works especially well near the south-facing wall.
Optimize Pathways and Access
A good path makes your daily work easier and keeps your plants healthier.
Comfortable Walking Space
Keep your paths at least 24 inches wide. This gives you room to work without bumping into plants. If you use a cart or wheelbarrow, go wider, around 30 to 36 inches.
I made the mistake of going too narrow once. Every watering session turned into a balancing act.
Air Circulation
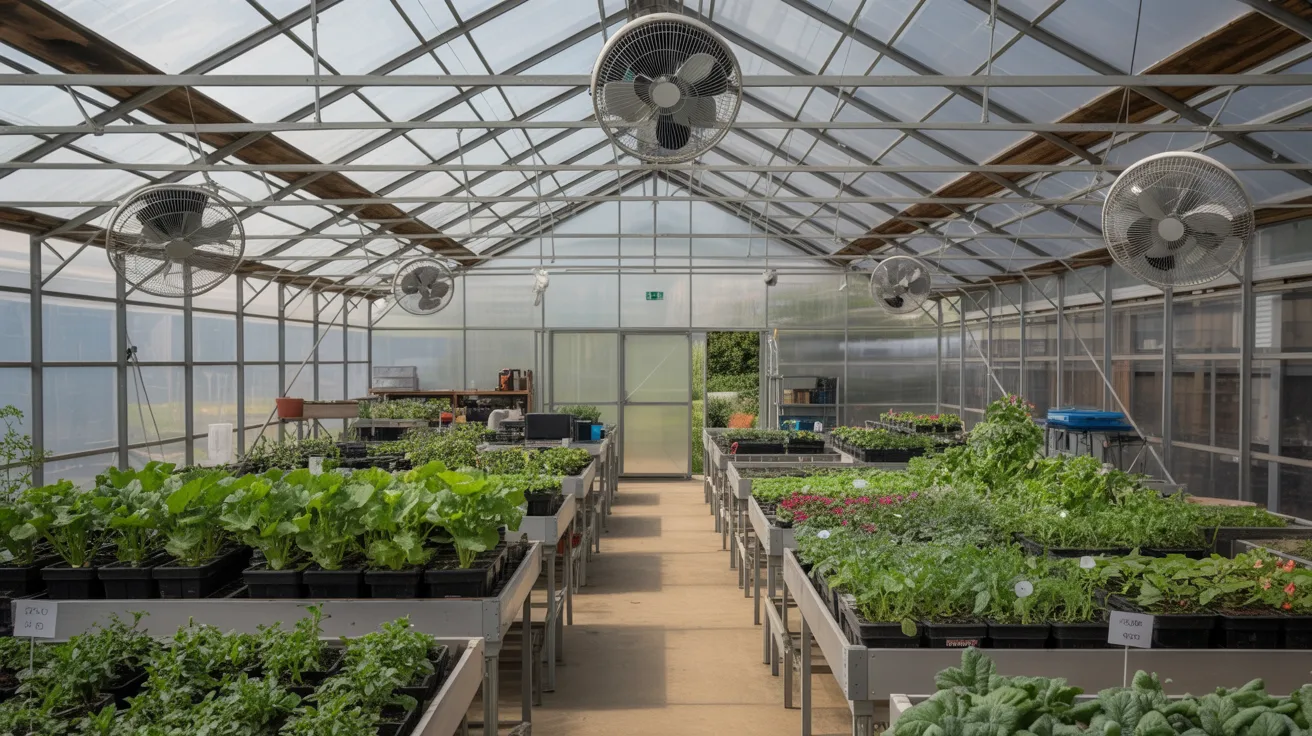
Clear pathways do more than help you walk. They also let air move freely through the greenhouse. Poor air flow raises humidity, which invites mold and plant disease.
Keep paths free of pots, bags, and tools. A clean path is one of the simplest ways to keep your plants in good health.
Choose Functional Furniture and Seating
A small greenhouse can still feel like a place you want to spend time in.
Moisture-Resistant Seating
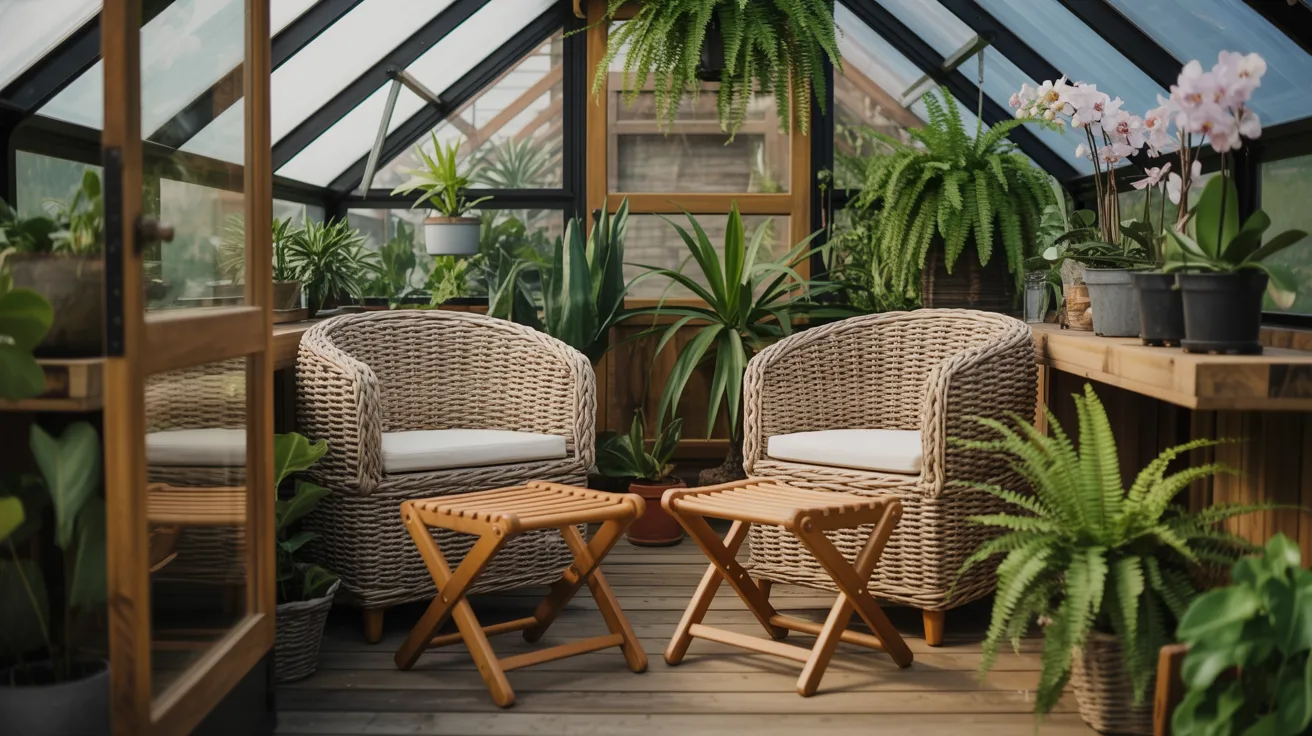
Choose woven chairs, foldable stools, or hammock-style seats that can handle humidity. Wood furniture tends to rot quickly in a greenhouse.
I use a simple folding stool that I can tuck away when I need more room. Collapsible options are great for small spaces.
Cozy Corners
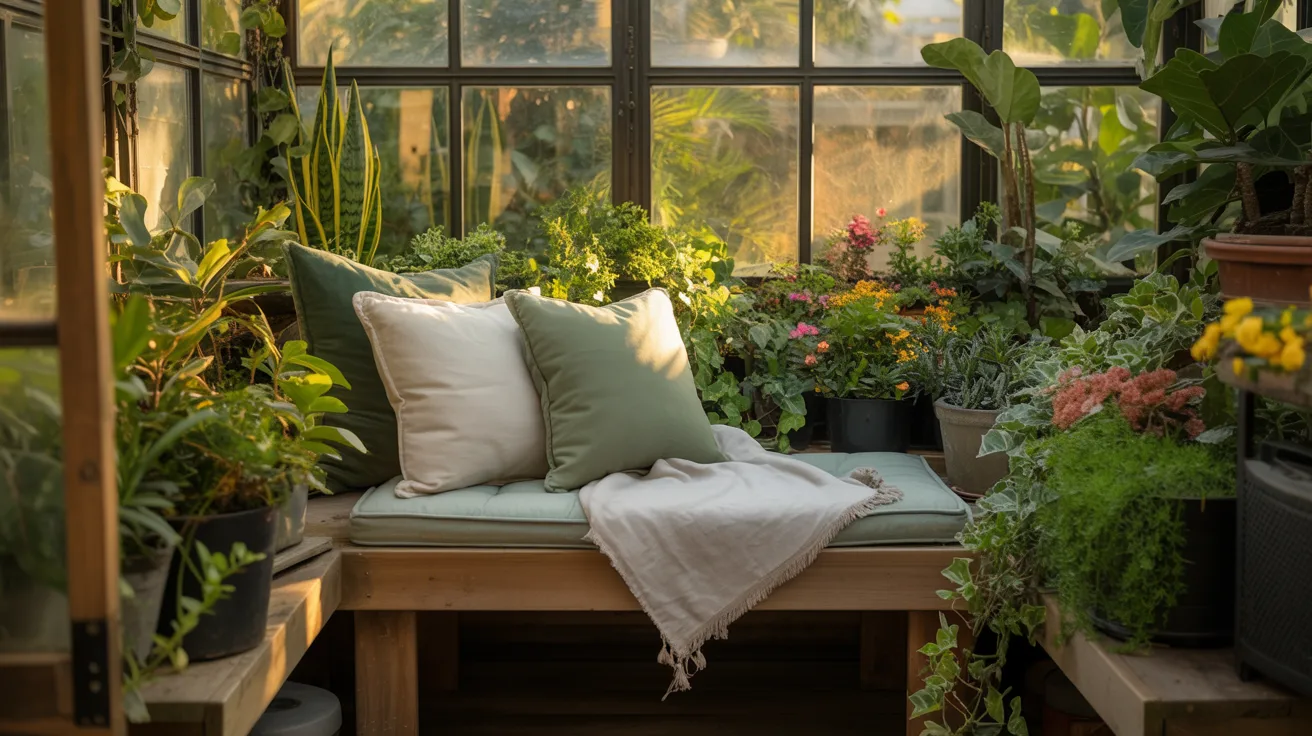
Even a small greenhouse can have a relaxing corner. A narrow bench by the window with a few cushions gives you a spot to sit and plan your next planting.
Look for furniture that doubles as storage, like a bench with a lift-up lid. It saves space and adds function.
Plan for Watering and Plant Care
Smart watering saves time and keeps plants from getting too much or too little.
Efficient Irrigation
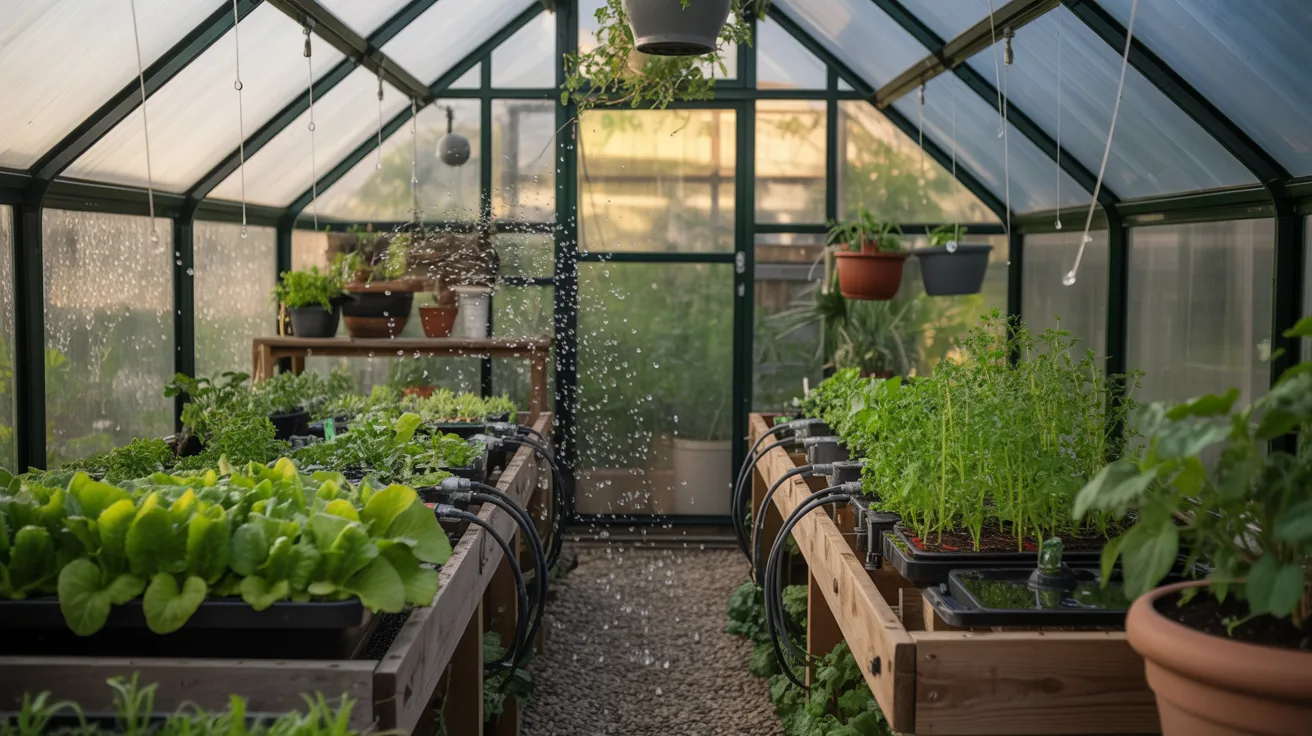
You have a few solid options: drip systems, overhead misting, or hand watering. Drip systems are the most efficient for raised beds and containers.
Overhead misting works well for seedlings and humidity-loving plants. Hand watering gives you the most control but takes the most time. Pick what fits your setup and your schedule.
Plant Grouping by Water Needs
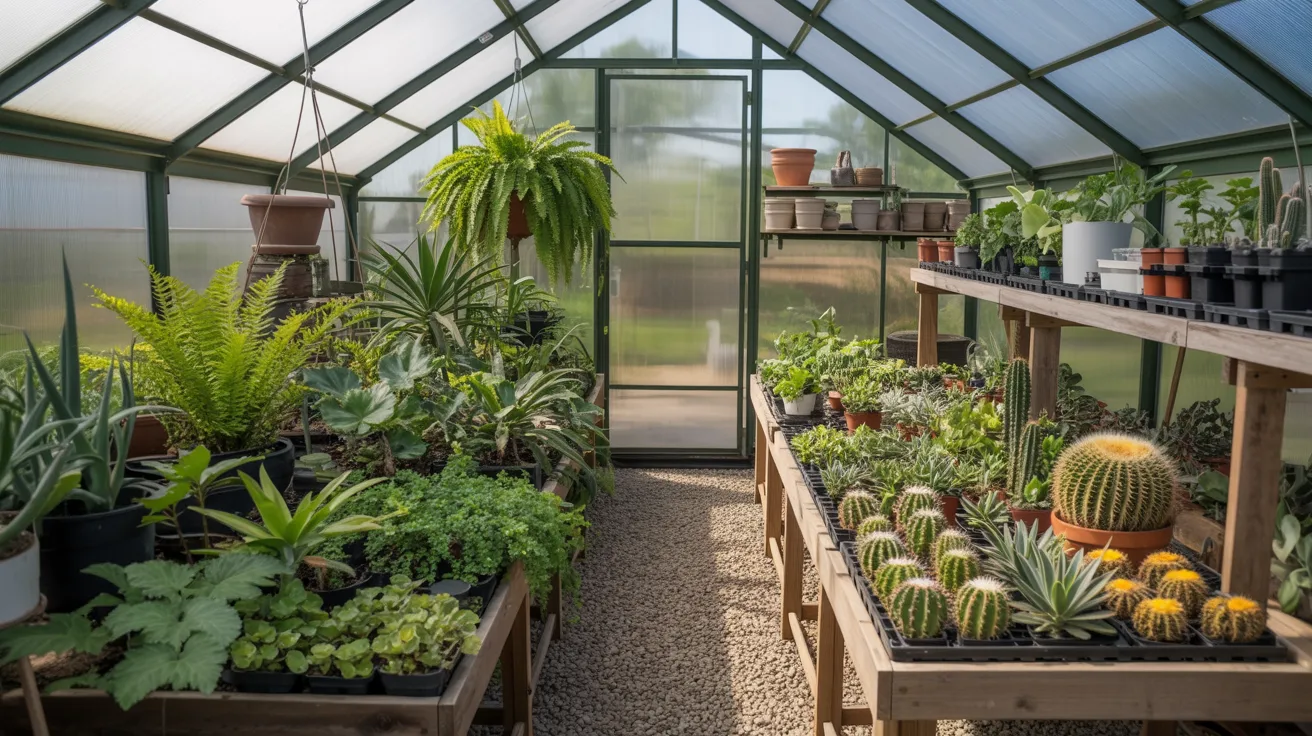
Group moisture-loving plants together on one side and drought-tolerant ones on the other. This simple step means you stop overwatering some plants while underwatering others.
I started doing this last season, and my plant losses dropped noticeably. It is one of the easiest and most effective things you can do.
Seasonal Adaptability
Your greenhouse should work for you in every season, not just summer.
Ventilation
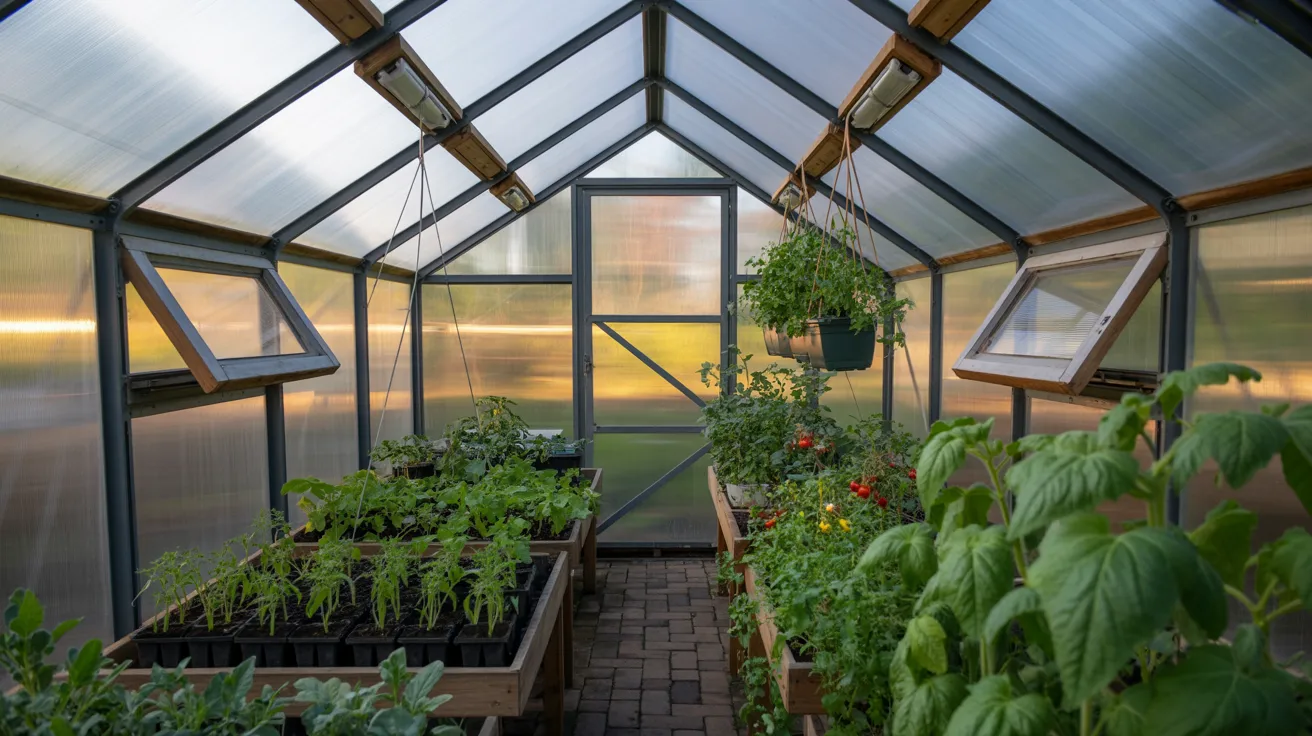
Use adjustable roof vents and side vents to control temperature and humidity throughout the year. In summer, keep vents open during the day.
In cooler months, close them at night. Automated vent openers are a great investment if you cannot always be there to manage them manually.
Light Management
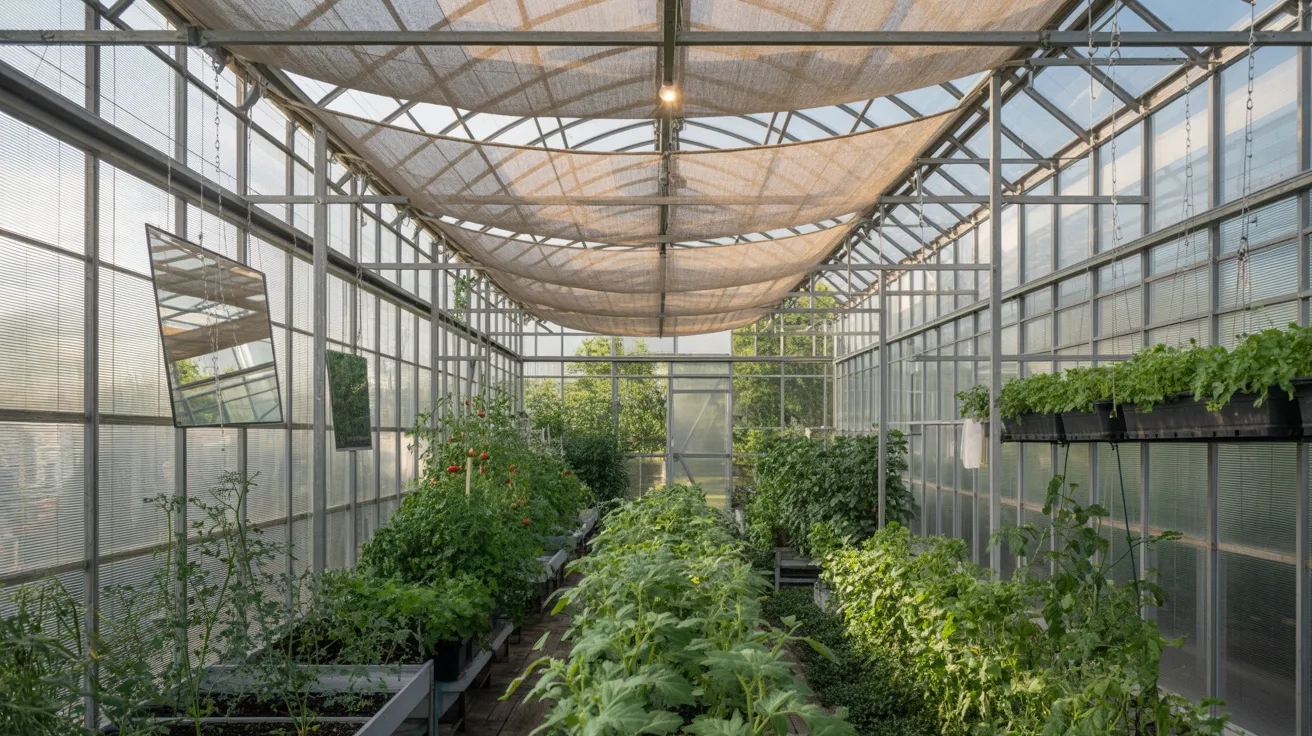
In peak summer, shade cloths protect plants from scorching. In winter or in darker spots, reflective surfaces like white-painted walls or foil panels help bounce light back onto your plants.
I painted the inside walls of my greenhouse white a few years ago, and it made a real difference in winter growth.
Thermal Regulation
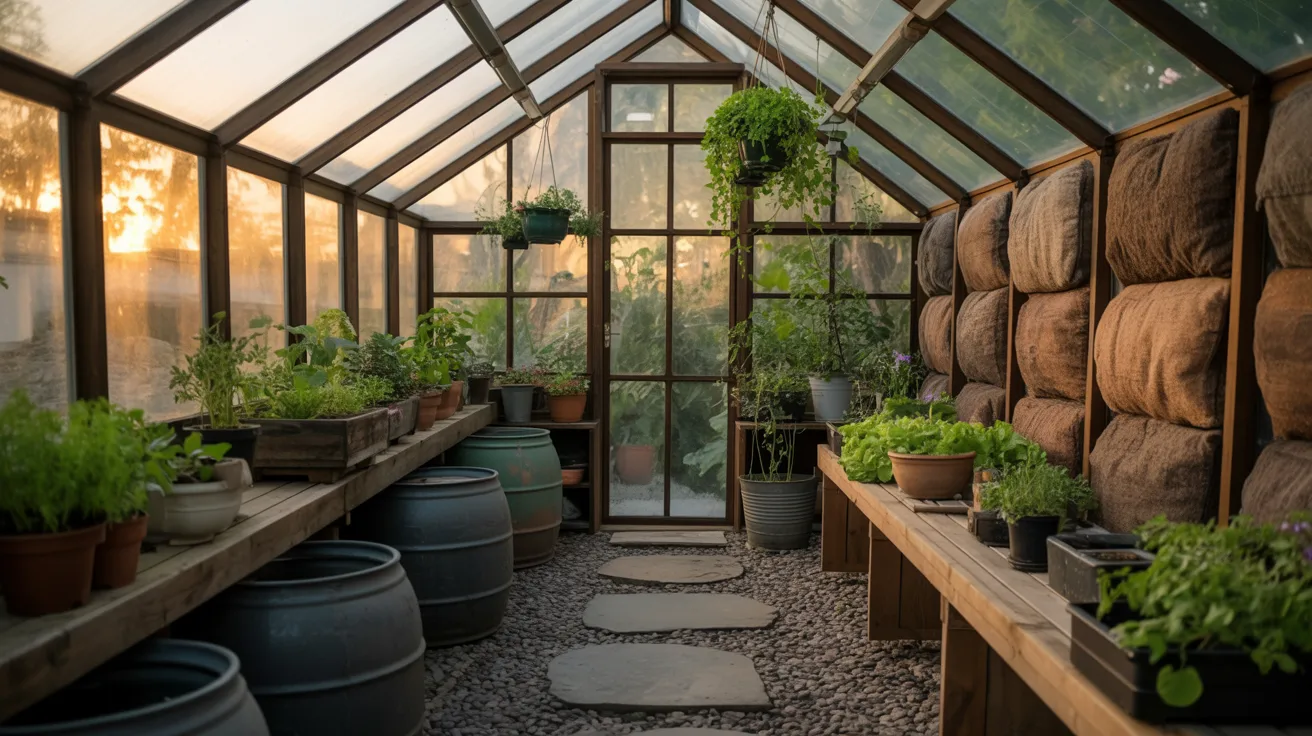
For cold climates, thermal mass is your friend. Large water barrels or stone slabs absorb heat during the day and release it at night.
Insulating the north wall also helps retain warmth. These low-cost methods can keep your greenhouse a few degrees warmer without any added heating costs.
Tips for Personal Touches and Comfort
Small changes can make your greenhouse feel like your favorite place to be.
- Hang a small chalkboard near your potting bench to jot down planting dates, notes, and reminders. It keeps you organized without needing a notebook.
- Add a few string lights along the ceiling or shelves. They add warmth and let you work a little later in the evening without harsh overhead lighting.
- Place a small radio or speaker in a corner. Gentle background music or a podcast makes solo greenhouse time feel much more relaxed and enjoyable.
- Use colorful pots or painted containers to organize plant types by zone. It adds personality and makes it easier to find what you need at a glance.
- Keep a small herb pot near the door so you can grab fresh herbs on your way back to the kitchen. It is a tiny touch that makes the space feel truly useful and alive.
Conclusion
Setting up your small greenhouse interior layout does not have to be complicated. I started with a messy, overcrowded space, and once I broke it into clear zones and used my walls better, everything got easier.
You do not need a big budget or a big greenhouse. You just need a plan.
Start with one zone, get it right, then move on. Small steps add up fast.
I would love to know how you set up your greenhouse. Drop a comment below and share your layout tips or questions. And if this helped you, share it with a fellow plant lover!
Frequently Asked Questions
What is the best layout for a small greenhouse?
Divide your space into zones: propagation, growing, and storage. Use vertical space with shelves and hanging baskets to make the most of limited floor area.
How wide should greenhouse pathways be?
Aim for at least 24 inches wide for comfortable movement. If you use a cart or wheelbarrow, go up to 30 or 36 inches to avoid bumping into plants.
How do I keep a small greenhouse organized?
Label storage bins, group plants by their care needs, and keep pathways clear at all times. A dedicated storage zone for pots and supplies prevents clutter from spreading.
What furniture works best inside a greenhouse?
Choose moisture-resistant options like woven chairs, foldable stools, or collapsible benches. Avoid untreated wood, as it can rot quickly in the humid greenhouse environment.
How can I control temperature in a small greenhouse year-round?
Use adjustable roof and side vents for summer cooling. In winter, add water barrels or stone surfaces for heat retention, and insulate the north wall to hold warmth at night.