
Picking the right edging around your house foundation can feel confusing. There are too many options, and one wrong choice can lead to water pooling, pest problems, or cracked walls.
This guide breaks it all down for you.
We cover why foundation edging matters, the best materials to use, how to install them the right way, and mistakes to avoid.
I’ve spent years helping homeowners fix drainage issues caused by poor edging choices. You’re in the right place.
By the end, you’ll know exactly what works best for your home.
Why Edging Around House Foundation Is Important
Good edging protects your home from water, weeds, pests, and soil movement.
When rainwater sits near your foundation, it seeps into cracks and causes damage. Grade the soil at least 6 inches over the first 10 feet to move water away.
Weeds push roots into small cracks. Pairing edging with landscape fabric stops weed growth and holds soil in place.
Pests love damp spaces. Gravel dries fast and keeps moisture away. Keep all edging at least 6 inches from wood siding.
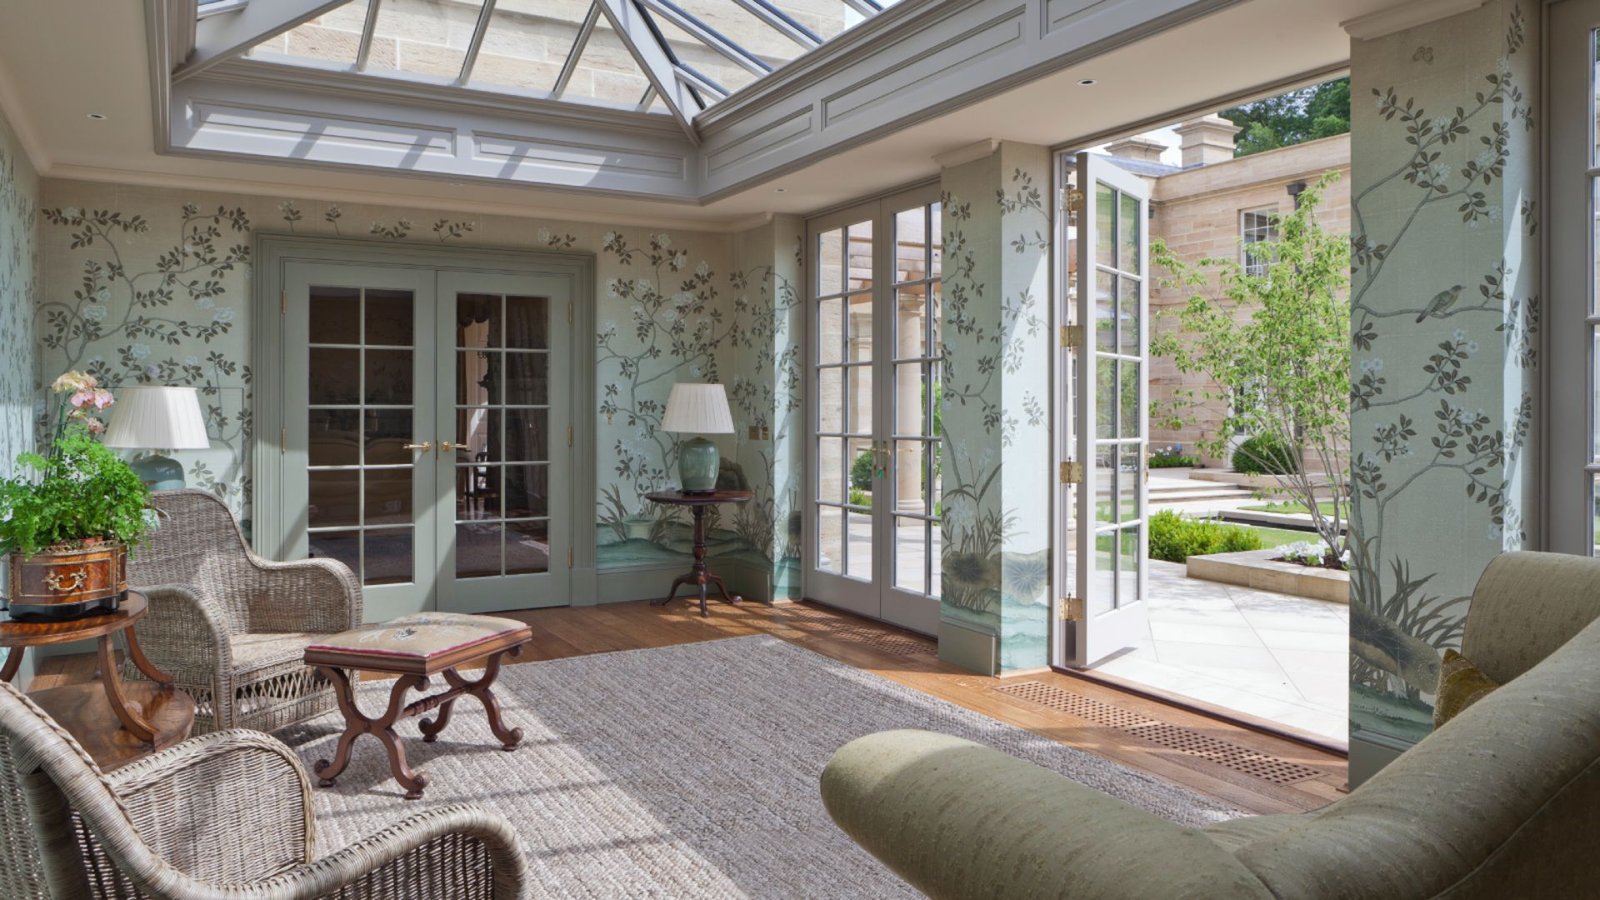
A clean edge also improves your home’s look and stops foot traffic from disturbing the protective layer near the base.
Best Materials for Edging Around House Foundation
Choosing the right material depends on your drainage needs, budget, and how much maintenance you want to do.
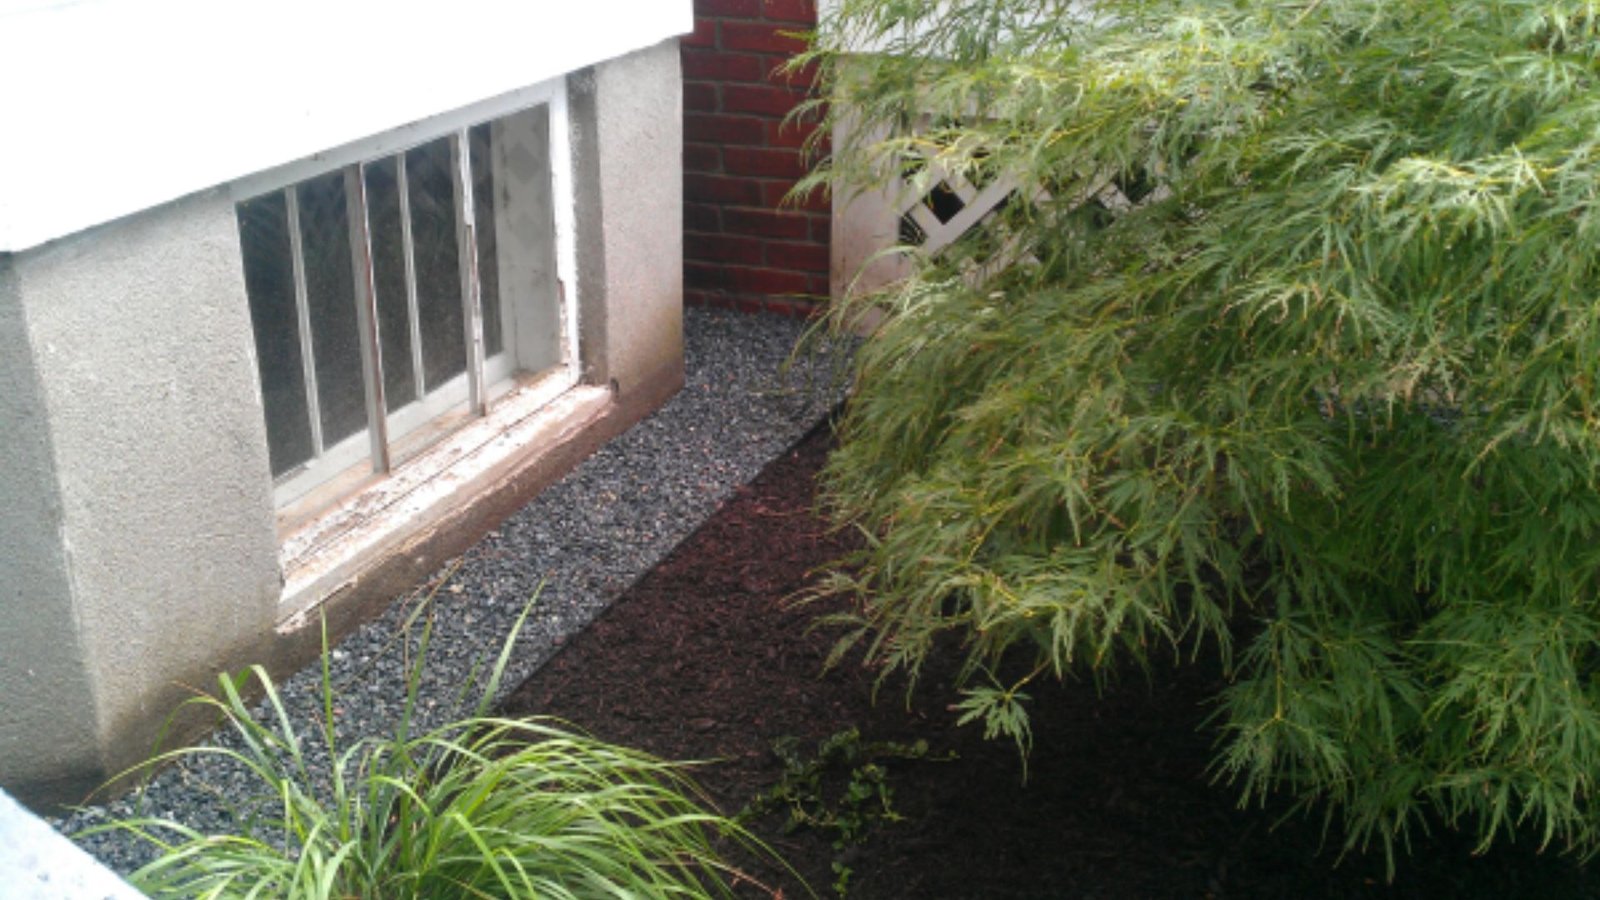
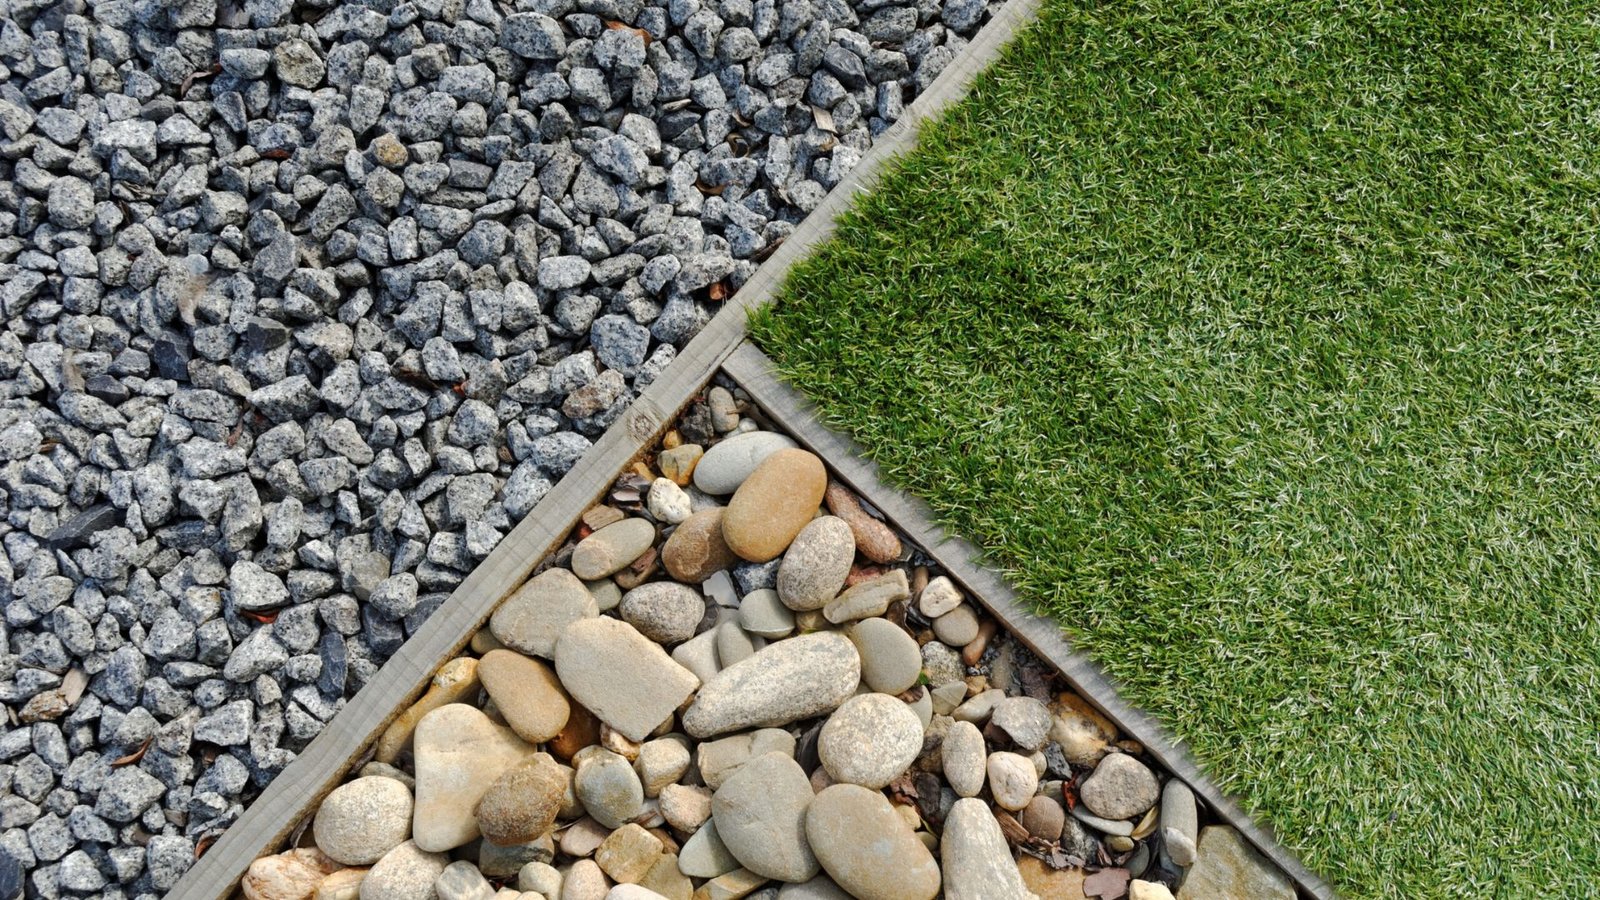
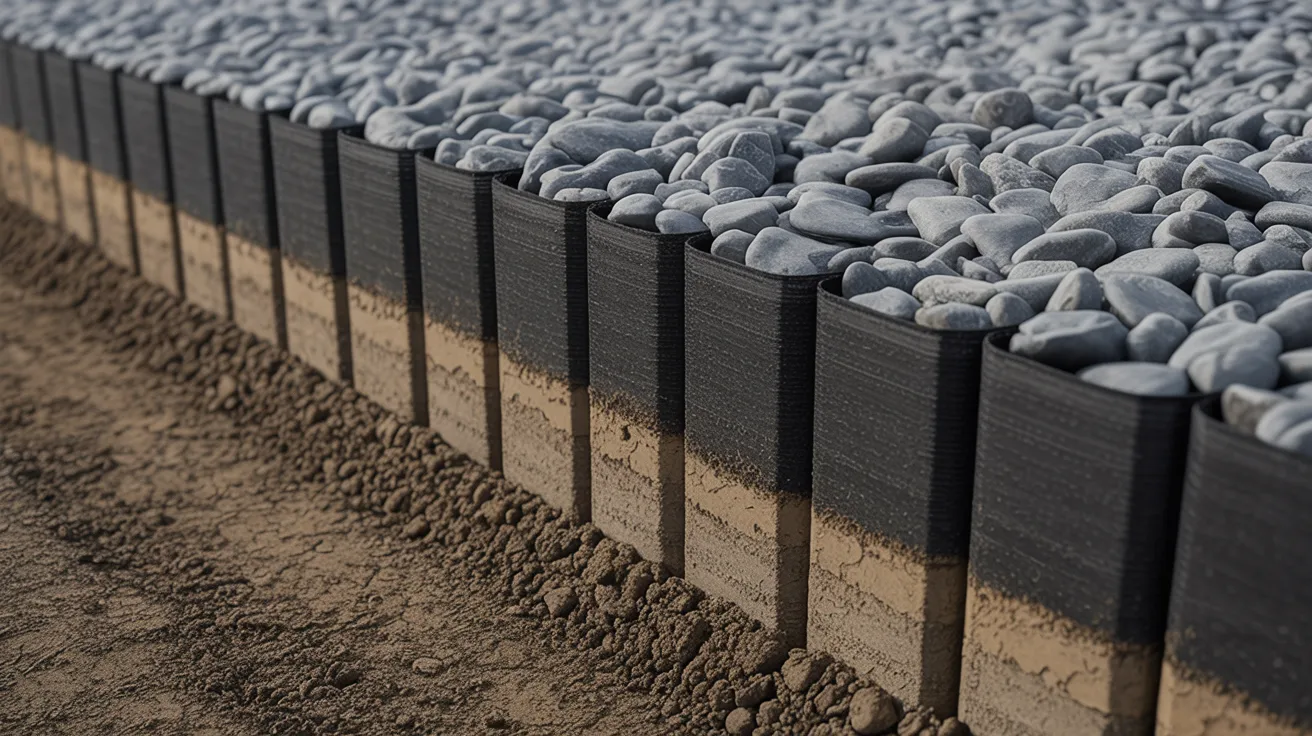
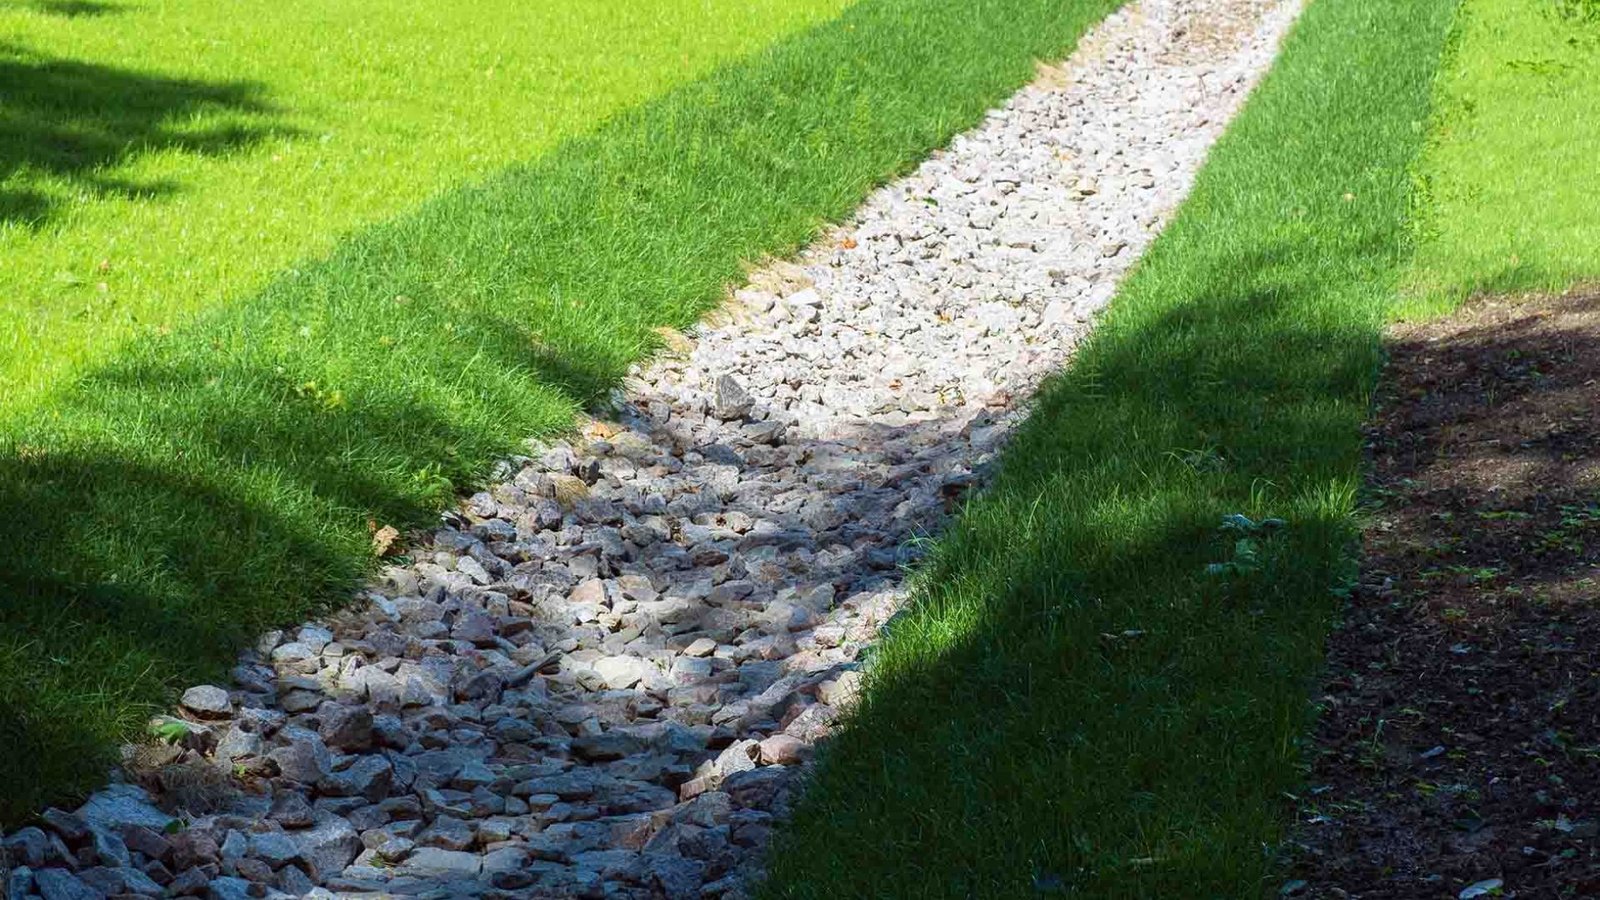
Gravel and Crushed Stone (Best for Drainage)
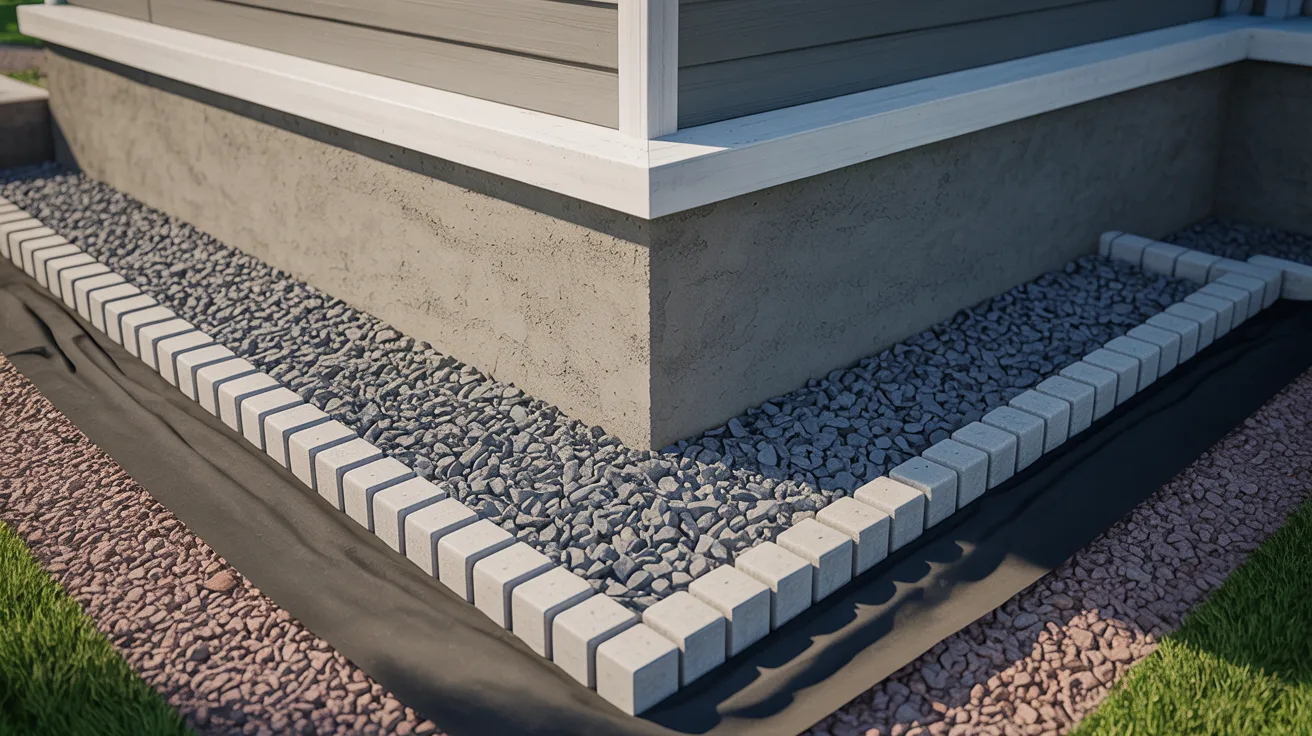
Gravel drains fast, stays in place, and doesn’t attract pests. Use a 2 to 3 inch layer over landscape fabric and slope it away from the house.
Angular crushed stone is more stable than pea gravel and less likely to scatter.
Concrete Edging (Best Low-Maintenance Option)

Concrete is permanent and clean. Once installed, you rarely need to touch it. It can be poured in place or laid as pre-cast sections.
Pair it with a gravel layer beneath for proper drainage. Seal it every few years to prevent cracking.
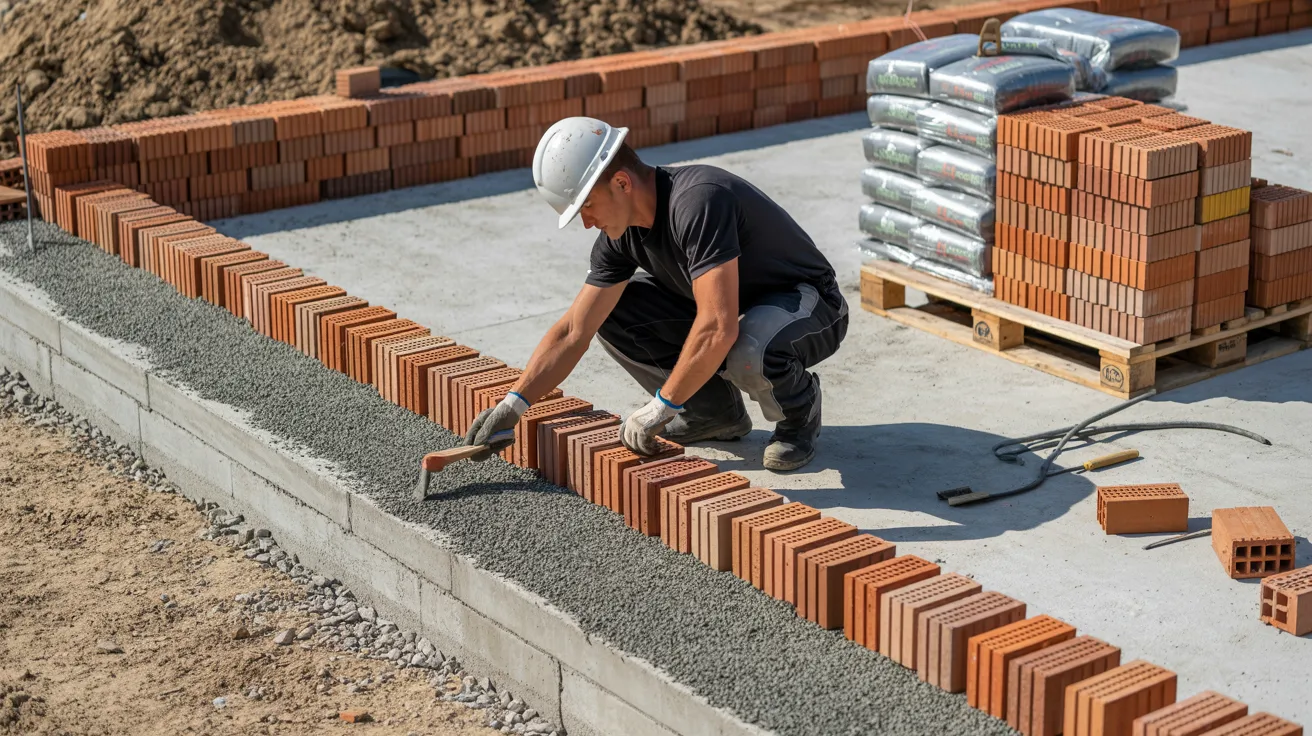
Brick Masonry (Best for Durability and Style)
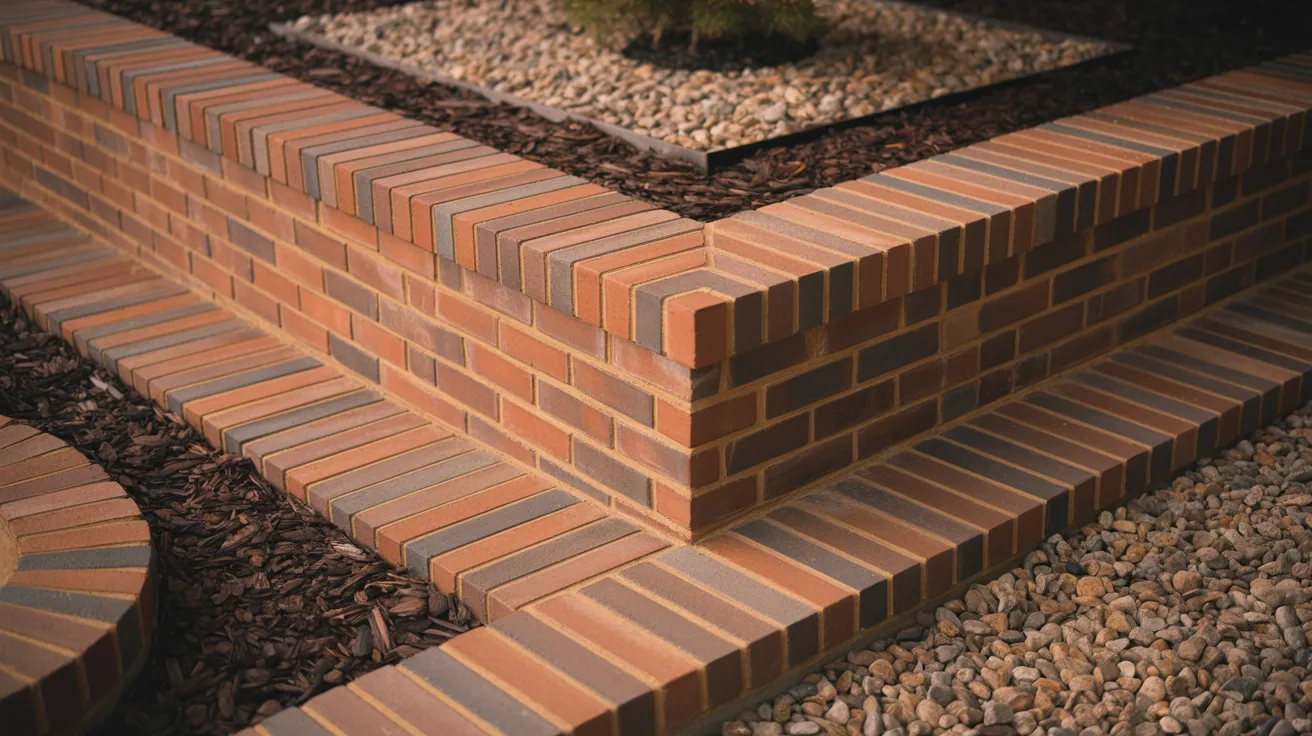
Brick is strong, long-lasting, and holds up well over decades. Dry-set bricks are easier to install and allow slight water drainage between them.
Brick pairs well with gravel or mulch inside the border.
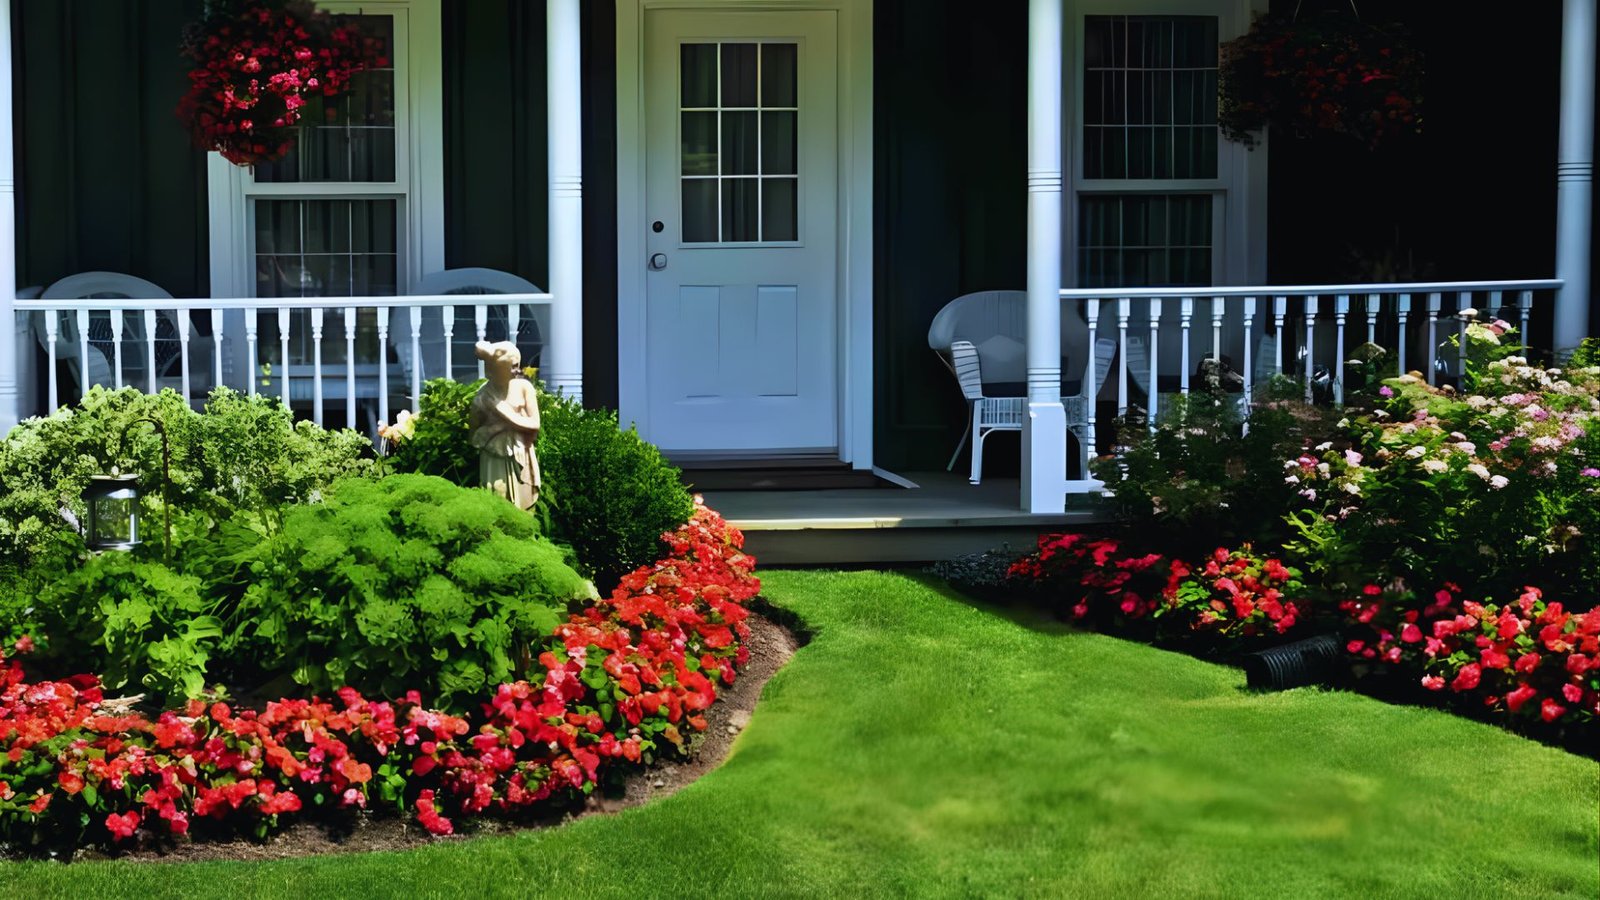
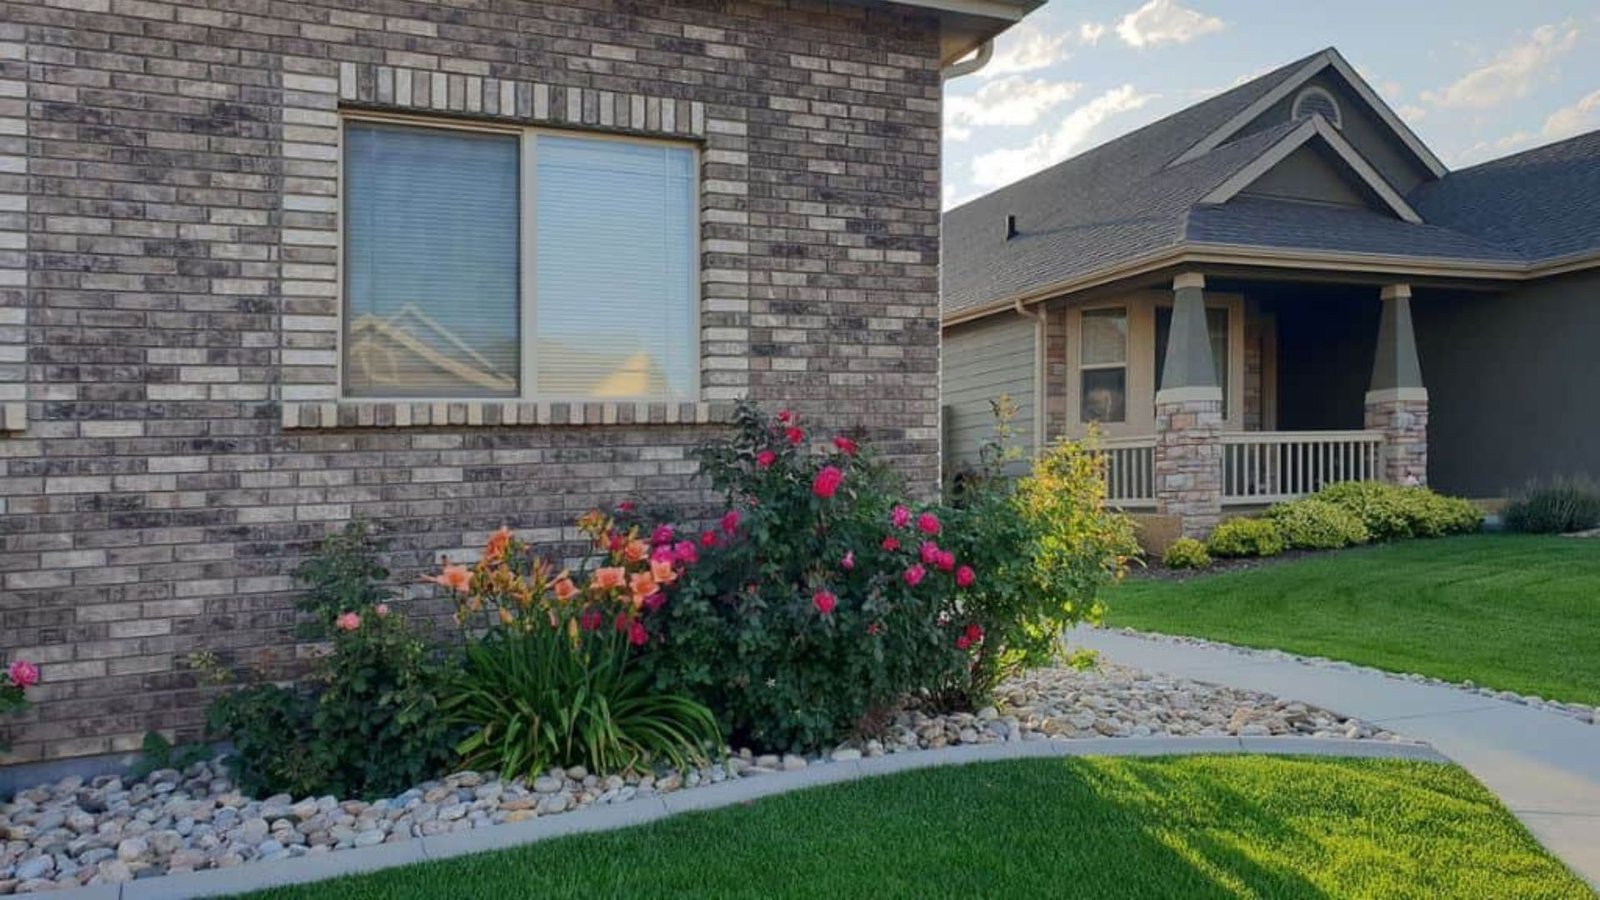
Mulch and Plant Beds (Best for Natural Look)
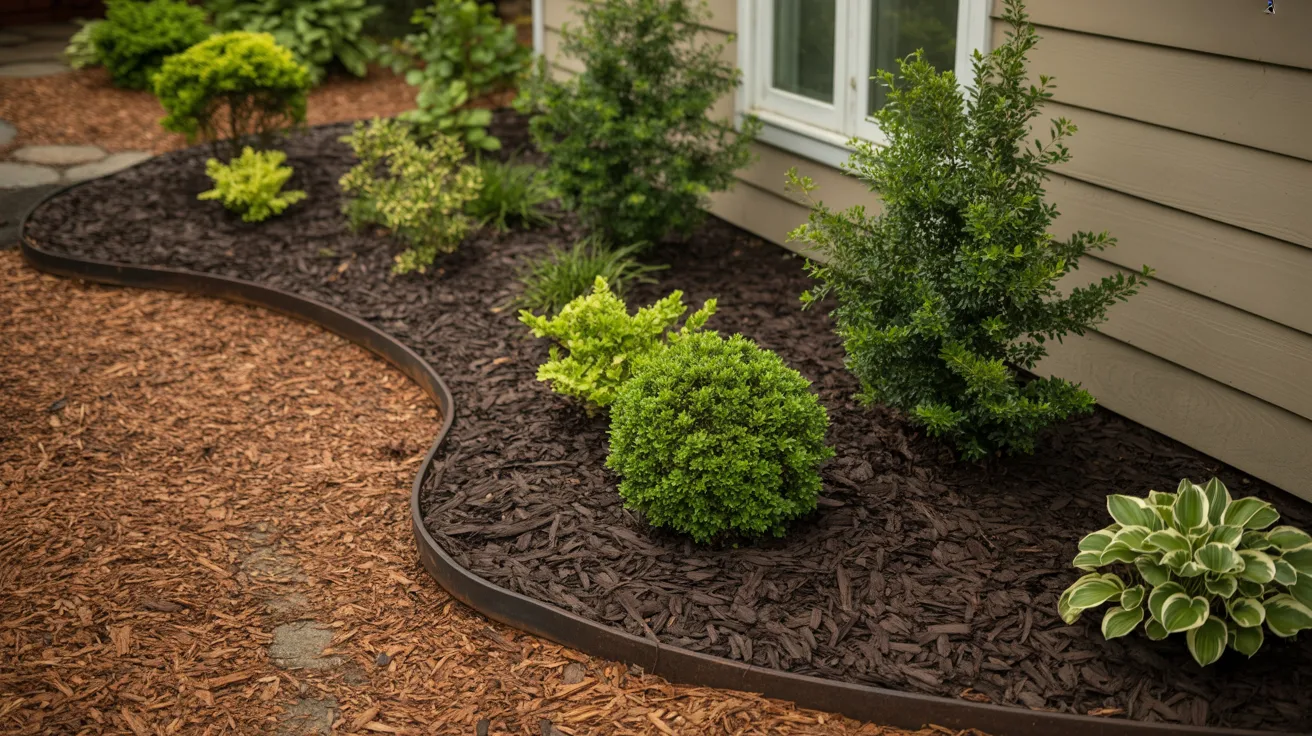
Mulch works well for garden beds but needs care. Keep it 2 to 3 inches deep and at least 6 inches from the foundation wall.
Cedar or rubber mulch holds up better than wood chips near foundations. Never pile it against siding or wood trim.
How to Choose the Right Material for Your Home
No single material works for every home. Your choice depends on a few key factors.
Based on Drainage Needs
If water is your main concern, gravel is the best choice. For heavy rainfall or clay soil areas, pair gravel edging with a French drain or sloped grading. Avoid mulch or dense soil in these spots.
Based on Maintenance Level
Concrete and brick need the least attention and last for decades. Gravel needs occasional raking and topping up. Mulch needs annual replacement and regular pest checks.
Based on Climate and Soil Type
Cold climates with freeze-thaw cycles can crack concrete and shift brick. Gravel works better in these areas. Clay soil needs extra drainage support. Sandy soil drains well on its own.
Based on Budget and Design Preference
Gravel is the most affordable DIY option. Mulch is low cost but has ongoing upkeep. Brick and concrete cost more upfront but last much longer. If curb appeal matters, brick or concrete are worth the investment.
Best Drainage Solutions to Use with Foundation Edging
Good edging alone isn’t always enough. Pairing it with the right drainage solution gives your foundation the best protection.
Gravel Base and Landscape Fabric
Lay landscape fabric first, then pour 2 to 4 inches of crushed gravel on top. Water drains through quickly and weeds stay out.
This setup works well for most homes with moderate rainfall.
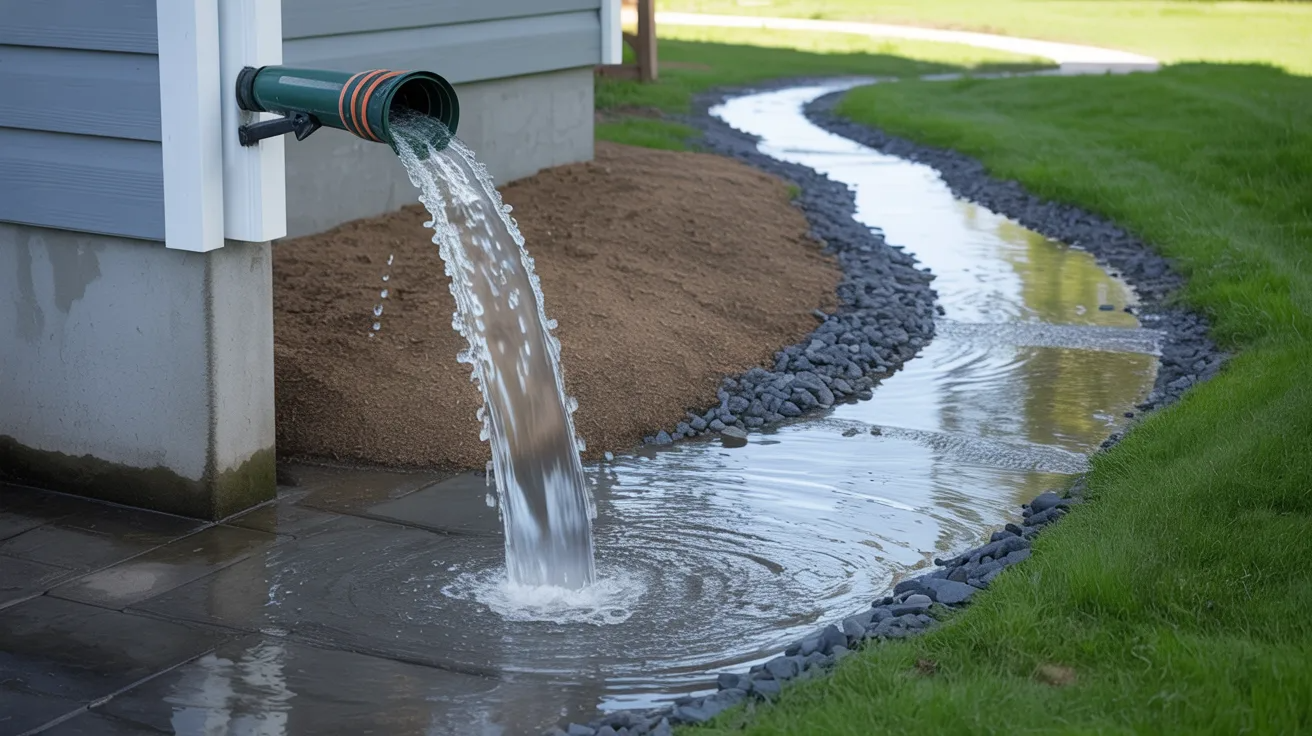
French Drains for Heavy Water Flow
A French drain is a gravel-filled trench with a perforated pipe that redirects water away from your foundation.
The trench is typically 6 to 12 inches wide and 18 to 24 inches deep. Best for homes with standing water, poor drainage, or clay-heavy soil.
Proper Slope and Grading Techniques
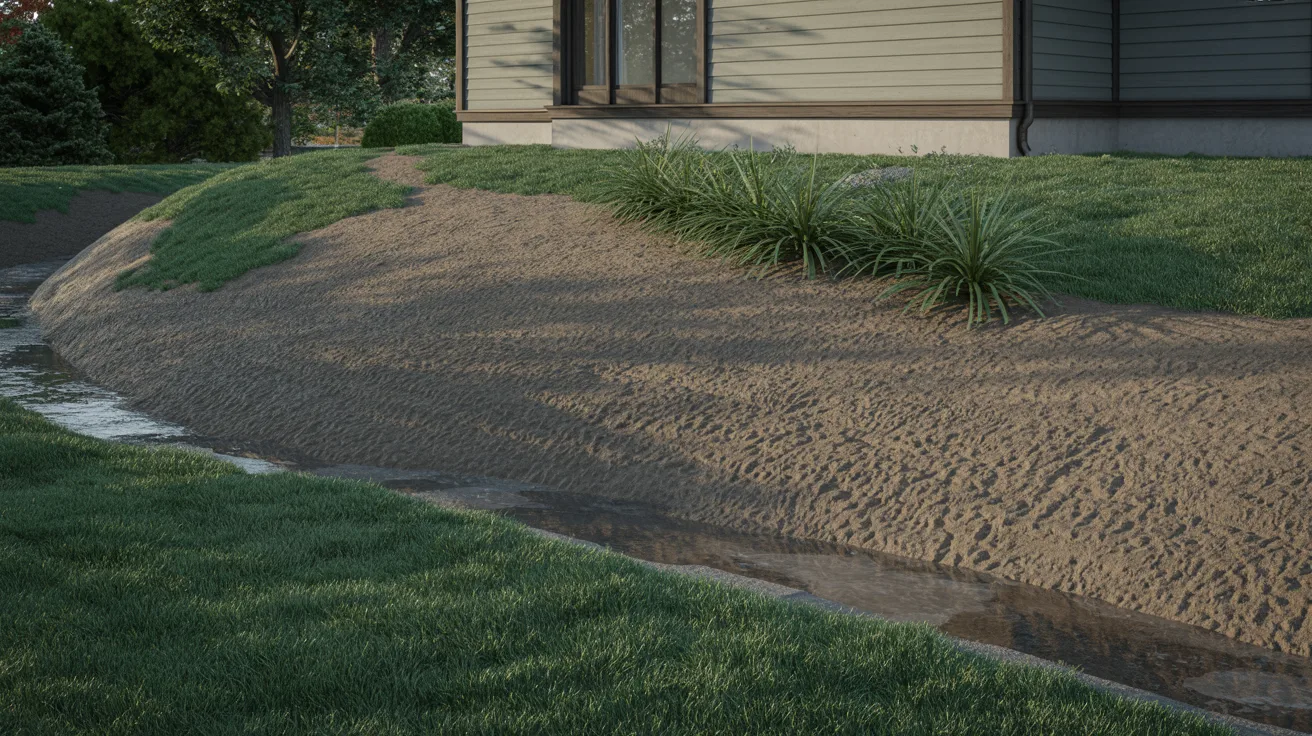
Grade the soil so it drops at least 6 inches over the first 10 feet away from the house. Check grading after heavy rain.
If water pools near the foundation, regrade before adding any edging material.
How to Install Edging Around House Foundation
Installing edging is a manageable DIY project. Take your time with each step and get it right the first time.
Step 1: Prepare the Ground and Remove Soil

Clear the area and remove grass, weeds, and old mulch. Dig out soil to a depth of 4 to 6 inches. Rake smooth and check that the ground slopes away from the foundation.
Step 2: Add Landscape Fabric
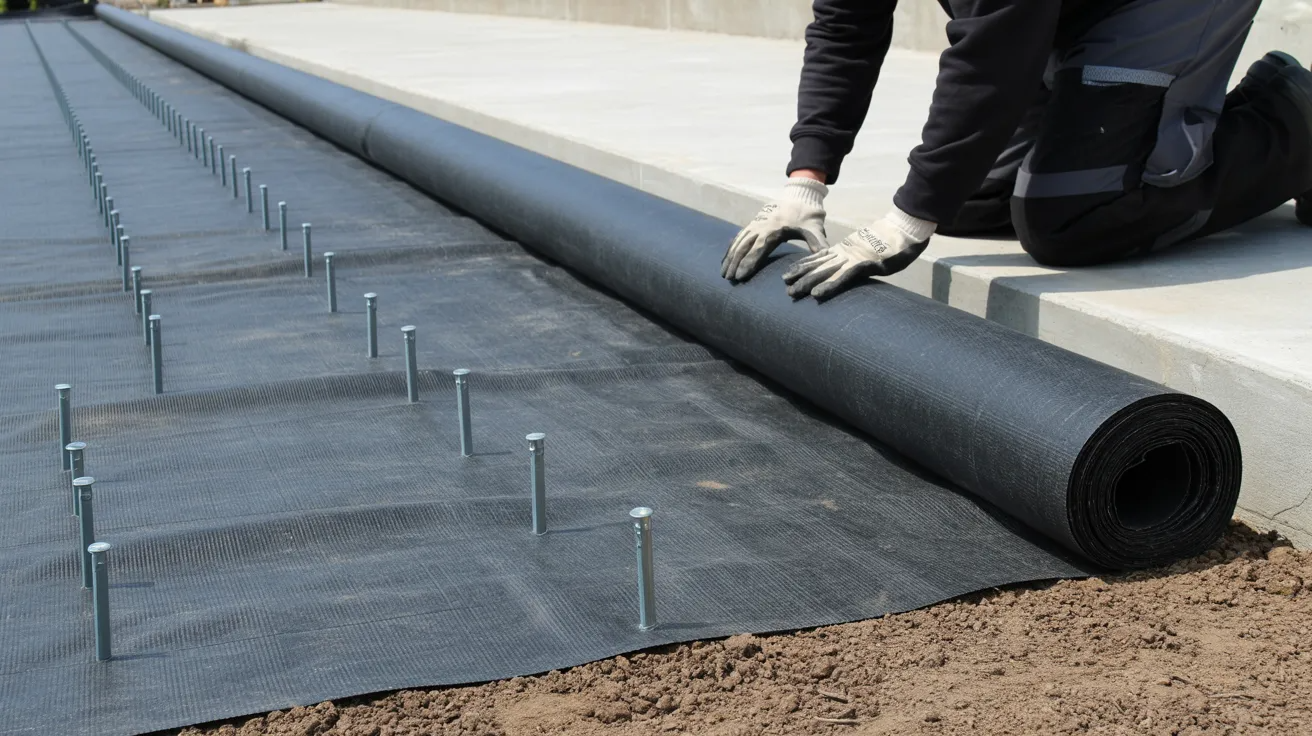
Roll out landscape fabric and overlap seams by at least 6 inches. Secure with landscape staples every 12 to 18 inches. Do not skip this step.
Step 3: Install Edging Material
Spread gravel or mulch 2 to 3 inches deep. Set bricks tightly in a row or pour concrete into a form.
Keep mulch at least 6 inches from the foundation wall. Add a border edge to stop materials from spreading onto the lawn.
Step 4: Ensure Proper Slope Away from House
Pour a small amount of water near the foundation and watch where it flows. It should move away from the house toward the yard or a drain. Adjust grading if water still pools near the base.
Common Mistakes to Avoid
Most foundation edging problems come from a handful of predictable mistakes. Here’s what to watch out for.
- Wrong slope or no slope at all. If the ground slopes toward the house, water collects near the foundation and causes leaks and mold. Always grade before you edge.
- Piling mulch against the wall. Thick mulch traps moisture and invites termites and fungal growth. Keep it 2 to 3 inches thin and 6 inches away from the foundation.
- Skipping landscape fabric. Without it, weeds push through within one season and the whole area needs redoing. It’s cheap and takes minutes to lay down.
- Placing edging too close to the foundation. Organic materials pressed against the wall trap moisture and attract pests. Always leave at least a 6 inch gap.
- Never rechecking after rain. Even well-installed edging can shift over time. Watch where water flows after heavy rain and adjust grading if needed.
What Is the Best Edging Around the House Foundation?
Not sure where to start? Here’s a fast breakdown by category.
Gravel is the top choice for most homes. It drains fast, stays dry, resists pests, and works in almost every climate. It’s affordable and easy to install on your own.
Concrete is a one-time job. Pour it or lay pre-cast sections and you’re done for decades. No annual replacement, no seasonal upkeep.
Brick gives your home a finished, classic look. It’s strong, long-lasting, and can be set without mortar. It holds its shape and color over years of weathering.
Mulch works well for garden beds but needs caution. Keep it thin, away from the wall, and replace it every year. Always pair it with a physical border to keep it contained.
Conclusion
Choosing the right edging around your house foundation doesn’t have to be complicated. I’ve seen what happens when homeowners skip this step. Water damage, pest problems, and costly repairs that could have been avoided. Gravel is my personal go-to for most homes.
It’s simple, affordable, and reliable. But the real key is proper slope and drainage, no matter what material you pick. Start there, and everything else falls into place.
Got questions or tried one of these methods? Drop a comment below. I’d love to hear how it went!
Frequently Asked Questions
What is the best material to put around a house foundation?
Gravel or crushed stone is the best choice for most homes. It drains water quickly and keeps moisture away from the foundation.
How far from the foundation should edging be placed?
Edging material, especially organic types like mulch, should be kept at least 6 inches away from the foundation wall. This prevents moisture buildup and pest access.
Does edging around the foundation prevent termites?
Dry edging materials like gravel reduce moisture, which makes the area less attractive to termites. Avoid placing mulch or wood-based materials directly against the foundation.
Do I need landscape fabric under foundation edging?
Yes. Landscape fabric blocks weed growth without stopping water drainage. It’s a low-cost step that saves a lot of maintenance time over the years.
How deep should gravel be around a house foundation?
A 2 to 3 inch layer of gravel is enough for most homes. Pair it with landscape fabric beneath and make sure the gravel slopes away from the house for proper drainage.