
I thought ordering a prebuilt shed meant it would arrive ready to use. I was wrong, and that mistake cost me an entire weekend of scrambling.
Nobody tells you about the prep work, the timeline, or what actually happens between ordering and having a usable shed in your backyard.
So when is a prebuilt shed put together? The answer surprised me. And once I understood it, the whole process made a lot more sense.
This guide covers everything I wish I’d known. Assembly timelines, DIY vs professional setups, and what actually affects how long it takes.
General Overview of Shed Assembly
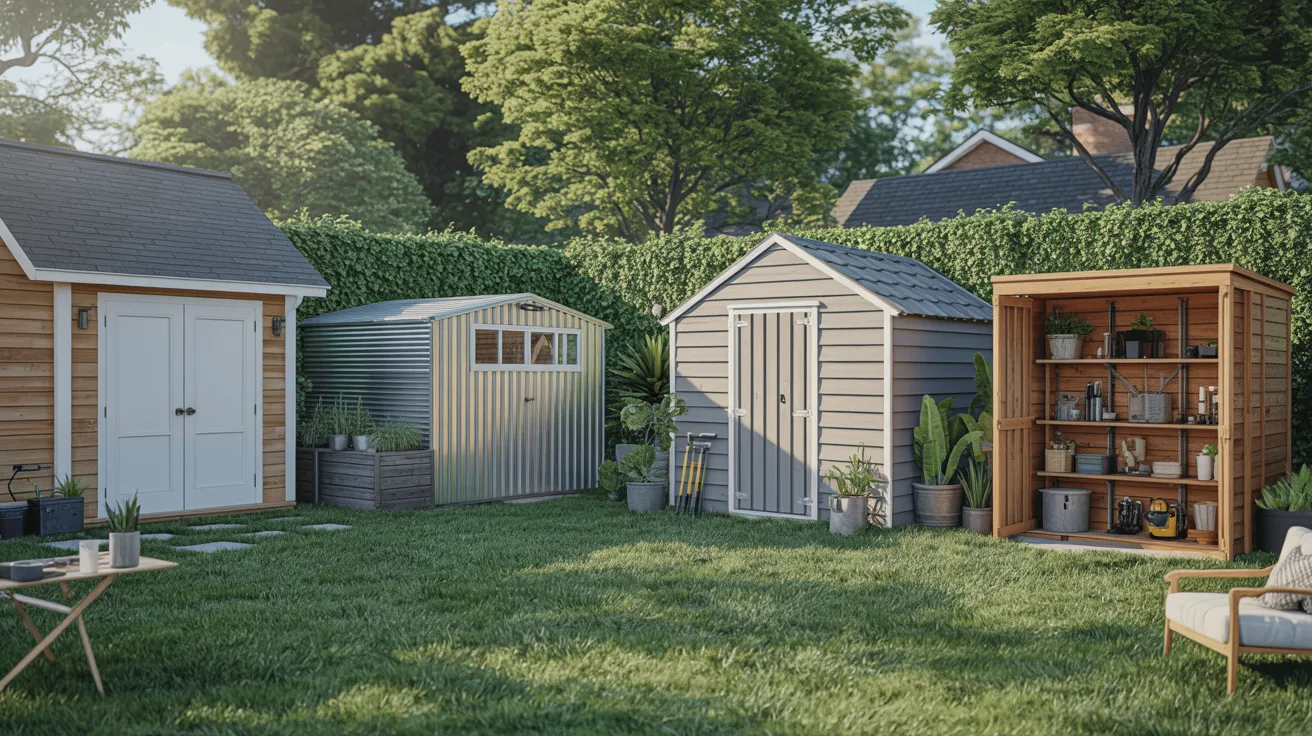
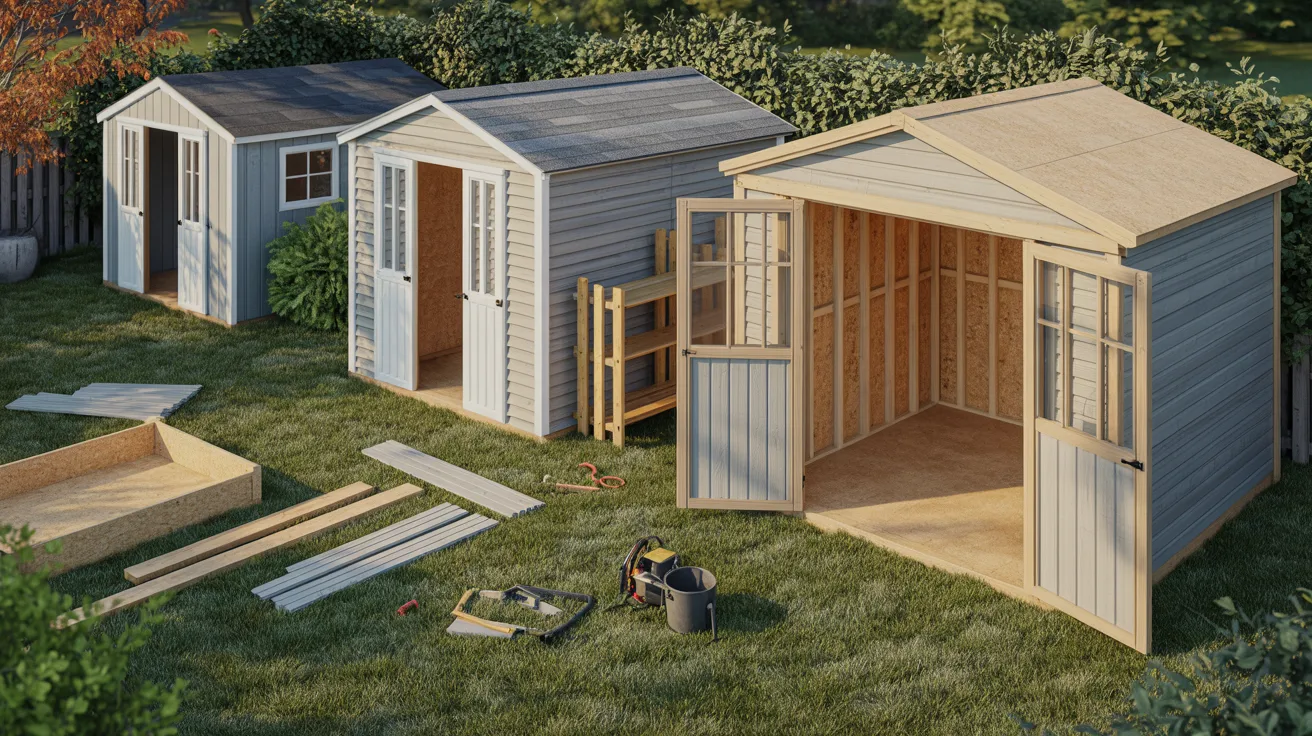
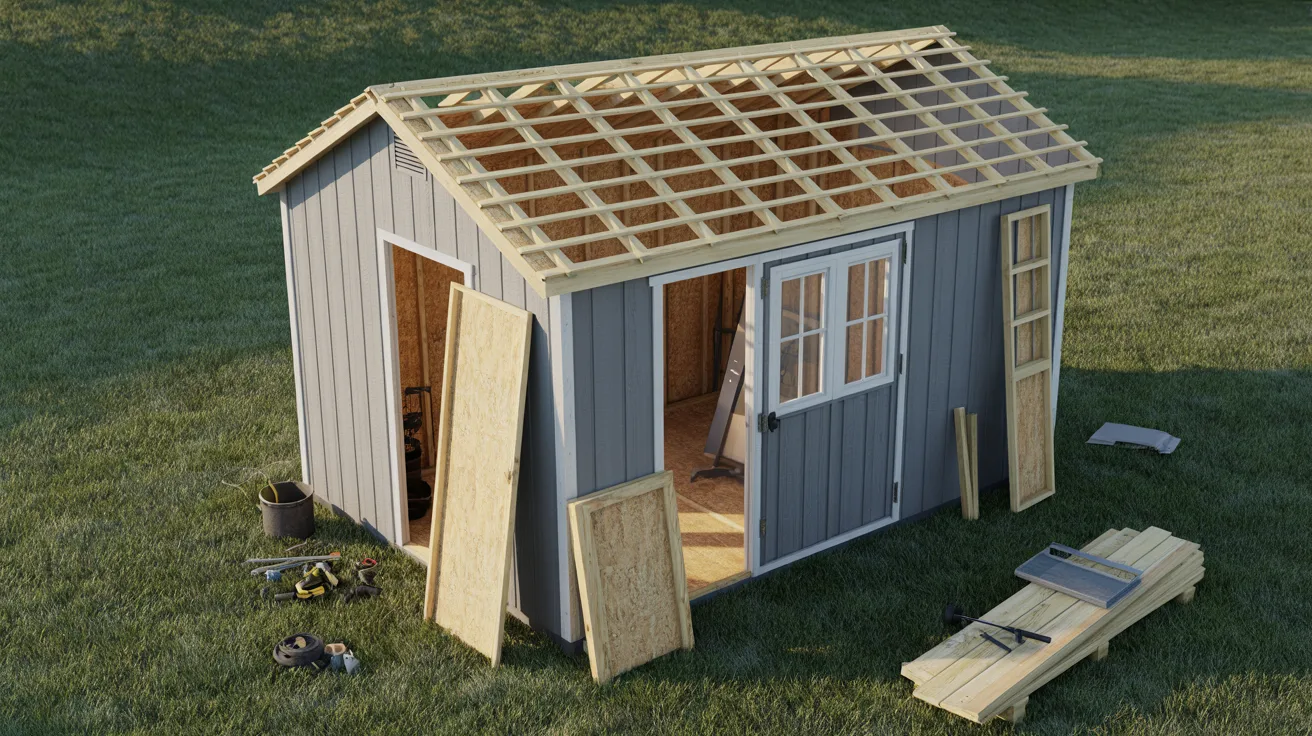
Prebuilt sheds arrive either fully assembled on a truck or as pre-cut modular panels ready to connect. Either way, some on-site work is always required before the shed is usable.
Knowing the assembly timeline matters for planning. You need to arrange help, prepare the site, and block off the right amount of time before delivery day.
A preassembled shed setup can save homeowners significant time compared to building from scratch. But even prefab options need a level foundation and a clear plan before the first panel goes up.
Factors Affecting When a Prebuilt Shed Is Put Together
Several things determine how long assembly takes. Size, shed type, assembly method, and site conditions all play a role. Understanding these upfront helps you plan more accurately.
Shed Size and Complexity
A small 6×8 shed and a large 12×20 shed are completely different projects. The small one might take a few hours. The large one could take a full day or more.
Extra features add time. Lofts need additional framing, windows require careful alignment, and built-in storage means more components to install.
Always account for added complexity when estimating your timeline. What looks simple in the catalog can take twice as long once you’re handling the actual parts.
Type of Shed: Prefab vs Custom
Prefab sheds come with walls, roof panels, and floors pre-cut and ready to connect. Prefabricated shed panels are faster to assemble because you’re essentially snapping sections together rather than building from raw lumber.
Custom-built sheds start from bare materials. Every board gets measured, cut, and nailed on-site, which takes significantly more time and usually costs more in labor.
If speed matters most, prefab wins. If you want something built to exact specifications, custom is worth the extra time.
Assembly Method
DIY assembly with two people and basic tools can get a small shed up in a single afternoon. Larger sheds usually need a full day or a weekend.
Professional installation is faster. An experienced crew can complete a mid-size shed in half the time it takes most homeowners.
Foundation prep and weather both affect the timeline too. A concrete slab takes time to cure, and rain or high winds can slow or stop work entirely.
Typical Timeline for Prebuilt Shed Assembly
Assembly times vary based on size, method, and site conditions. Here’s a realistic breakdown of what to expect.
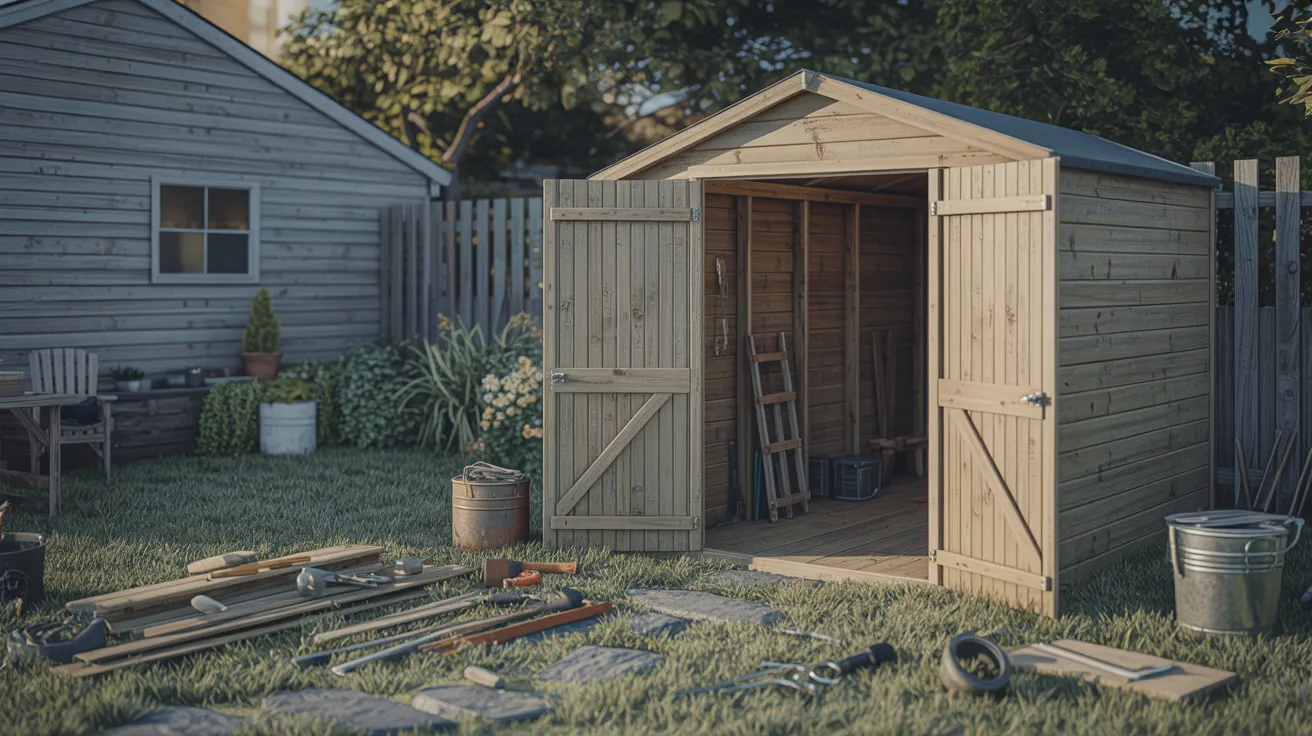
Small Prebuilt Sheds
A small prefab shed in the 6×8 to 8×10 range takes most DIYers two to six hours. With professional help, the same shed can be standing in one to two hours.
Don’t underestimate prep time. Leveling the ground and organizing parts before you start can add an hour or two to the day.
If you’re doing it solo for the first time, give yourself a full day. It’s better to have extra time than to rush the final steps.
Medium to Large Sheds
A mid-size shed in the 10×12 to 12×16 range typically takes one to two full days for a DIY crew of two. Professionals can usually complete the same in four to six hours.
The jump in time from small to medium is significant. More panels, more roof sections, and more alignment work all add up quickly.
Plan for two days if you’re tackling a medium or large shed on your own. That buffer prevents rushing and reduces mistakes.
Custom or Specialty Sheds
A fully custom shed built from raw materials can take several days to a week. Each stage, from framing to roofing to finishing, needs to happen in the right order.
Custom features like electrical wiring, insulation, and built-in cabinetry each add separate phases. Barn-style builds or multi-room structures can take two weeks or more with a small crew.
Get a clear timeline from your builder before work starts. Unexpected delays are common, so building in extra time is always smart.
Step-by-Step Prebuilt Shed Setup Process
Once your site is ready, assembly follows a clear sequence. Sticking to this order prevents mistakes and keeps the project moving forward.
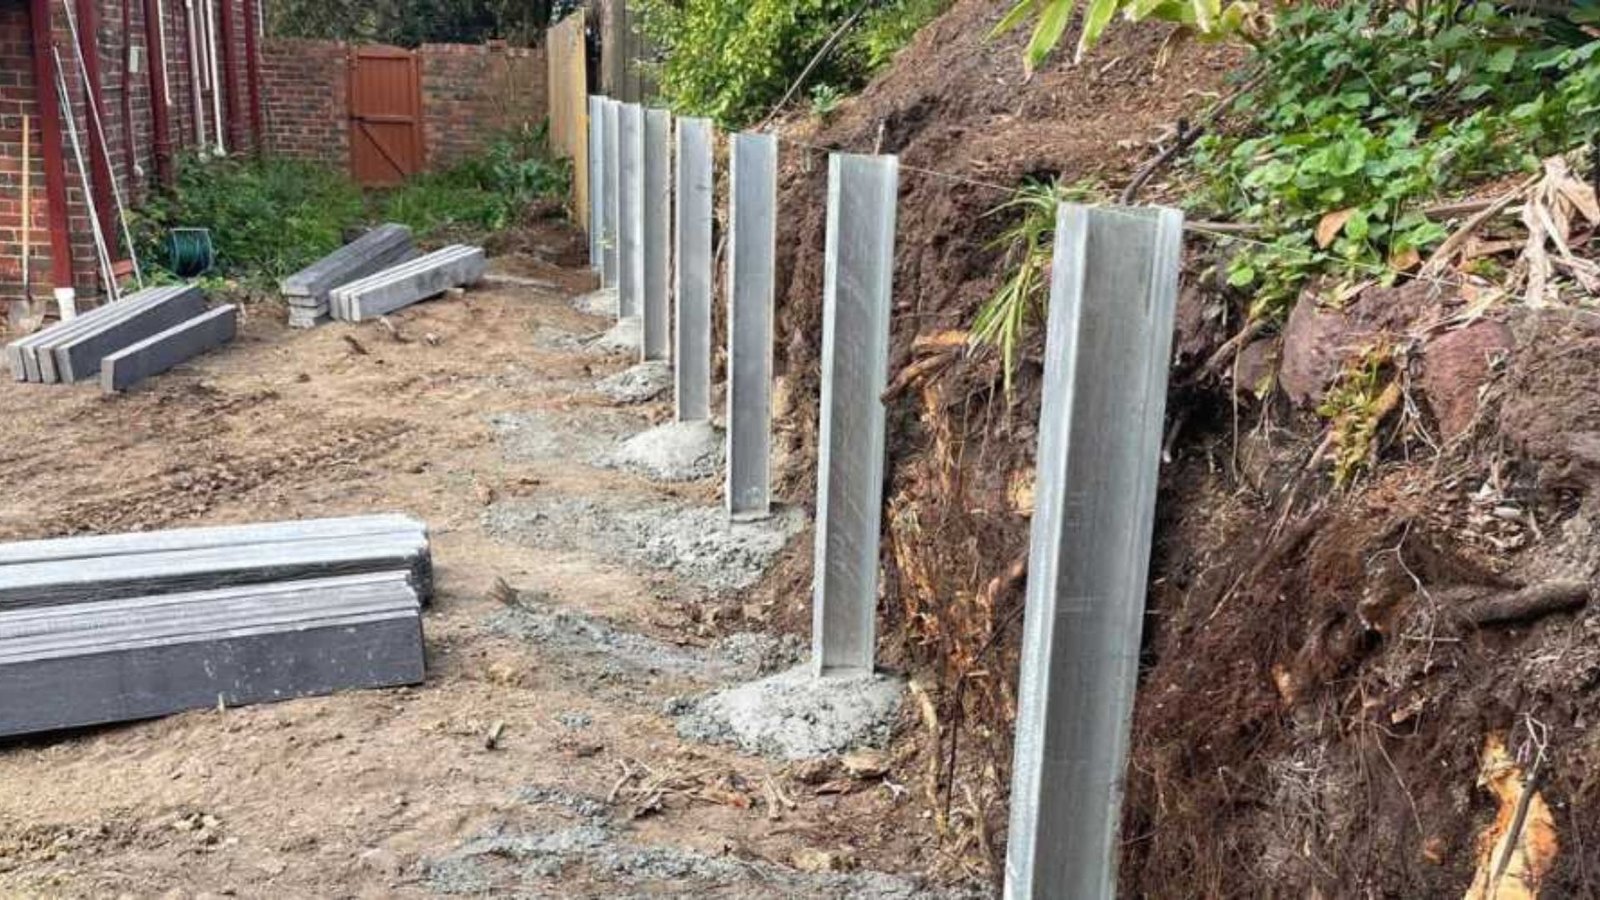
1. Preparing the Site
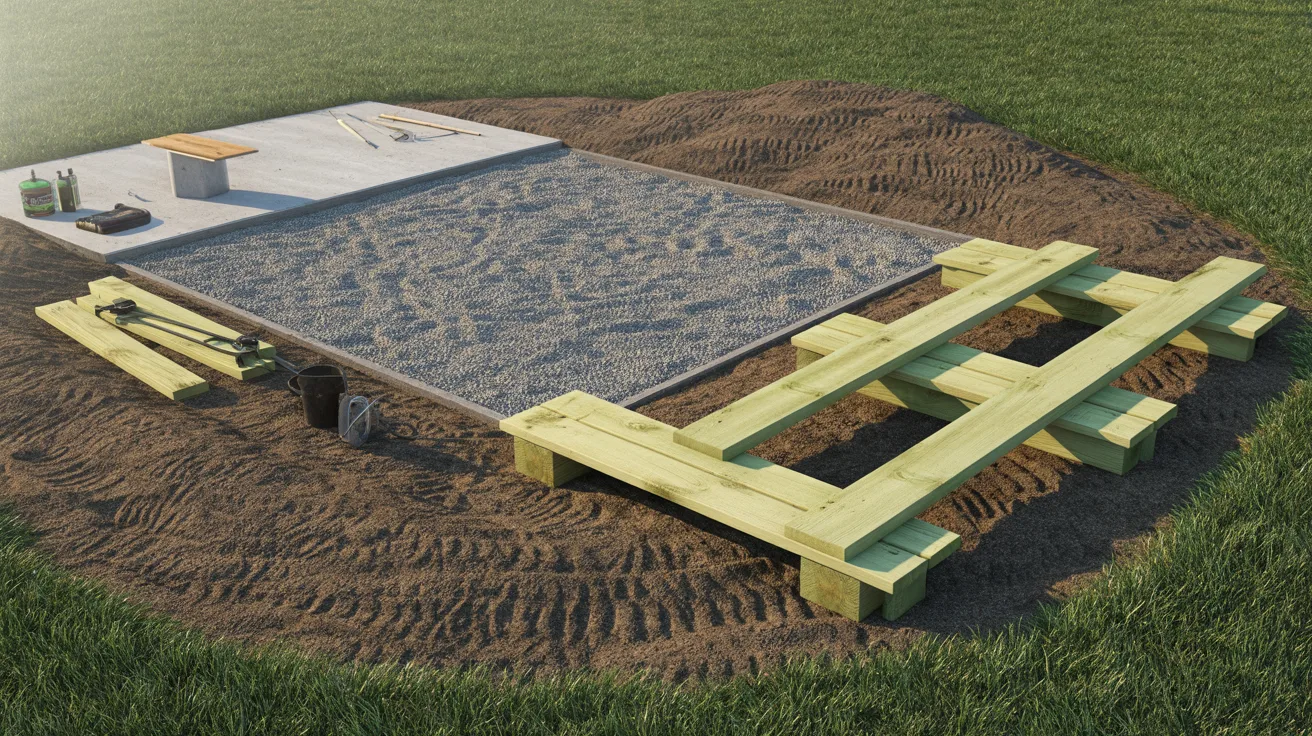
Clear the area completely and level the ground before anything else. A level surface is the most important factor in a clean, stable installation.
Choose your foundation based on shed size and local soil. Concrete slabs, gravel pads, and pressure-treated wood skids are all solid options.
Make sure drainage is considered. A slight slope away from the base prevents water from pooling and causing long-term damage.
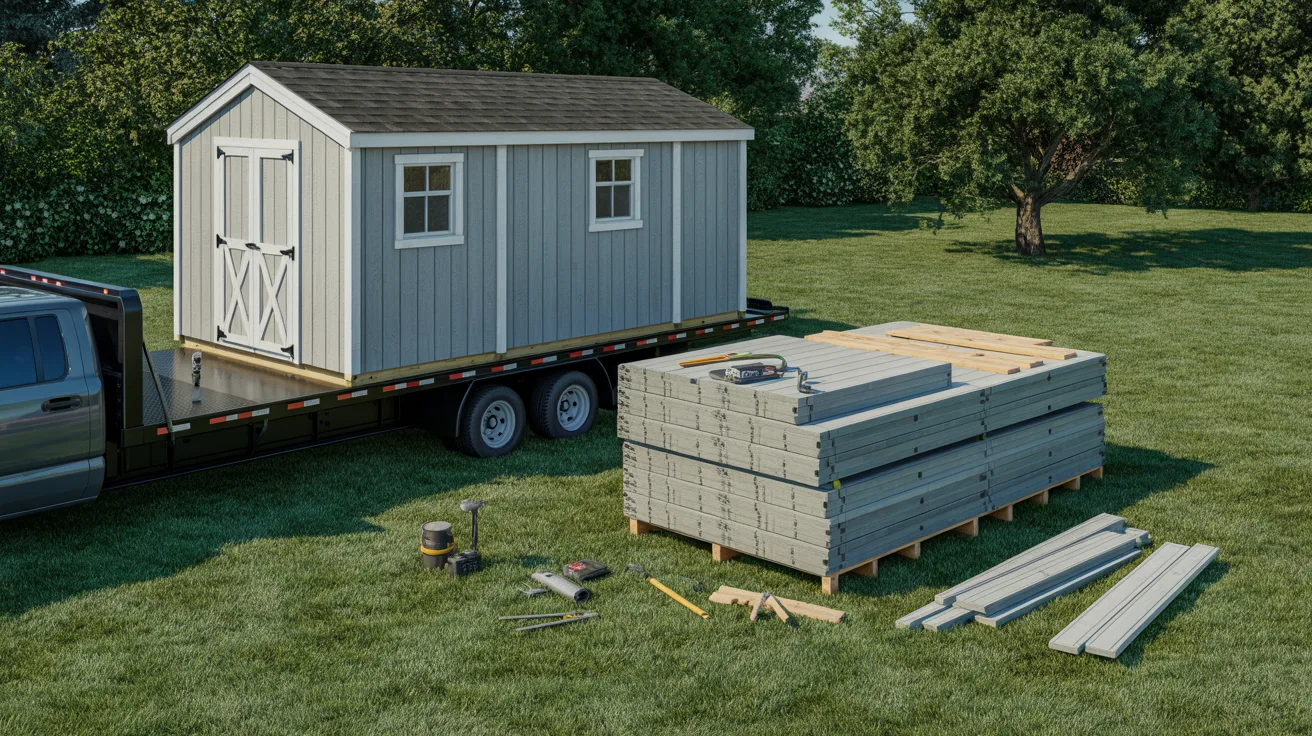
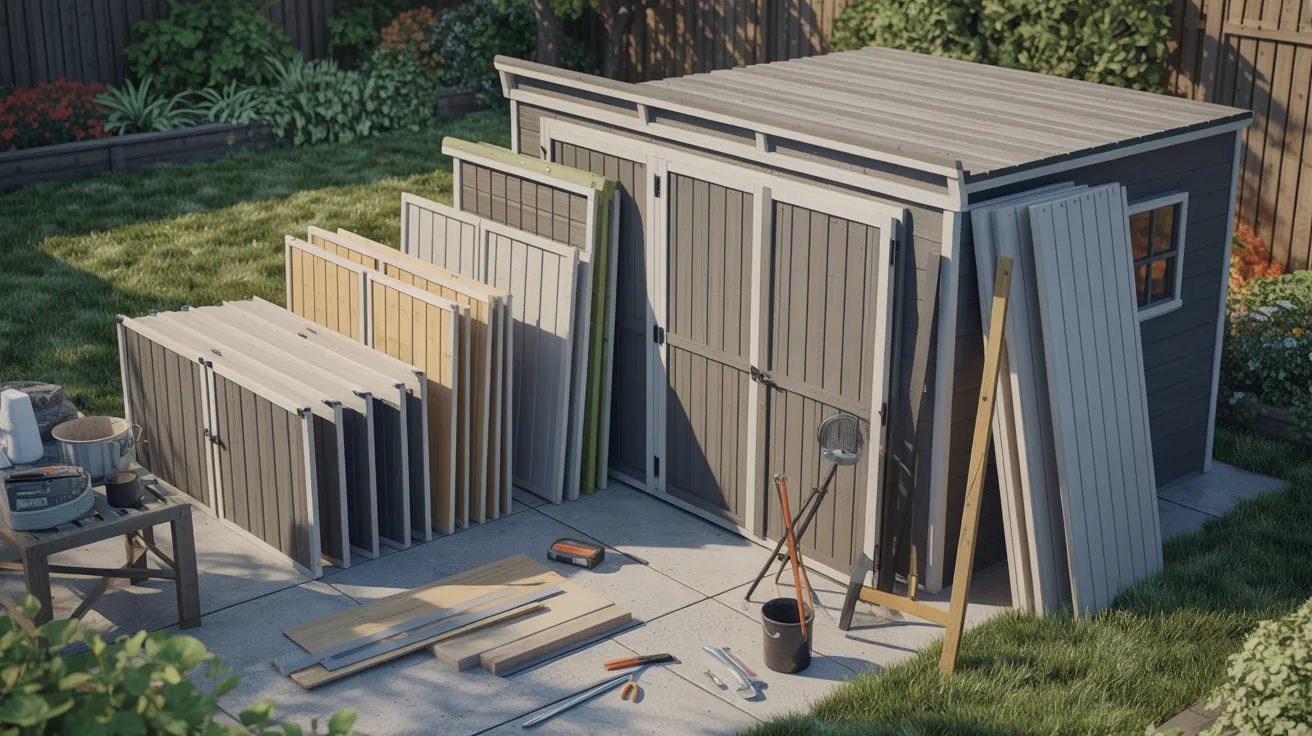
2. Unloading and Organizing Panels
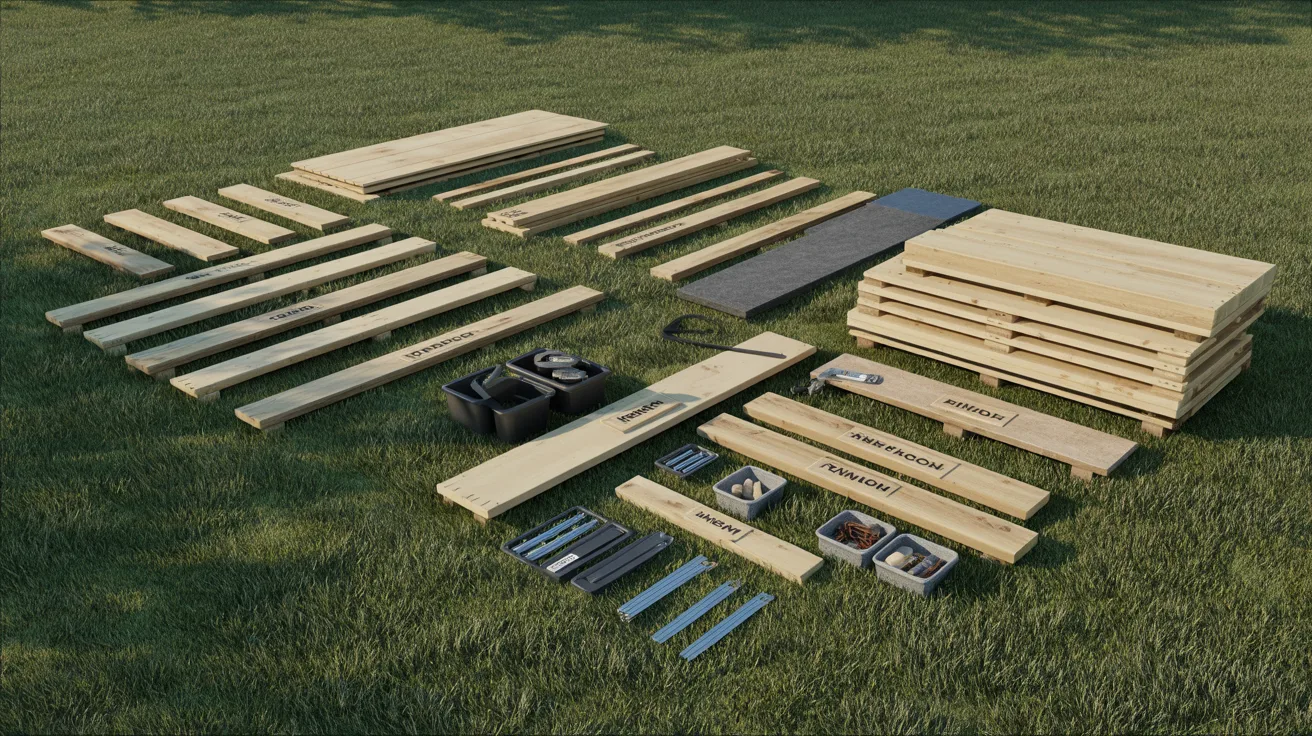
Do a full inventory check against the parts list before assembly starts. Missing or damaged parts are much easier to deal with before you’ve begun building.
Group pieces by section and keep hardware in a labeled container. Lay panels flat on clean ground nearby so nothing gets damaged before it goes up.
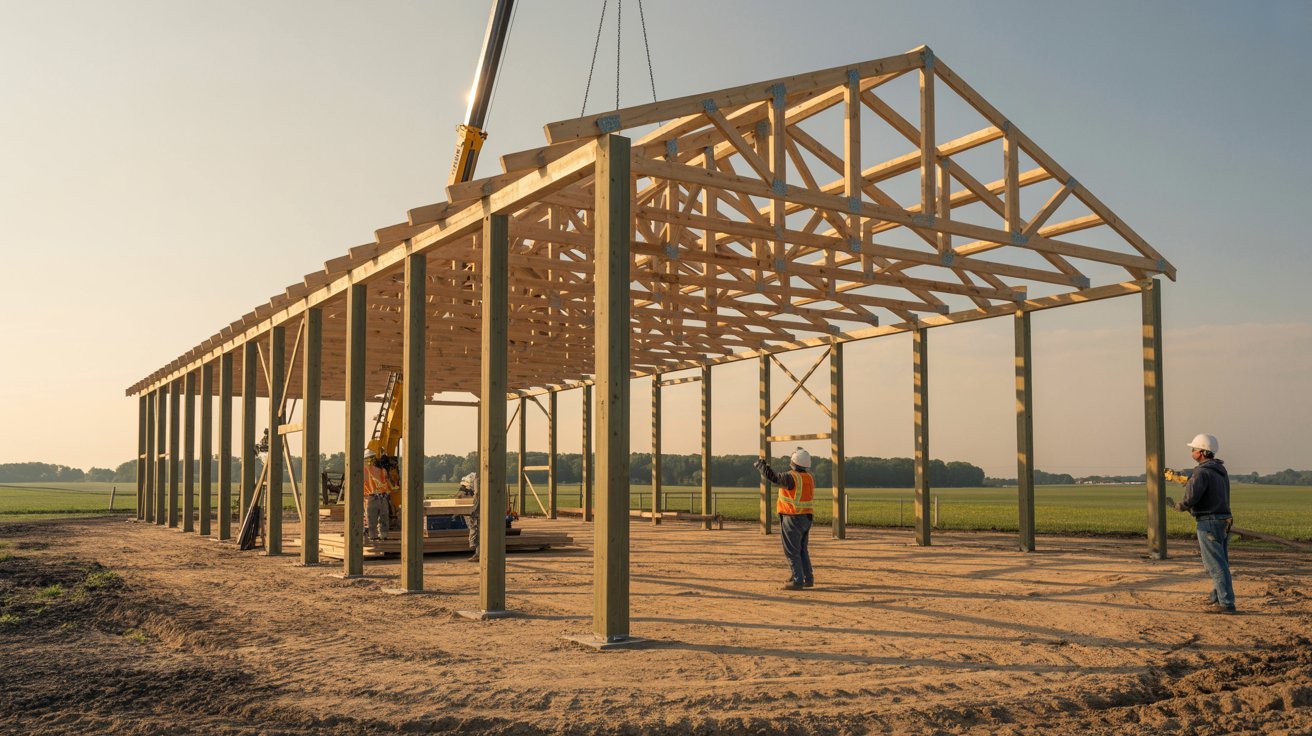
3. Assembling the Base and Frame
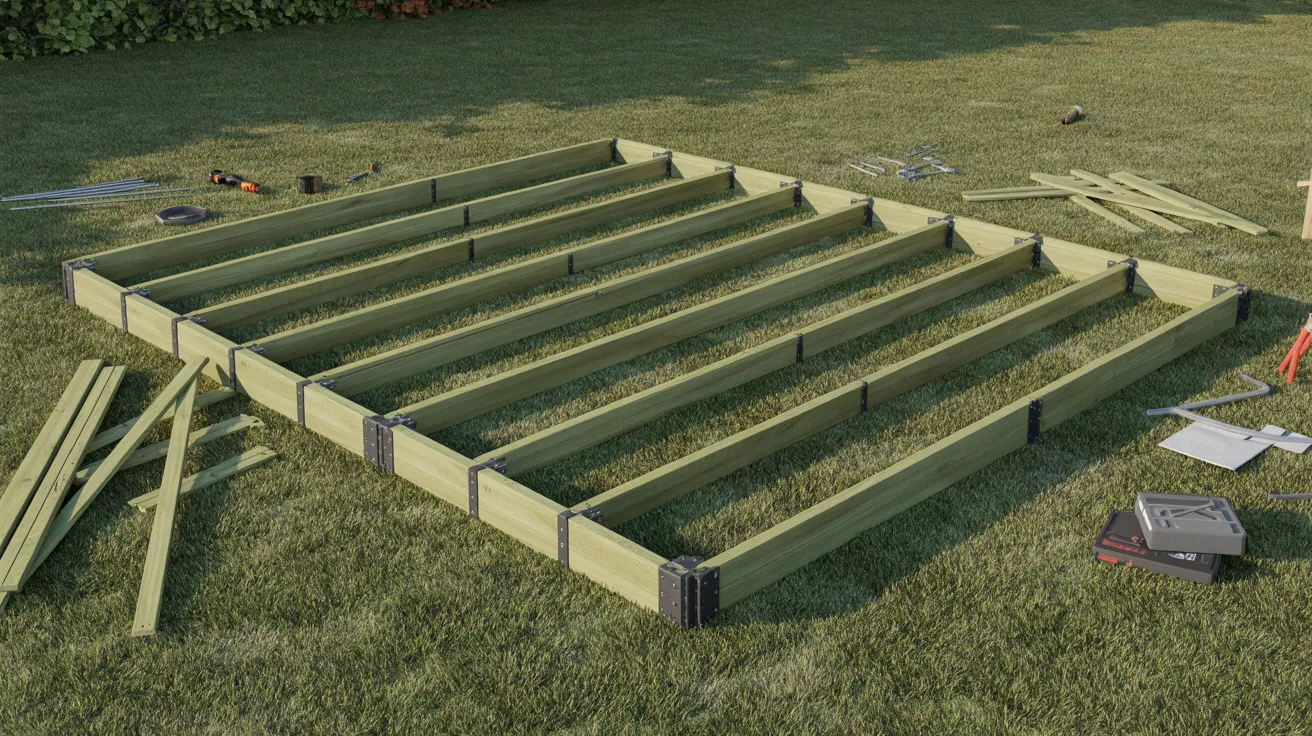
Start with the floor frame and make sure it’s level in all directions before securing it. Even a small tilt becomes a real problem once the walls go up.
Attach wall panels starting from a corner, checking for square at each point as you go. Have a second person hold panels in place while you secure them.
4. Installing Roof, Doors, and Windows
Roof trusses go up after walls are secured. Follow the spacing in the manual exactly since incorrect spacing causes sagging over time.
Install shingles or roof panels from the bottom edge upward. Test doors and windows by opening and closing before securing them permanently, and seal any gaps around the frames.
5. Finishing Touches
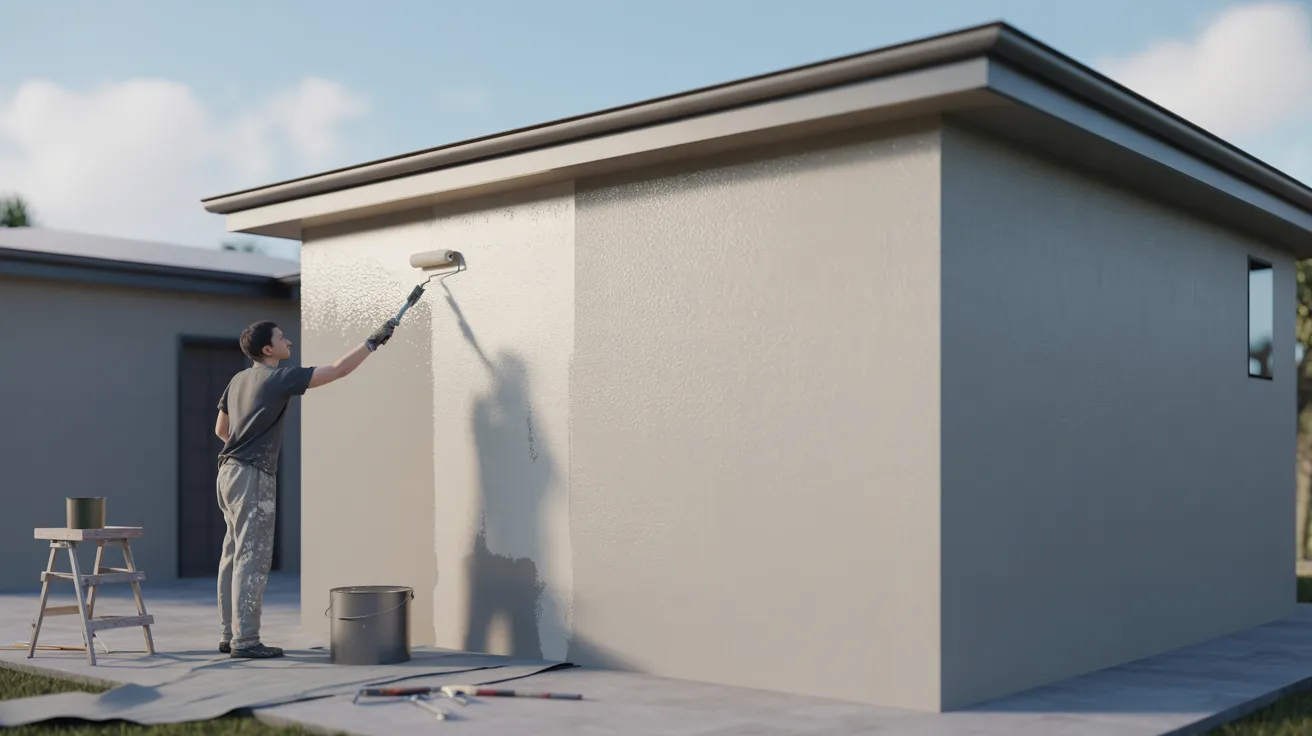
Paint or stain wood surfaces before moving anything in. It’s much easier to do this in an empty shed.
Install shelving, ventilation, and flooring at this stage. Then do a full walkthrough, checking every panel connection, door, window, and roofline before calling it done.
Tips to Speed Up Prebuilt Shed Assembly
Good preparation is the fastest way to speed up assembly day. Most delays happen because something wasn’t ready before work started. Keep these points in mind.
- Pre-organize all tools and parts the night before so everything is within reach.
- Always work with at least two people. Large panels are difficult and sometimes dangerous to handle alone.
- Read the manual before assembly day, not during it. Knowing the steps ahead of time cuts confusion.
- Prepare the site completely before delivery. Foundation and drainage work should be done in advance.
- Label panels if the kit doesn’t already. Knowing which piece goes where saves significant time.
- Consider hiring professionals for larger or more complex setups. For sheds over 12 feet, the cost is often worth it.
Every hour of prep saves at least that much time on the actual build day.
Conclusion
Honestly, the hardest part of any shed assembly is just committing to a start date. Once you do, the rest falls into place faster than you’d expect.
Whether you’re going prefab or custom, a little planning upfront saves a lot of frustration on the day.
So pick your shed, prep your site, and get it done. Your backyard will thank you.
Have questions about your specific setup? Drop them in the comments below. And if you’ve already tackled a shed build, tell me how it went. I’d love to hear your experience.
Frequently Asked Questions
How long does it take to assemble a standard prebuilt shed?
A small prefab shed takes most DIYers two to six hours, while professionals can finish the same job in one to two. Medium and large sheds can take one to two full days for a DIY crew.
Can a single person assemble a medium-sized shed?
It’s possible but not recommended since large wall and roof panels are hard to handle safely alone. Having a second person speeds things up and reduces the risk of damage or injury.
Do prefabricated sheds require a professional for setup?
Most prefab sheds are designed for DIY assembly and include detailed instructions. Professional installation is optional but worth considering for larger or more complex builds.
What tools are essential for DIY shed assembly?
A power drill, level, tape measure, rubber mallet, and ladder cover most jobs. Always check the manufacturer’s tool list since some kits have specific requirements.
Does weather affect the prebuilt shed assembly timeline?
Yes, rain, high winds, and extreme temperatures can slow work down or make it unsafe. Scheduling assembly on a dry, calm day gives you the best chance of finishing on time.