
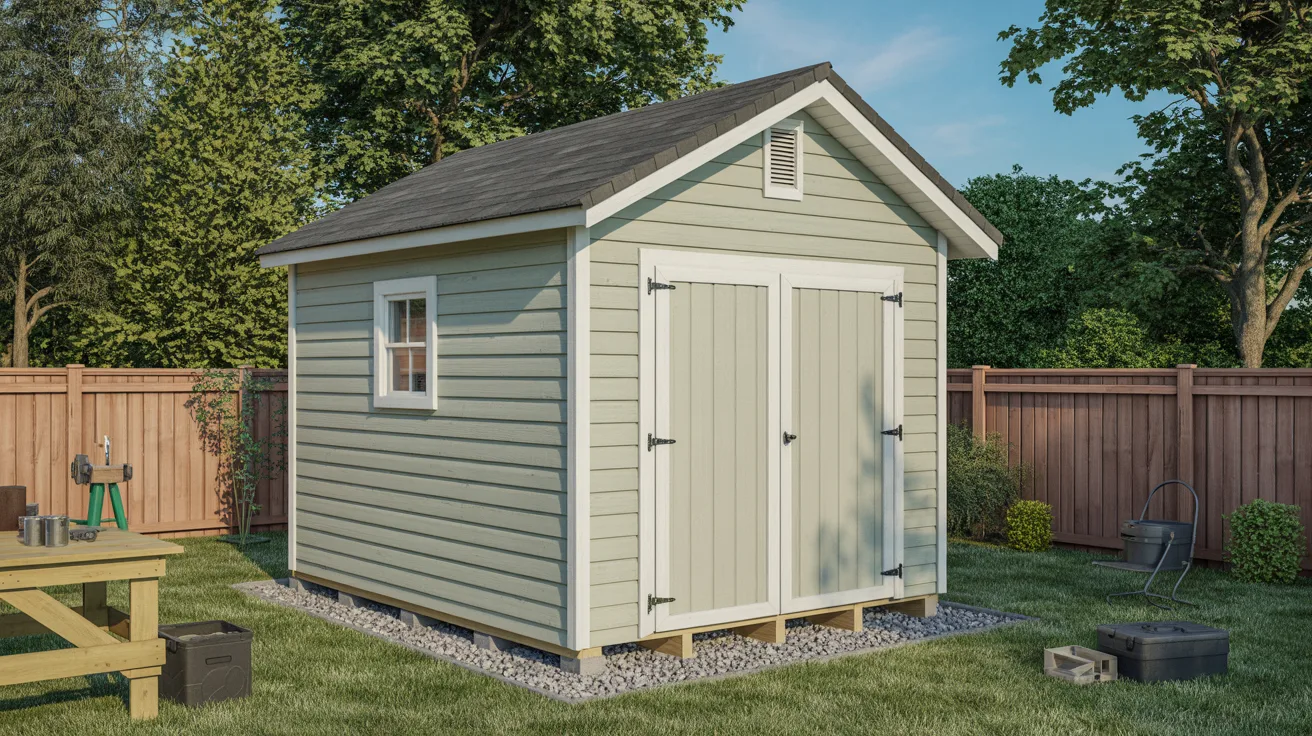
When I first built my backyard shed, I quickly realized that the foundation mattered even more than the shed itself.
A gravel shed foundation keeps your structure level, dry, and secure for years.
In this guide, I’ll take you through each step to create your own DIY gravel base, from selecting the best site to spreading and leveling the gravel perfectly.
Over the years, I’ve helped many homeowners prepare their sheds and discovered what truly works.
By following this guide, you’ll gain the knowledge and confidence to build a stable, long-lasting foundation you can rely on.
Why Choose a Gravel Shed Foundation?
A gravel shed foundation is cost-effective, durable, and provides excellent drainage. It adapts to minor ground shifts and is much easier to install than concrete.
You can complete it yourself in a day, making it ideal for most small to medium sheds. Gravel helps prevent moisture damage, keeps pests away, and supports a level, stable base.
Choosing this type of foundation is a practical, hands-on solution that ensures your shed remains secure, functional, and long-lasting without the need for expensive materials or complicated construction methods.
Tools and Materials You’ll Need
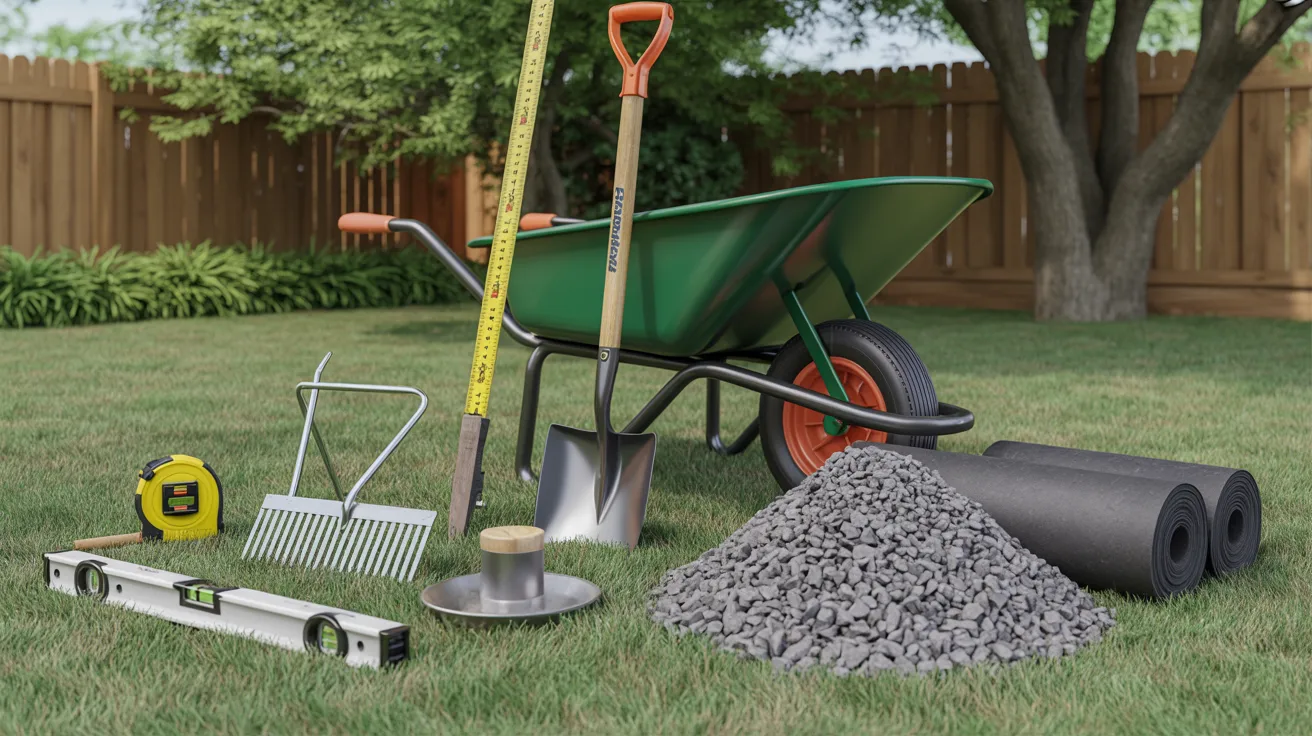
These are the basic tools and materials to build a secure gravel shed foundation easily.
- Tape measure
- Level (laser or string)
- Shovel and rake
- Wheelbarrow
- Tamper/compactor
- Safety gear (gloves, goggles)
- ¾-inch crushed stone
- Landscape fabric
- Optional: retaining border for gravel
Step-by-Step DIY Guide
Follow these steps to create a stable, long-lasting gravel shed foundation that stays level and drains well.
Step 1: Select Your Site
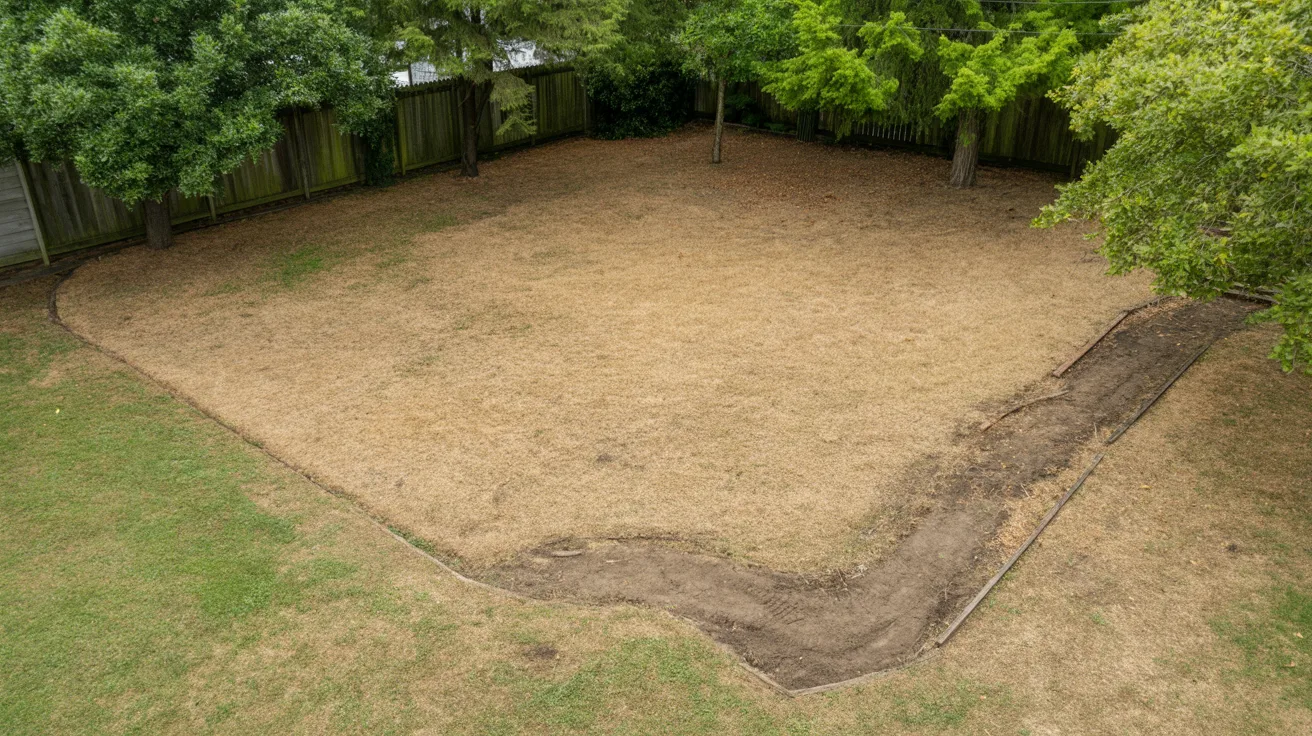
Choose a level, high, and dry area for your shed. Avoid low spots where water collects. Check local rules and look for underground lines before digging.
Picking the right location now will save time, prevent damage, and ensure your shed stays stable. A well-chosen site makes the project smoother and safer.
Step 2: Mark the Shed Footprint
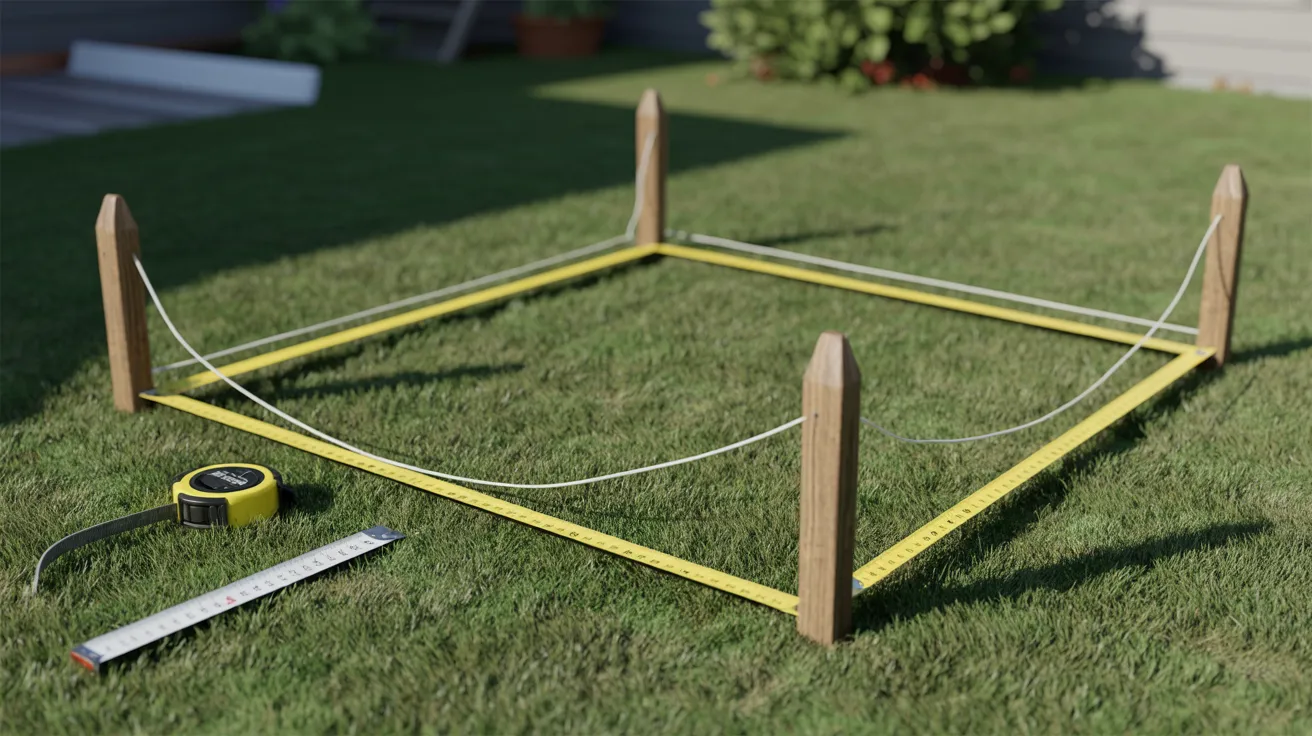
Measure your shed dimensions and add one foot around each side. Mark the corners clearly. Double-check the layout is square by measuring diagonals.
This extra space ensures proper airflow and makes the gravel foundation slightly larger than the shed, keeping the base sturdy and balanced for years of use.
Step 3: Calculate Slope
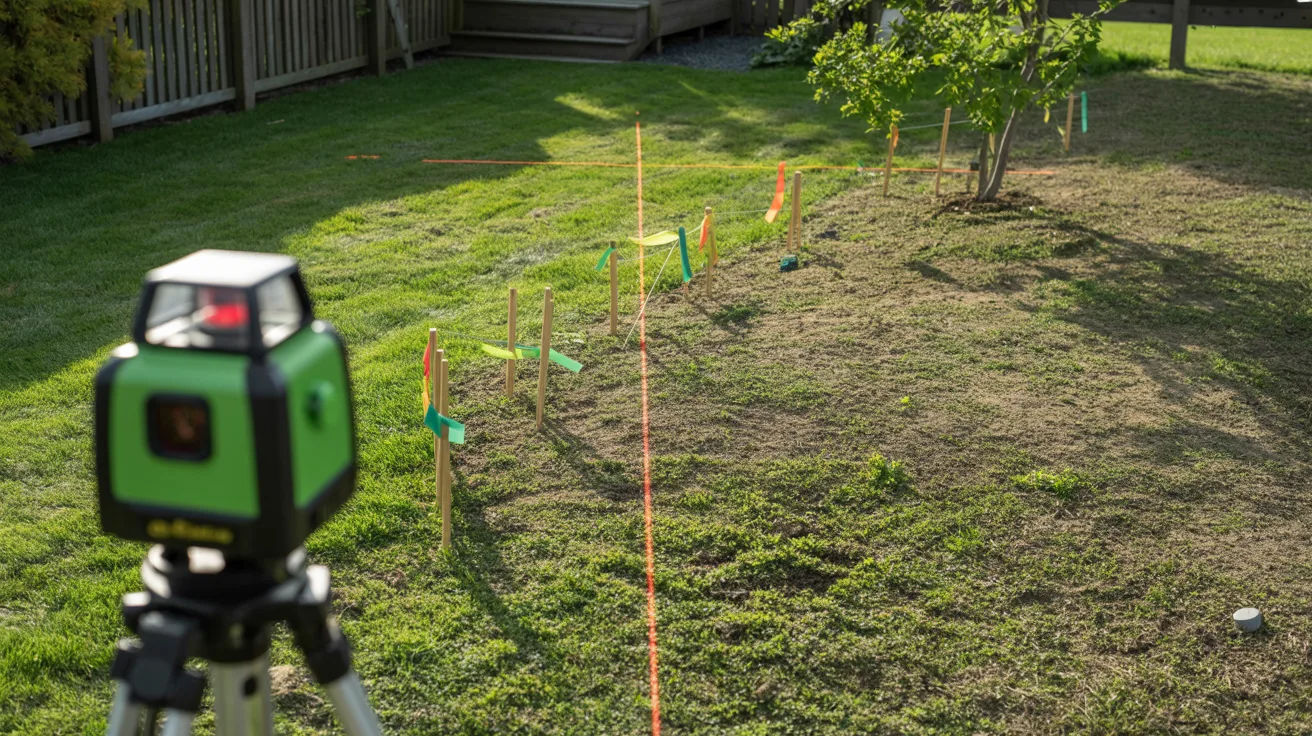
Use a level, string, or laser level to check if the ground slopes. Make small adjustments to guide water away from the shed.
Proper slope ensures your shed stays dry and prevents puddles. Taking the time to calculate slope now reduces maintenance later and helps your foundation stay strong.
Step 4: Excavate the Area
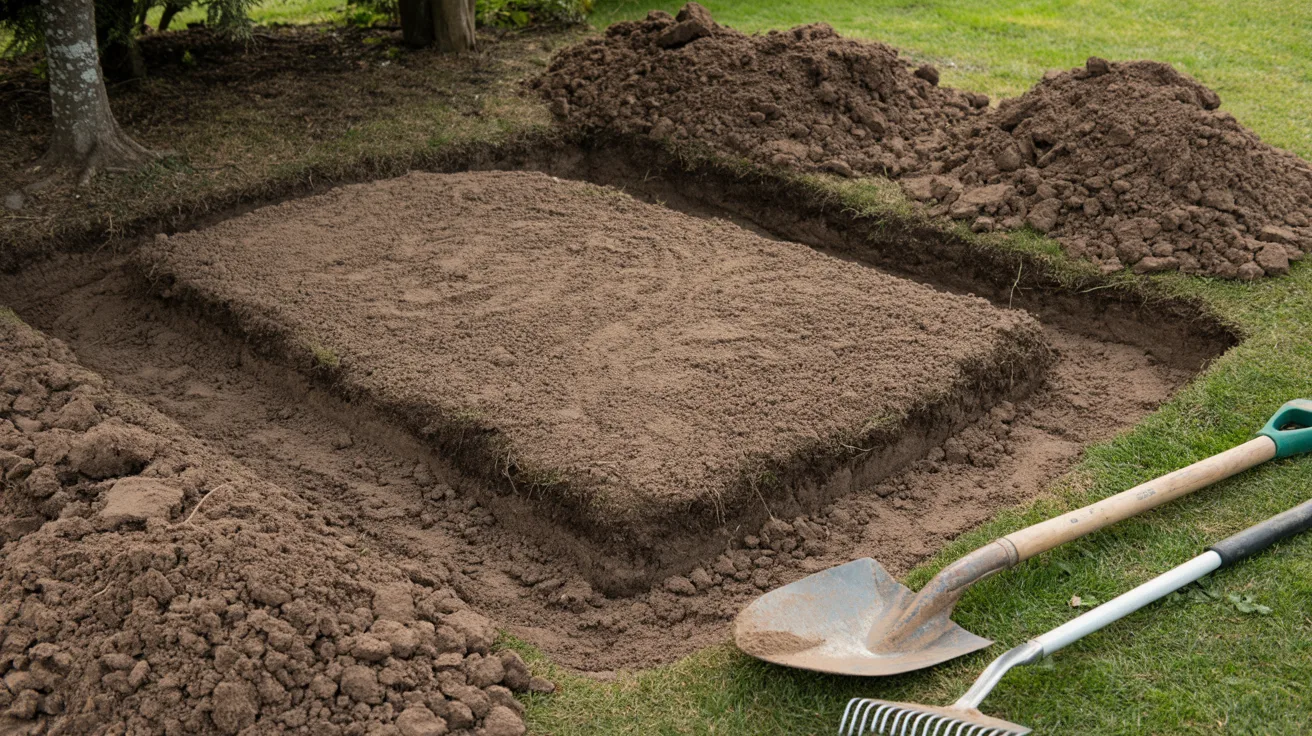
Dig 2 to 4 inches down across the marked area, depending on soil and slope. Save the topsoil for later landscaping.
Excavating creates a stable bed for the gravel and prevents uneven settling. Removing the loose soil also helps the gravel compress evenly and improves drainage under the shed.
Step 5: Lay Landscape Fabric
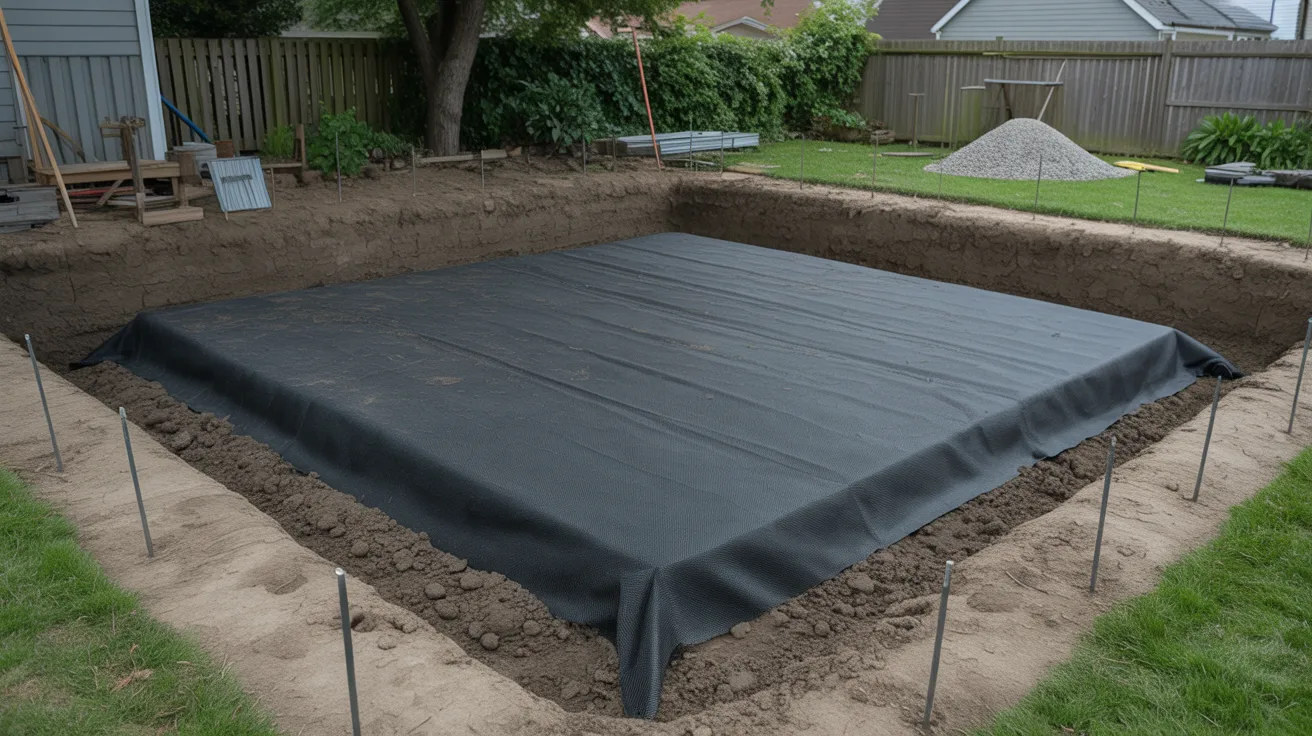
Spread landscape fabric over the excavated area to stop weeds from growing through the gravel. Cut and secure it so it covers the entire base.
This layer keeps your foundation cleaner, easier to maintain, and ensures your shed stays free of unwanted plant growth while allowing water to drain naturally.
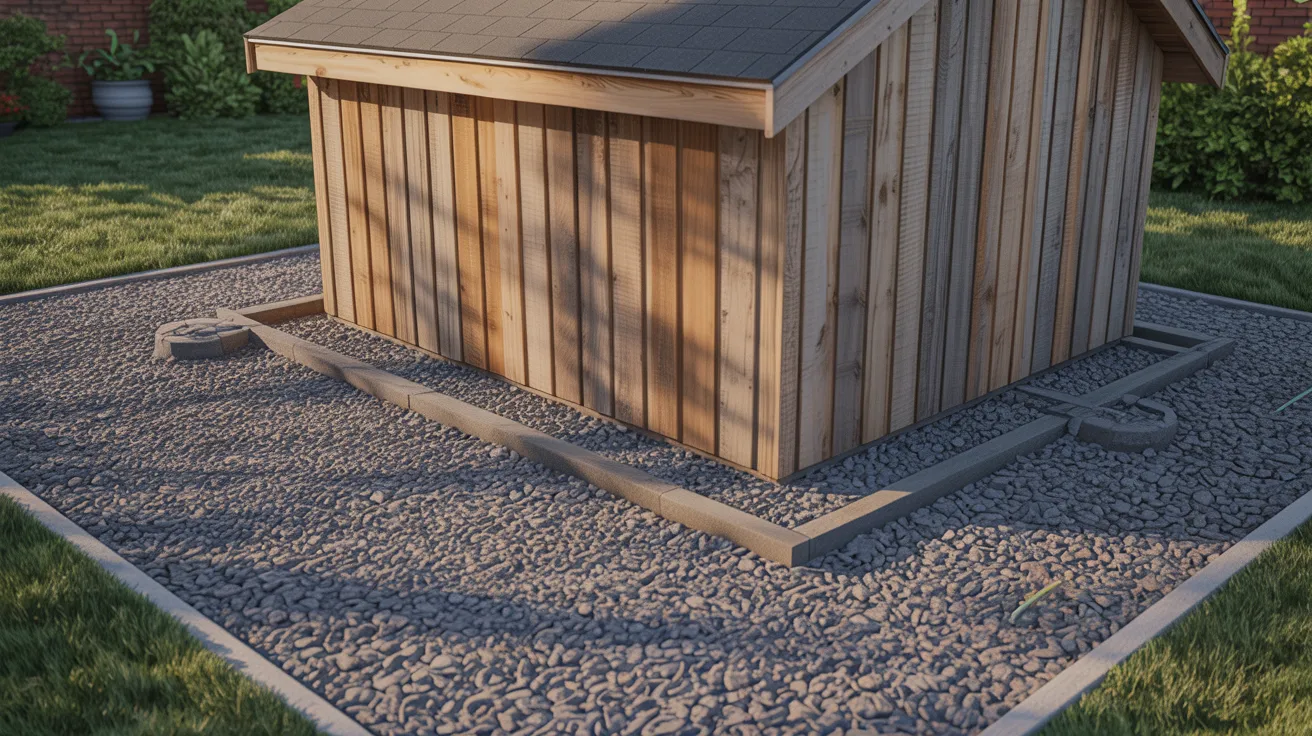
Step 6: Add and Spread Gravel
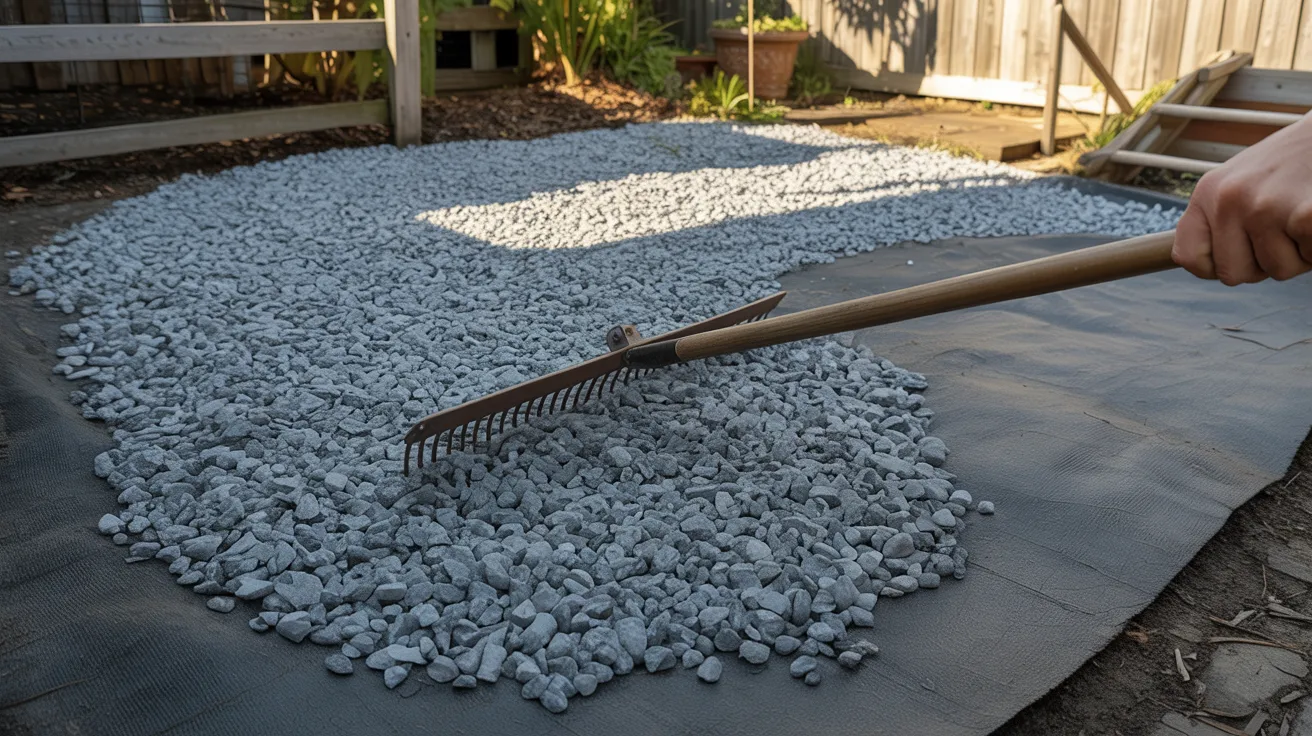
Dump 4 to 6 inches of crushed stone evenly across the foundation. Use a rake to spread it out. The gravel provides a solid base and excellent drainage.
Make sure the layer is consistent and reaches all corners. This step creates the main support for your shed floor and walls.
Step 7: Level and Compact the Gravel
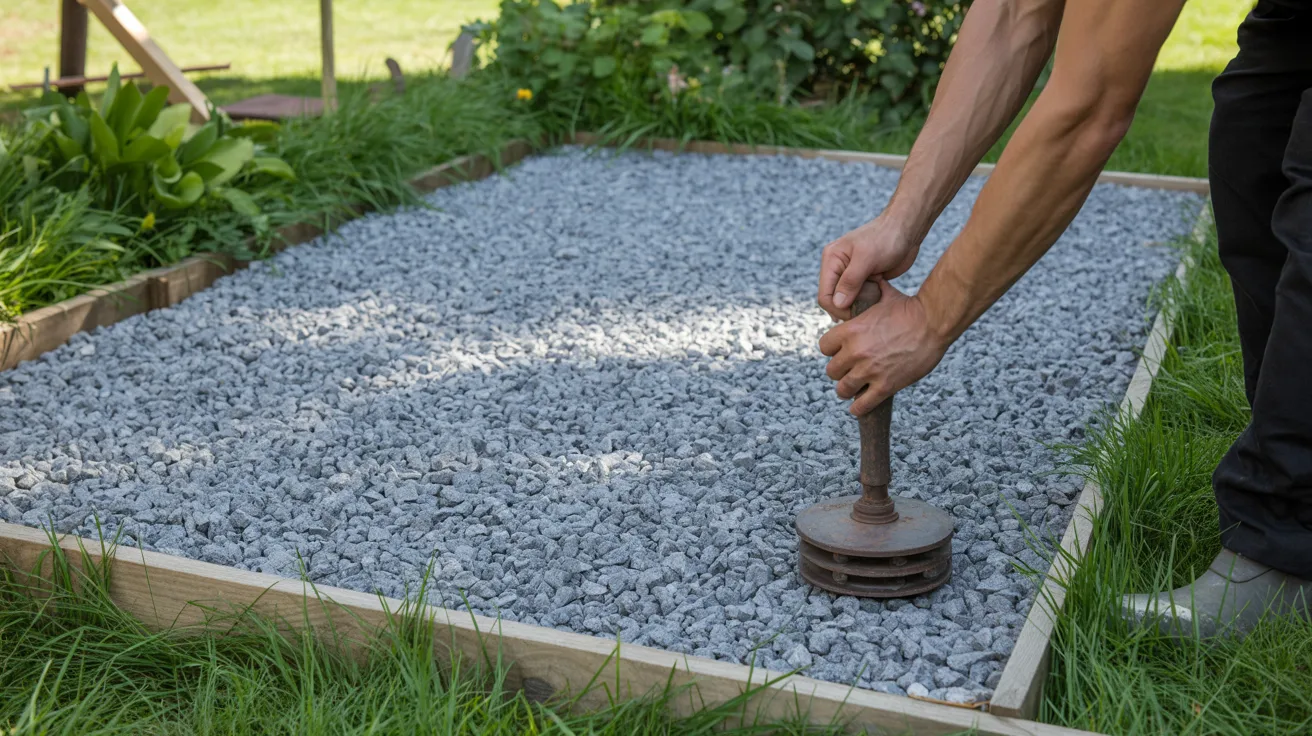
Use a tamper to compact the gravel starting from the outer edges inward. Walk slowly and ensure the surface is even and stable.
Compacting prevents the gravel from shifting under the shed and provides a flat, solid surface. A well-leveled base ensures your shed doors and floor stay aligned.
Maintenance Tips
Keeping your gravel shed foundation in good shape doesn’t have to be hard. A few simple steps each year will keep it level, solid, and draining properly.
- Check gravel for settling after rain: Look for low spots where water pools. These areas may need extra attention to keep the shed level.
- Add more gravel if low spots appear: Top off areas that have settled to maintain an even surface and stable support for your shed.
- Remove weeds promptly: Pull any weeds that grow through or around the gravel to prevent them from breaking down the stone and soil underneath.
- Re-compact loose areas with a tamper: Walk around the foundation and press down loose gravel to keep the surface firm and even.
- Inspect drainage regularly: Make sure water flows away from the shed. Proper drainage prevents rot, mold, and damage to the shed floor.
Final Thoughts
I’ve built several sheds on gravel, and it’s incredible how much a strong base improves the experience. A gravel shed foundation is practical, flexible, and durable.
You can tackle it yourself and feel proud seeing the results. Picture pulling out tools or a mower smoothly every time, without worrying about water pooling or sinking.
By following the steps carefully and starting small, you can create a stable, long-lasting foundation that supports your shed for years.
Share your progress, ask questions, or explore other tips, we’re here to guide you. Taking the time to do it right really pays off.
Frequently Asked Questions
Can I build a gravel shed foundation myself?
Yes, you can. With basic tools and crushed stone, most homeowners can create a stable, level gravel shed foundation for small to medium-sized sheds.
How deep should my gravel base be?
A gravel base should be 4 to 6 inches deep once compacted. This ensures proper drainage, stability, and a strong surface for your shed to sit on securely.
Do I need landscape fabric under gravel?
Yes, landscape fabric prevents weeds from growing through the gravel and stops mixing with soil. It keeps your gravel shed foundation clean and low-maintenance over time.
Can gravel foundations work on a slope?
Yes, gravel is flexible for slight slopes. Adjust thickness and use pressure-treated blocks to level the shed. Proper slope ensures water drains away safely from the shed.
How often should I maintain my gravel foundation?
Check your gravel shed foundation once a year. Re-level, top off gravel, remove weeds, and compact it to maintain a stable, even, and well-draining base.