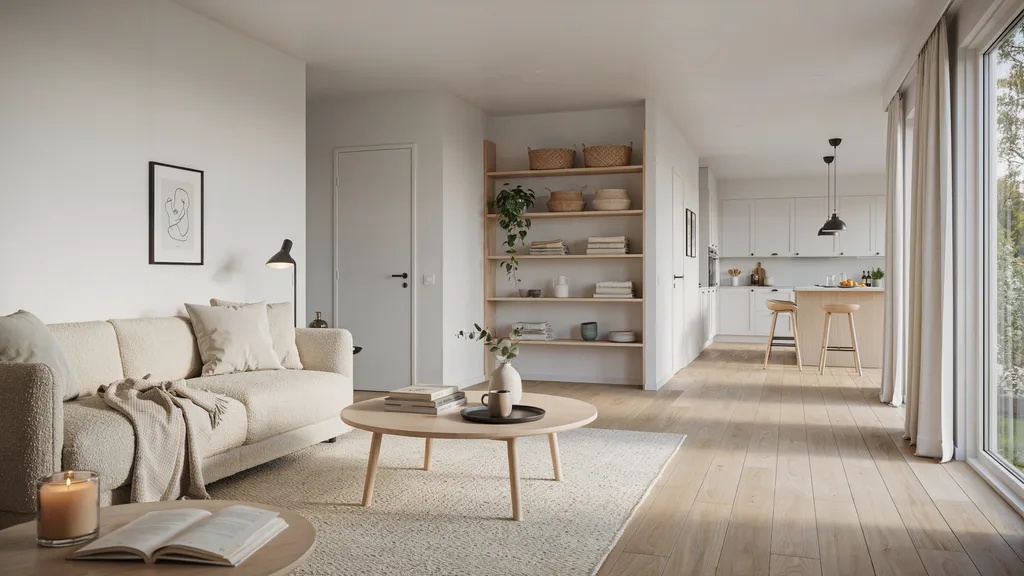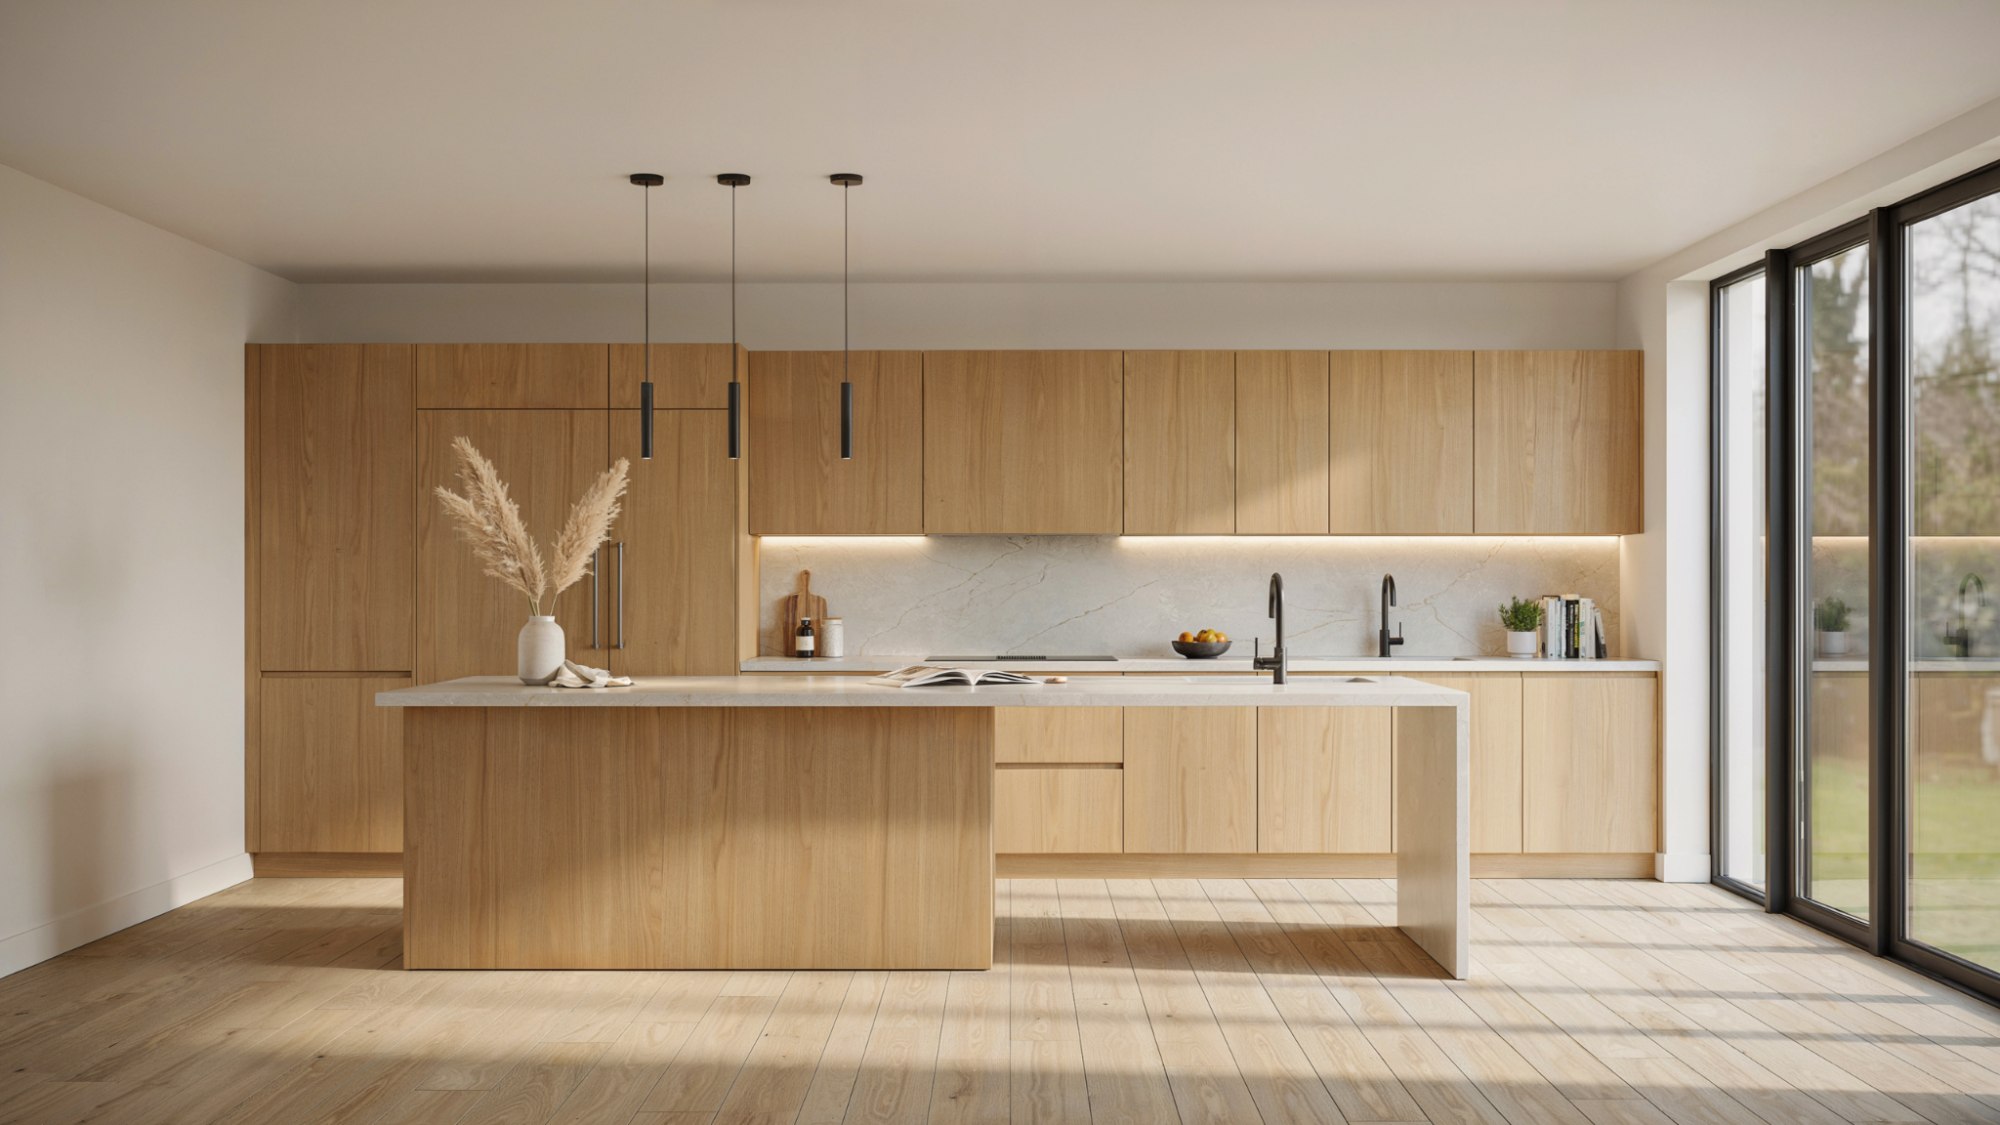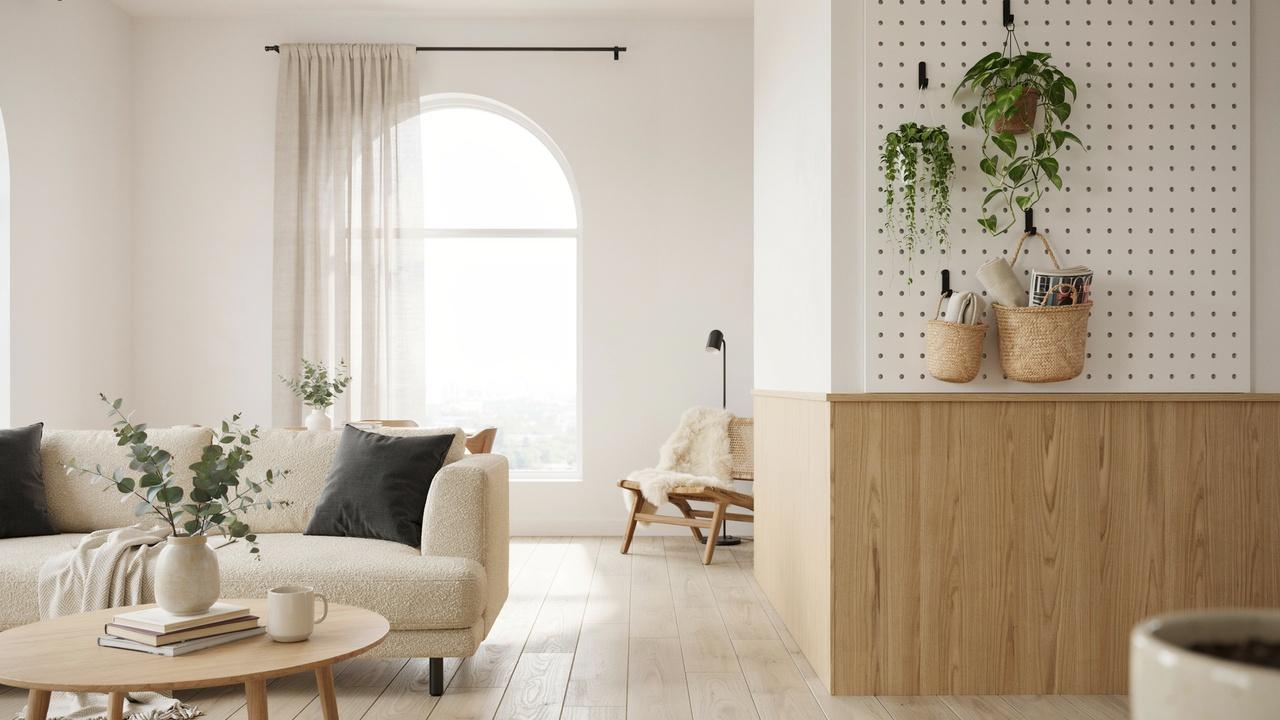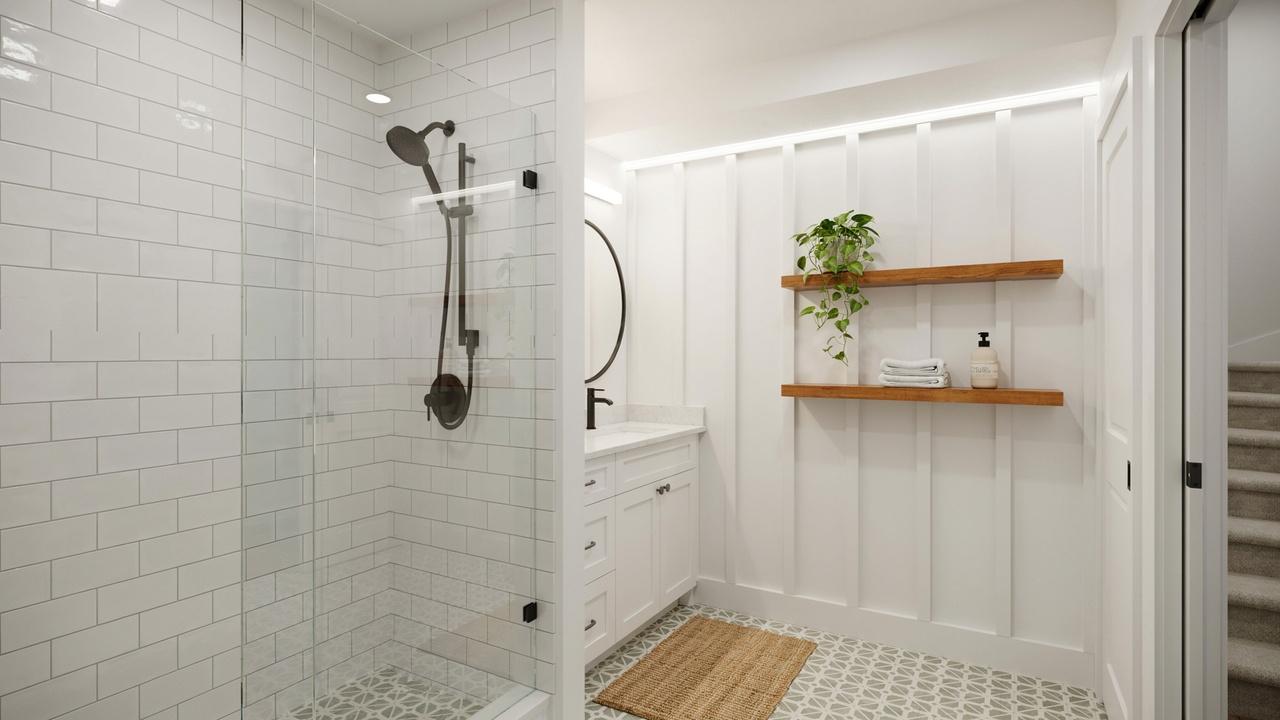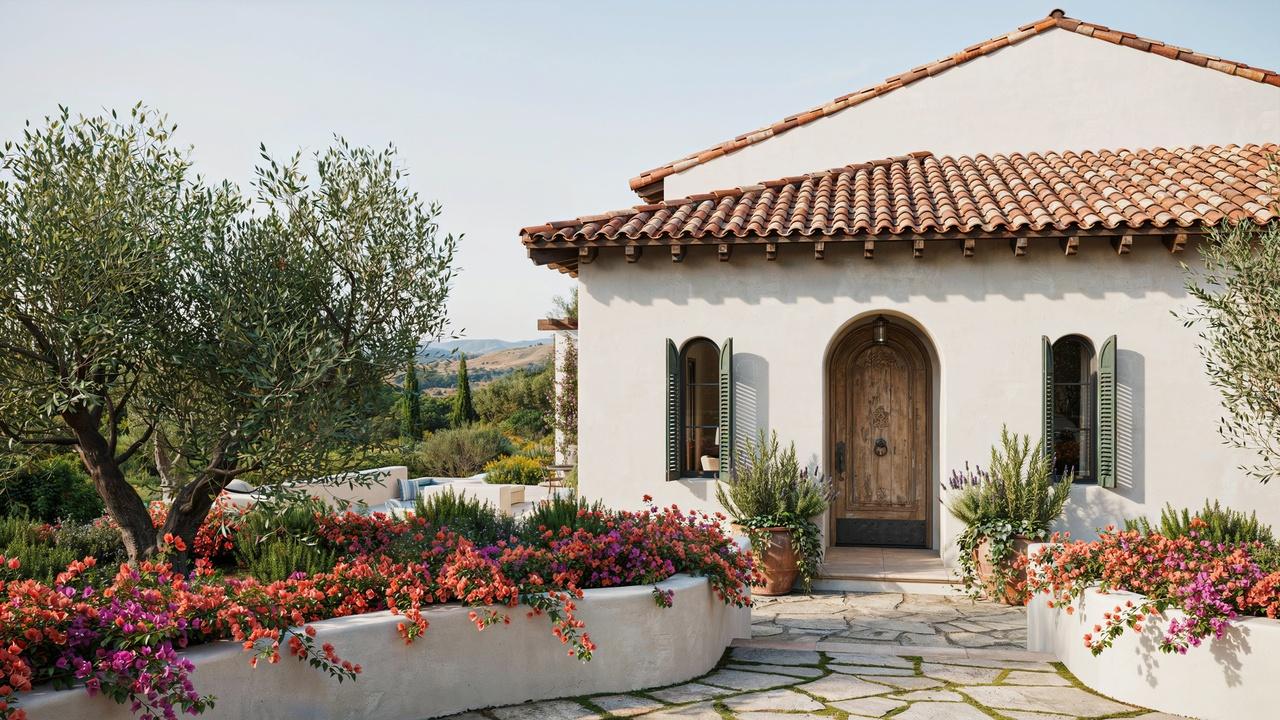

Building a custom home is exciting, but the custom home design process can feel confusing when you don't know what comes next.
If you're wondering where to start, how long each stage takes, or what to expect, you're in the right place.
In this guide, I'll walk you through every step, from planning your budget and designing your home to construction and the final walkthrough.
You'll learn what happens at each stage, common mistakes to avoid, and practical tips to make the journey smoother.
I've spent a lot of time researching home design and breaking down complex topics into simple, practical advice you can actually use.
What Is the Custom Home Design Process?

The custom home design process is the step-by-step journey of creating and building a home that fits your lifestyle, budget, and personal preferences.
It starts with planning your goals, choosing land, and working with a designer or architect to create a perfect floor plan.
From there, you'll select materials, obtain permits, and move through construction until your home is complete.
Unlike a custom home, where every detail is designed from scratch, a semi-custom home lets you modify an existing plan, while a production home offers limited choices from pre-designed layouts.
Building a custom home gives you greater design freedom, better use of space, higher-quality finishes, and a home that truly reflects your family's needs, both now and in the future.
Step-by-Step Custom Home Design Process
Follow these important steps to understand what happens from the first planning meeting to the day you move into your completed custom home.
Step 1: Define Your Goals and Budget

Start by thinking about how you want your home to support your lifestyle today and in the future.
Consider your family size, daily routines, work-from-home needs, and must-have features before making design decisions.
Next, create a realistic budget that includes construction costs, design fees, land, permits, and a contingency fund for unexpected expenses.
Step 2: Find the Right Land
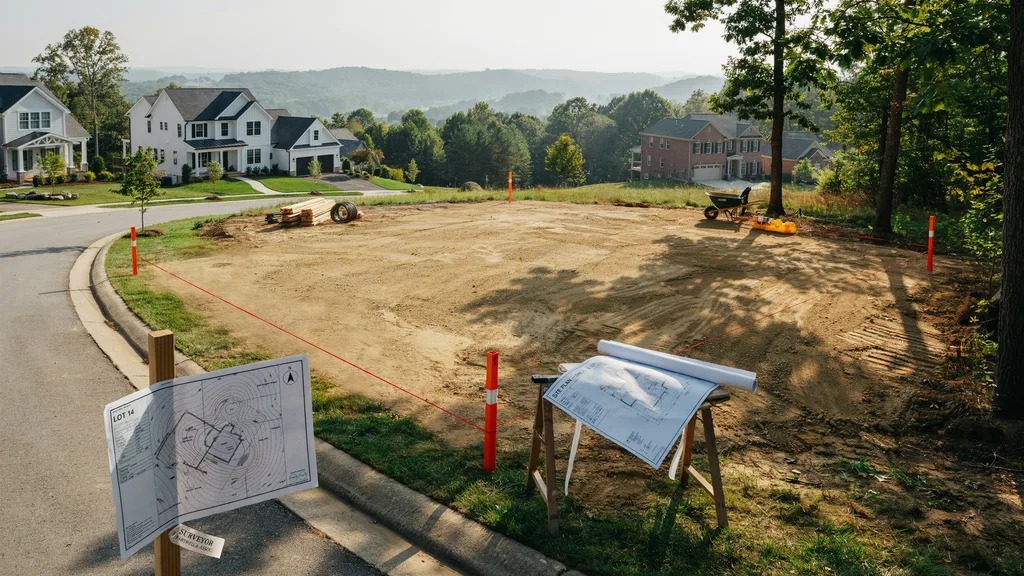
The land you choose plays a major role in your home's design and overall cost.
Look for a location that fits your lifestyle by considering the neighborhood, nearby schools, commute times, and available utilities.
Before buying, evaluate the property through soil testing, topography, zoning regulations, and site access.
Understanding these factors early helps avoid construction delays and unexpected site preparation costs.
Step 3: Hire Your Design and Building Team
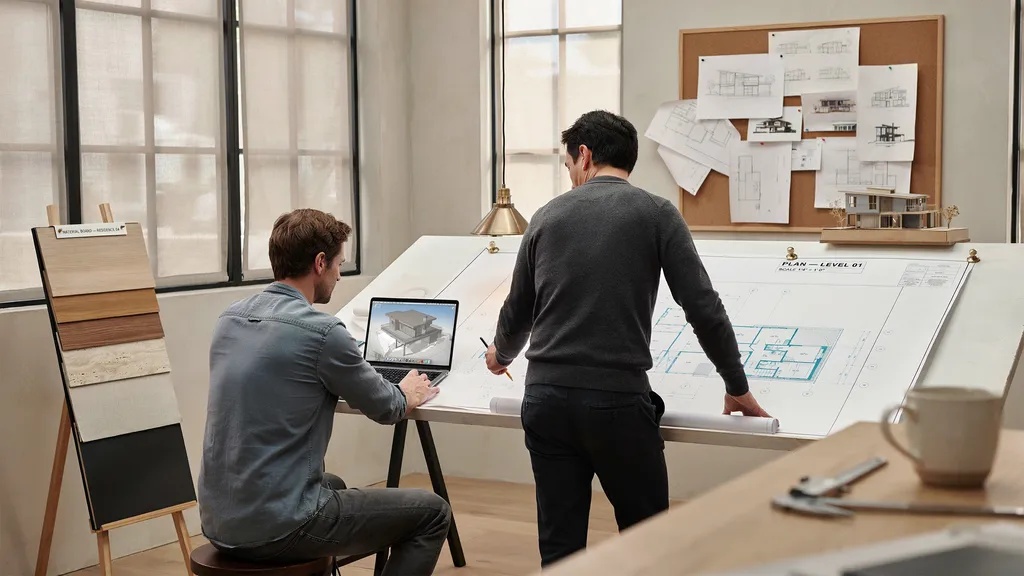
Choosing experienced professionals makes the entire building process smoother and more organized.
Meet with an architect or home designer to discuss your ideas, priorities, and long-term goals so they can turn your vision into practical plans.
Then select a custom home builder with proven experience, a strong portfolio, positive references, and clear communication. A reliable team keeps your project moving efficiently.
Step 4: Create Your Home Design

This is where your ideas begin taking shape on paper. Work closely with your design team to develop a floor plan that balances room layout, traffic flow, and everyday functionality.
Decide on the architectural style, roofing, windows, and exterior materials that match your vision.
Inside, plan kitchens, bathrooms, storage, and lighting carefully so every space feels comfortable, practical, and personalized.
Step 5: Review Plans and Make Revisions

Before construction begins, carefully review every detail of the design plans.
Discuss the layout with your family, confirm that all important features are included, and make adjustments if needed.
This is also the right time to compare design choices with your budget and revise anything that affects costs. Final approval ensures everyone agrees before moving into the construction.
Step 6: Obtain Permits and Approvals
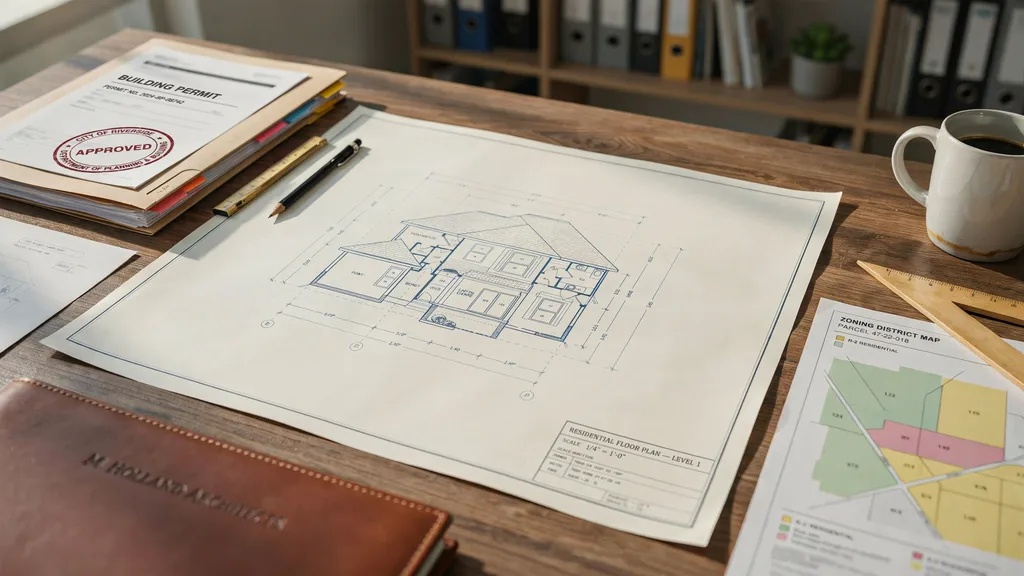
Your project must receive the required approvals before any construction starts.
Depending on your location, this may include building permits, environmental reviews, zoning compliance, and homeowners association approval if applicable.
Working with experienced professionals helps ensure documents are submitted correctly and on time.
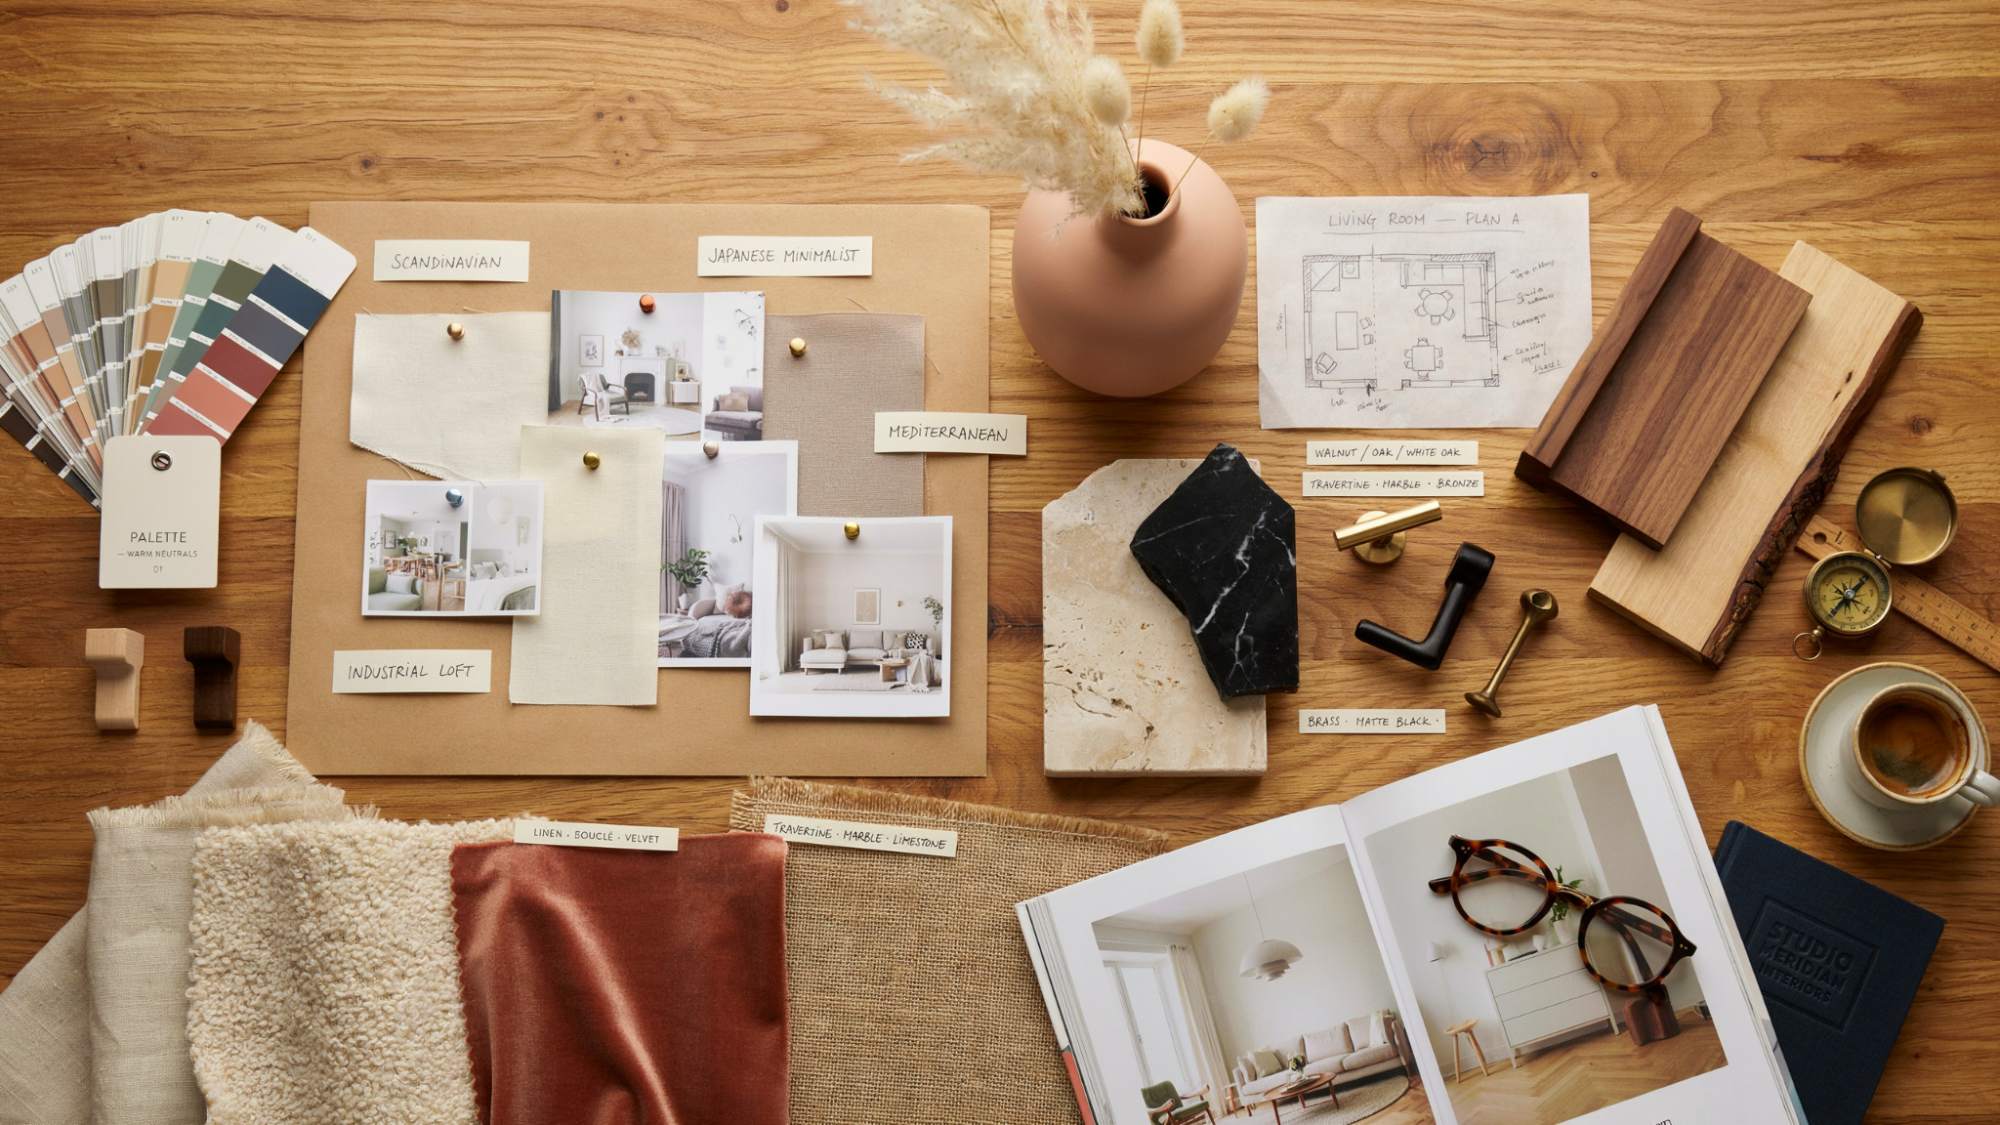
Step 7: Select Materials and Finishes
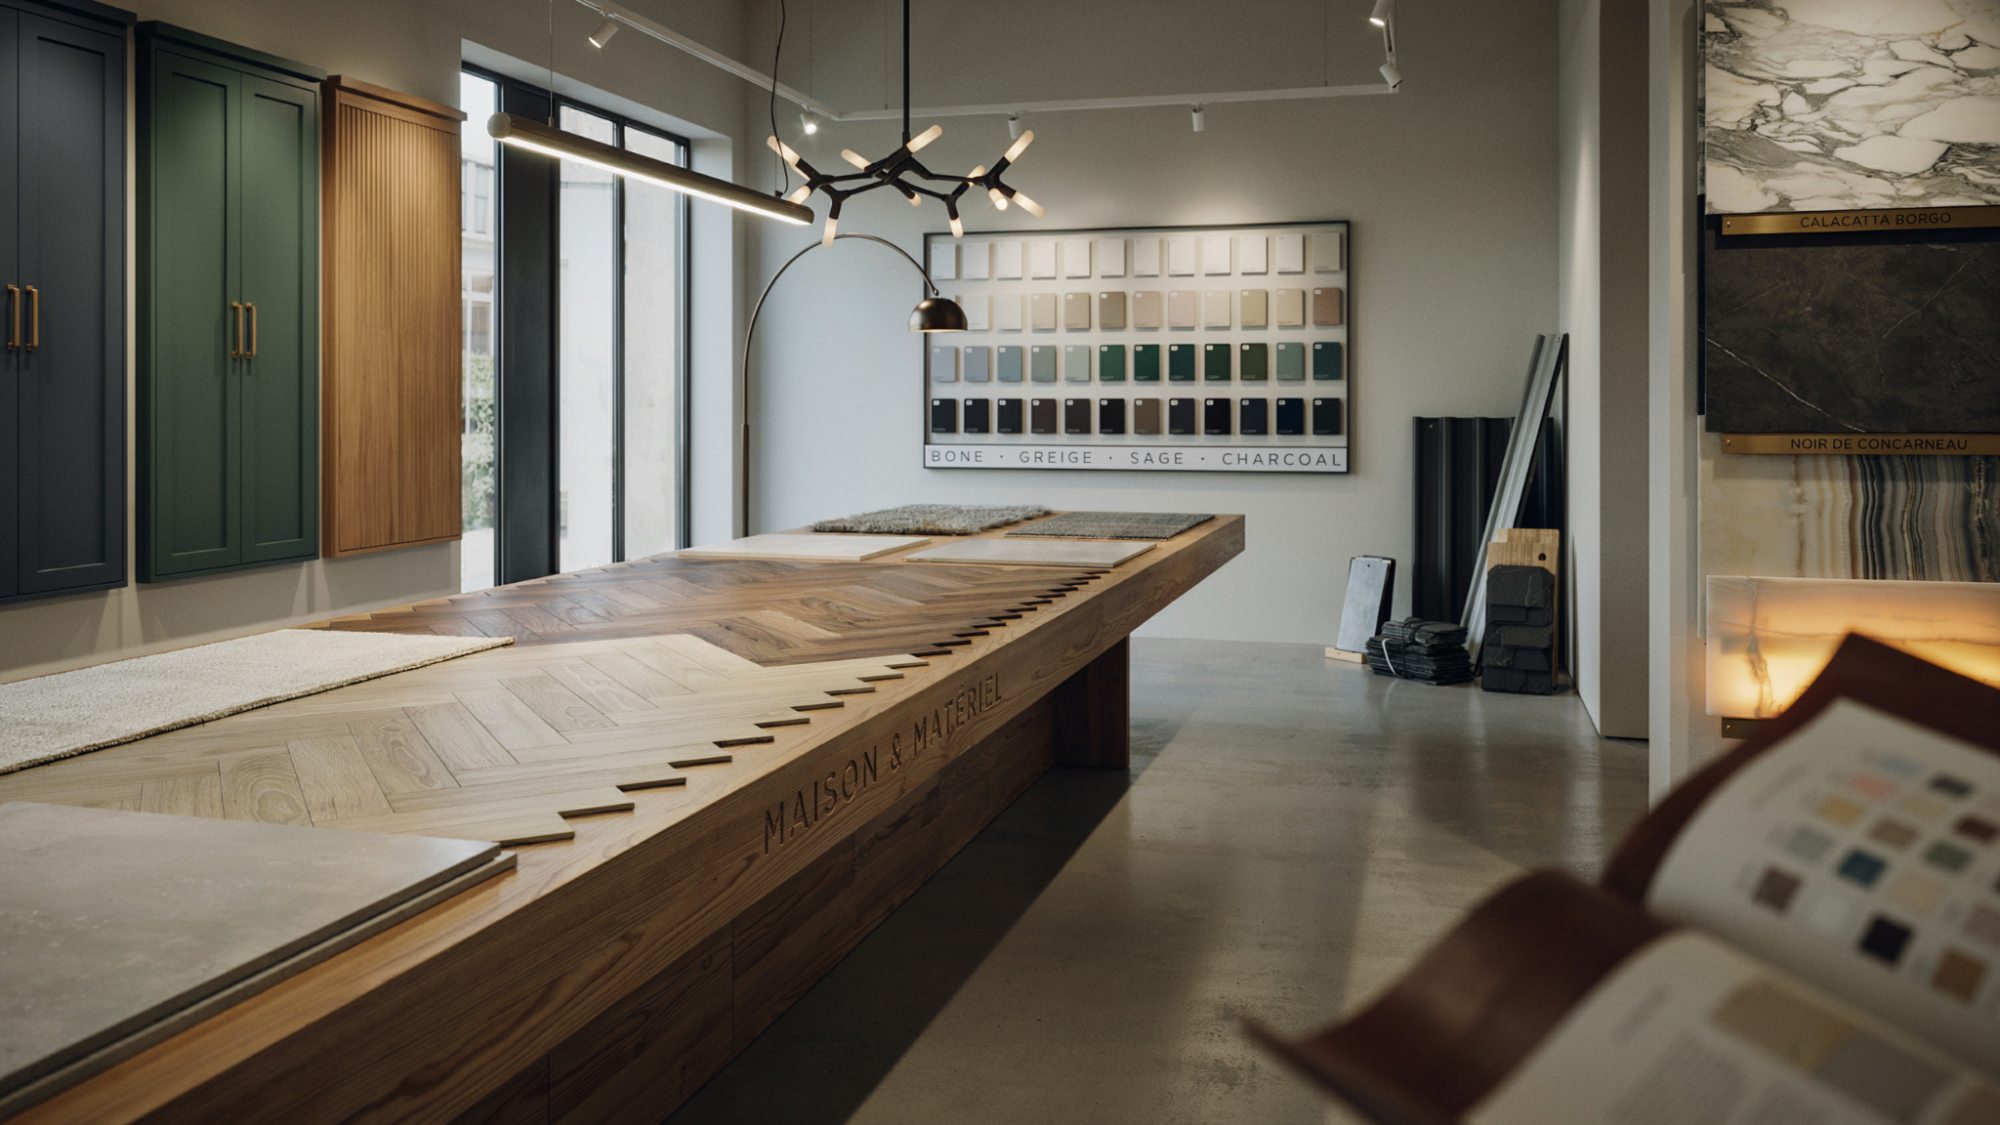
Now it's time to choose the materials that define your home's appearance and durability.
Select exterior finishes such as siding, roofing, doors, and windows based on style, climate, and maintenance needs.
Inside the home, choose flooring, cabinets, countertops, paint colors, and fixtures that match your design goals and budget.
Step 8: Begin Construction
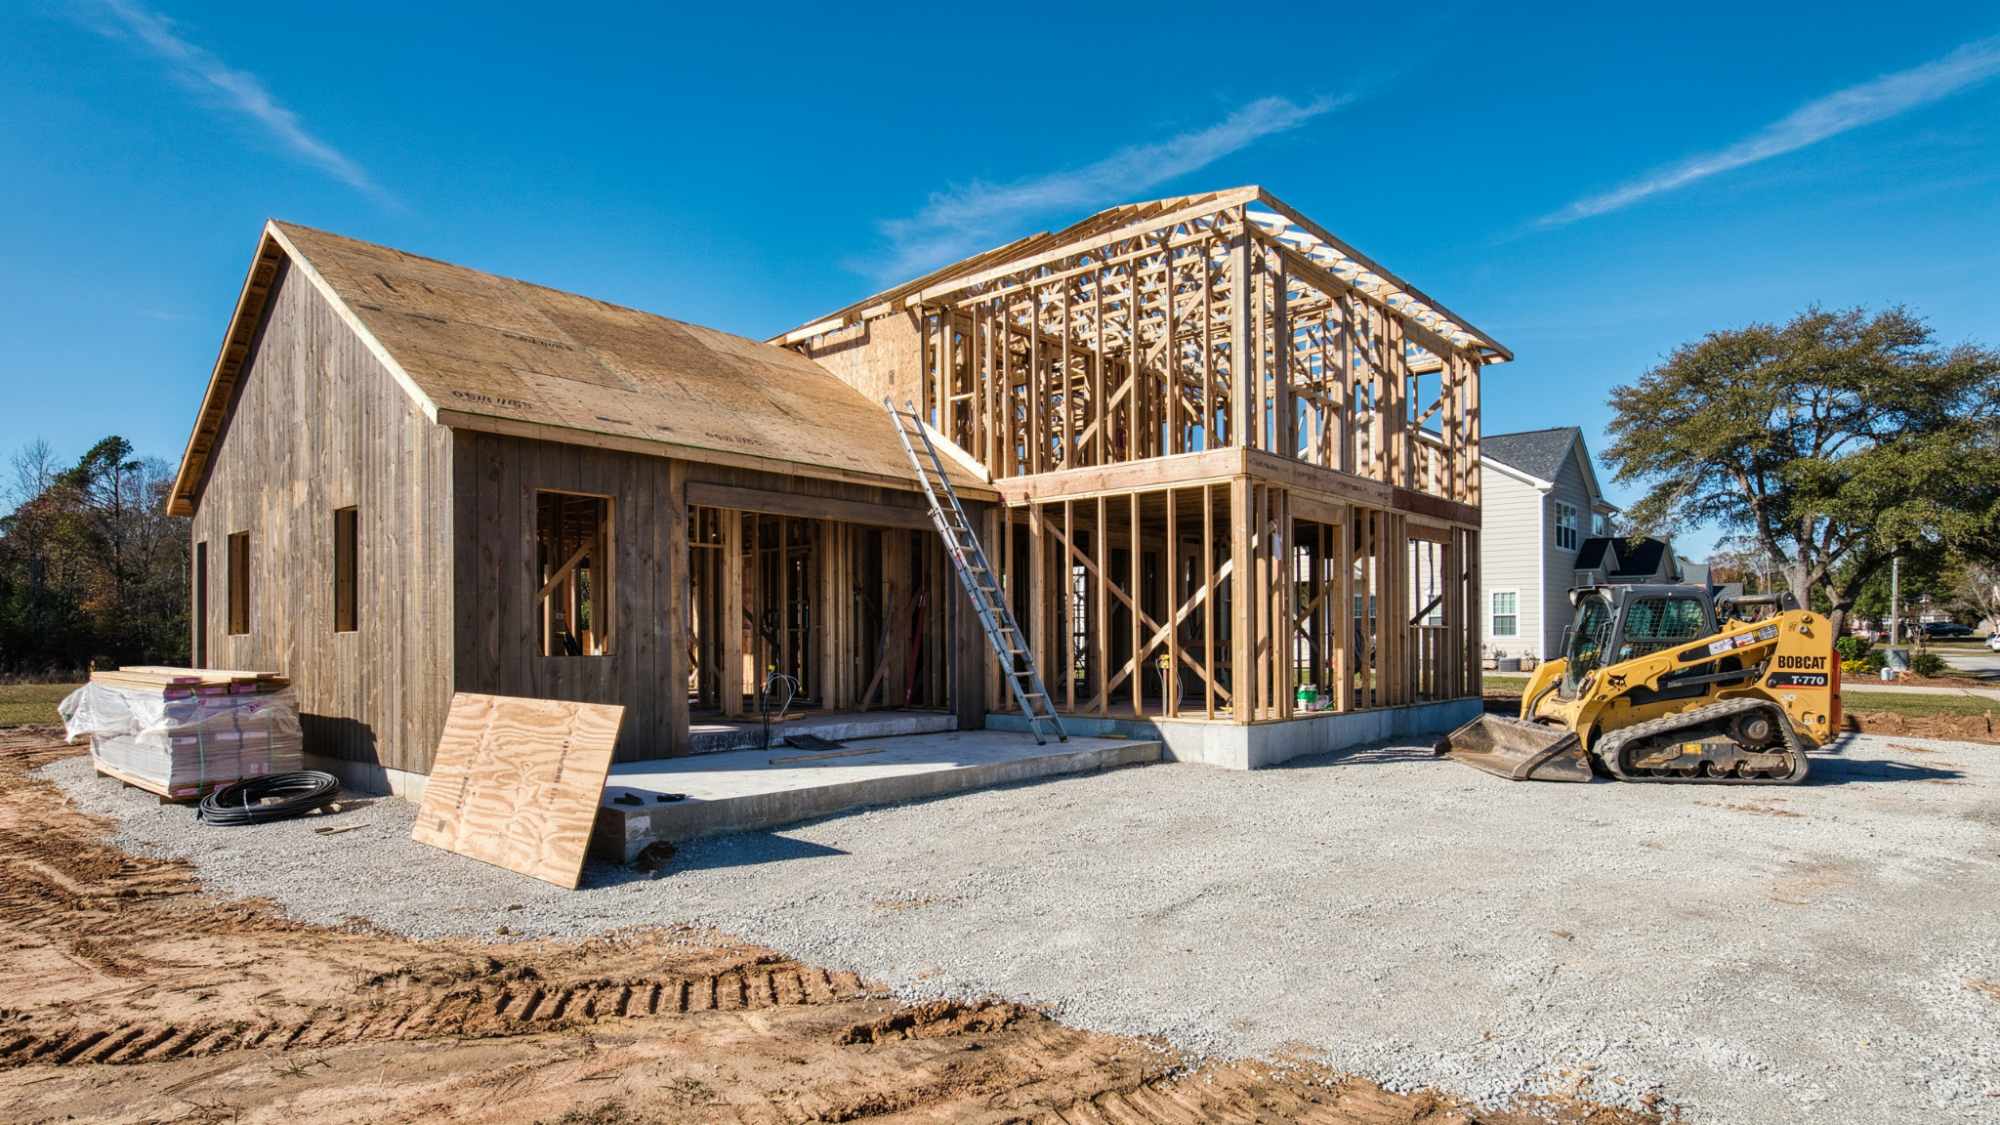
Construction starts with preparing the site through clearing, excavation, and foundation work.
Once the foundation is complete, the framing, roofing, and exterior walls are built to create the home's structure.
Interior systems such as plumbing, electrical wiring, HVAC, insulation, and drywall are then installed.
Step 9: Final Inspections and Walkthrough

As construction comes to an end, local authorities complete inspections to confirm the home meets building codes and safety requirements.
Walk through the property with your builder to create a punch list of small repairs or unfinished items.
Once those issues are resolved and final approval is received, your home is ready for occupancy with confidence and peace of mind.
Step 10: Move Into Your New Custom Home
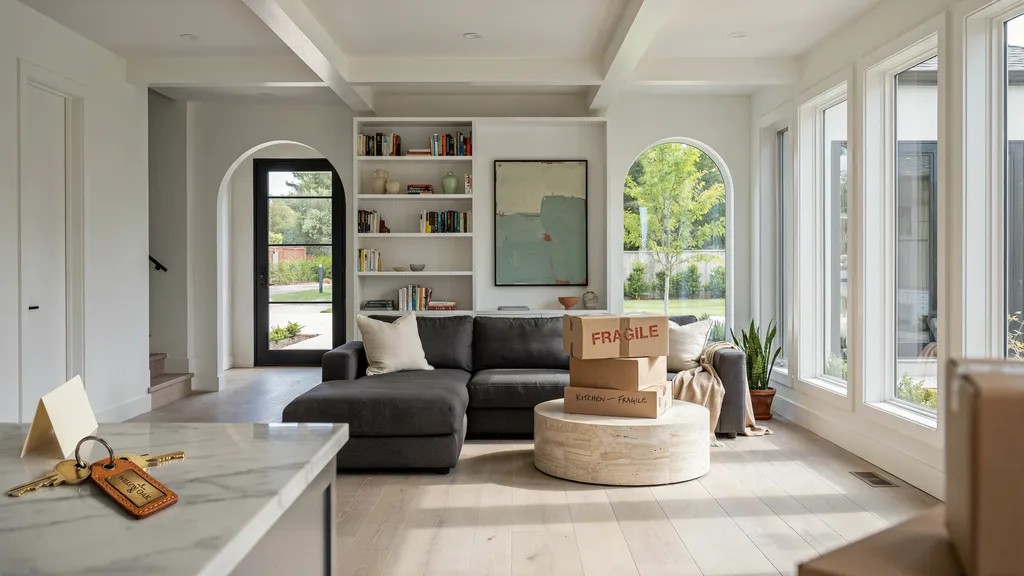
The final stage includes completing the closing process, receiving warranty information, and learning basic maintenance tasks that protect your investment.
Take time to understand how important systems in your home operate and keep all documents organized for future reference.
After months of planning and construction, you can finally settle in and enjoy a home designed specifically for your needs.
Typical Custom Home Design Process Timeline
While every project is different, this general timeline gives you a realistic idea of how long each stage of the custom home design process typically takes.
| Stage | Estimated Time |
| Planning & Budget | 2–4 weeks |
| Land Selection | 2–8 weeks |
| Design Development | 1–3 months |
| Revisions & Approvals | 2–6 weeks |
| Permits | 1–3 months |
| Construction | 8–18 months |
| Final Inspection | 1–2 weeks |
Common Mistakes to Avoid During the Custom Home Design Process
Avoiding these common mistakes can save you time, money, and unnecessary stress throughout your home-building journey.
- Skipping budget planning can lead to financial surprises and project delays.
- Choosing the wrong builder may result in poor workmanship and communication issues.
- Making frequent design changes often increases costs and extends the timeline.
- Ignoring future needs can leave your home less practical as your lifestyle changes.
- Underestimating permit timelines may delay the start of construction.
- Forgetting a contingency budget makes it harder to handle unexpected expenses.
Tips for a Smooth Custom Home Design Process
A little planning and consistent communication can make the entire process more enjoyable and efficient.
- Communicate regularly with your builder to stay informed and resolve issues early.
- Prioritize your needs over wants to keep your budget under control.
- Keep detailed records of contracts, plans, and important decisions.
- Plan for unexpected costs by setting aside extra funds.
- Make material and finish selections early to prevent delays.
- Stay flexible with timelines since weather and approvals can affect schedules.
Conclusion
I know the custom home design process can seem like a lot at first, but taking it one step at a time makes everything feel much more manageable.
I've found that having a clear plan always makes big projects less stressful, and building a home is no different.
Picture yourself walking through a space designed around your everyday life, it makes the effort worthwhile.
If this guide helped you, leave a comment with your questions, share it with someone planning a home, or try more of our home design guides.
Frequently Asked Questions
How long does the custom home design process usually take?
The complete process often takes 12 to 24 months, depending on the design, permits, and construction schedule. Larger or more detailed homes may take longer.
How much should I budget for a custom home?
Your budget should include land, design fees, construction costs, permits, and a contingency fund. Planning for unexpected expenses helps keep your project on track.
Can I make changes after construction begins?
Yes, but design changes during construction can increase costs and delay the timeline. Finalizing decisions early is usually the best approach.
Do I need an architect for a custom home?
Many custom homes are designed with the help of an architect or home designer. They can create a layout that fits your needs and local building requirements.
What is the most important part of the custom home design process?
Planning is one of the most important stages because it guides every decision that follows. Clear goals, a realistic budget, and the right team set the foundation for a smoother project.