
I’ve spent time studying how control rooms work, and one thing is clear: poor design costs lives and efficiency. A well-built control room isn’t just about screens and chairs.
It’s about how people think, react, and make decisions under pressure.
In this article, I’ll walk you through everything you need to know about control room design, from the key elements that matter most to best practices that actually work.
You’ll learn what makes a modern control room effective, what it needs to function well, and tips you can apply right now. Let’s get into it.
Understanding Modern Control Room Design Requirements
Control rooms today are not what they were ten years ago. The demands are higher. Operators work long shifts, manage complex systems, and make split-second decisions. The design has to support all of that, not fight against it.
Human-centered design is at the core of every good control room. This means putting the operator first. If the workspace causes strain or confusion, performance drops. Simple as that.
Real-time monitoring is also a major factor. Operators need fast access to data. Any delay in reading a screen or switching between systems can slow down response time.
Technology and workspace layout must work together. A room full of great tools is useless if the layout makes them hard to use.
Key Elements of Effective Control Room Design
These are the building blocks that separate a functional control room from a great one.
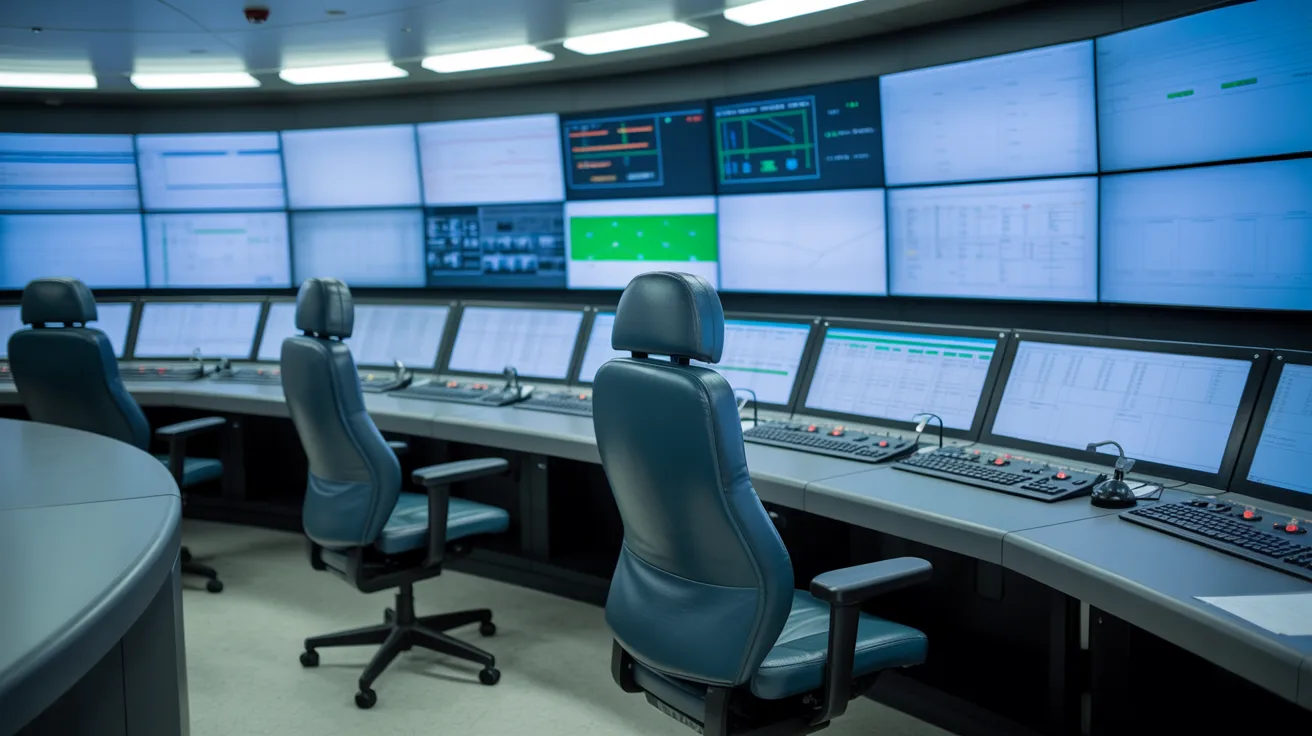
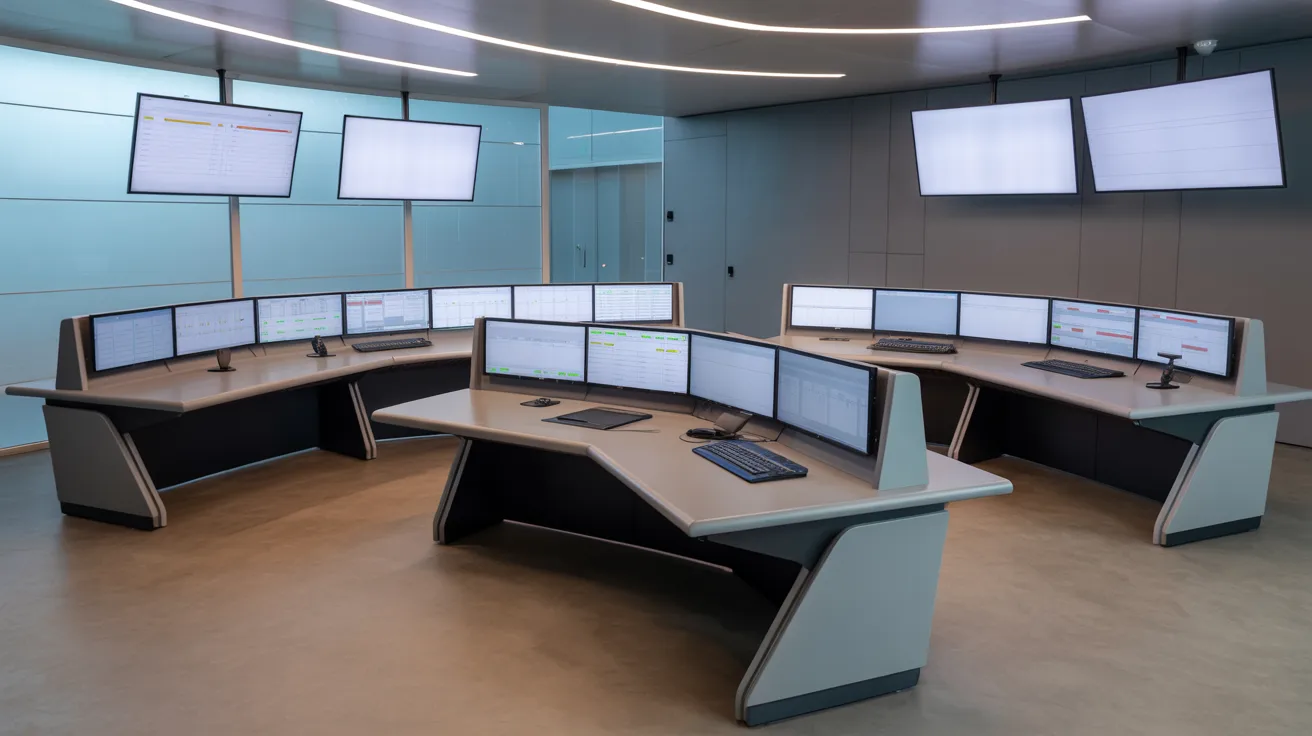
Ergonomic Workstation Design
Operators spend hours, sometimes full shifts, at their consoles. If the workstation is not built for long use, fatigue sets in fast.
Good ergonomic design includes adjustable seating, desk heights that fit different body types, and console layouts that reduce reaching and twisting. When operators are physically comfortable, they stay focused longer.
Reduced physical strain also means fewer errors. A tired body leads to a tired mind. Ergonomics is not a luxury here. It is a basic requirement.
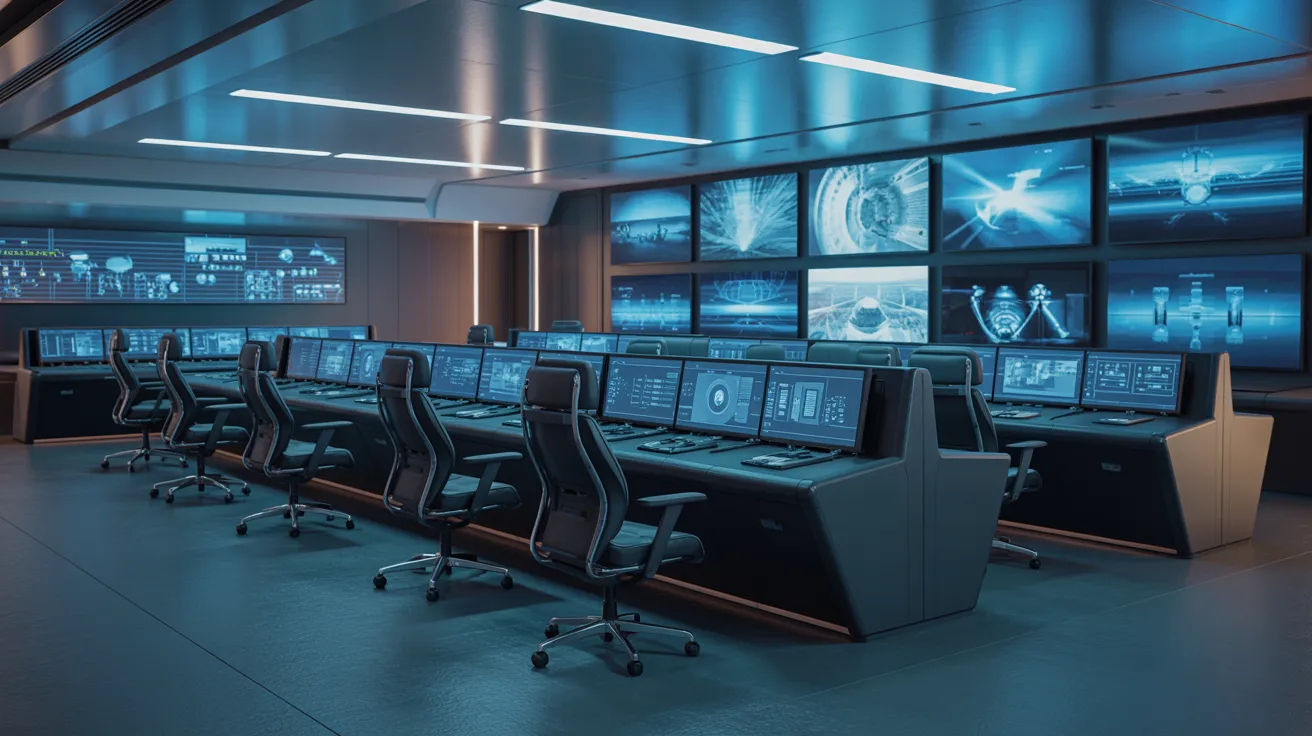
Display and Monitoring Systems
In a control room, seeing the right information at the right time is everything.
Multi-screen setups allow operators to monitor several systems at once without switching windows.
Screen positioning matters too. Monitors placed at the wrong angle cause neck strain and missed alerts.
Critical data should always be visible. Color-coded displays, clear fonts, and logical screen groupings help operators process information faster. Less searching means faster decisions.
Environmental Control Lighting, Noise, and Climate
The environment inside a control room affects how well people think and react.
Lighting should be anti-glare and adjustable. Harsh overhead lights create reflections on screens and cause eye fatigue. Warm, diffused lighting works much better for long shifts.
Noise is another issue. Loud environments break concentration. Acoustic panels and proper insulation keep background noise low without making the room feel dead.
Temperature and airflow also matter. A room that is too hot or too cold pulls attention away from the job. Proper HVAC systems keep the climate steady throughout the day and night.
Technology and Infrastructure Integration
A control room is only as good as the systems running inside it.
Seamless hardware and software integration means operators do not have to switch between disconnected tools. Everything should talk to everything else.
Structured cabling keeps the room clean and safe. Loose wires are a hazard and make maintenance harder. Good cable management is often overlooked but always noticed when it is done right.
Scalable systems allow the control room to grow with the operation. Technology changes fast. The design should be flexible enough to handle upgrades without a full rebuild.
Layout Planning and Space Optimization
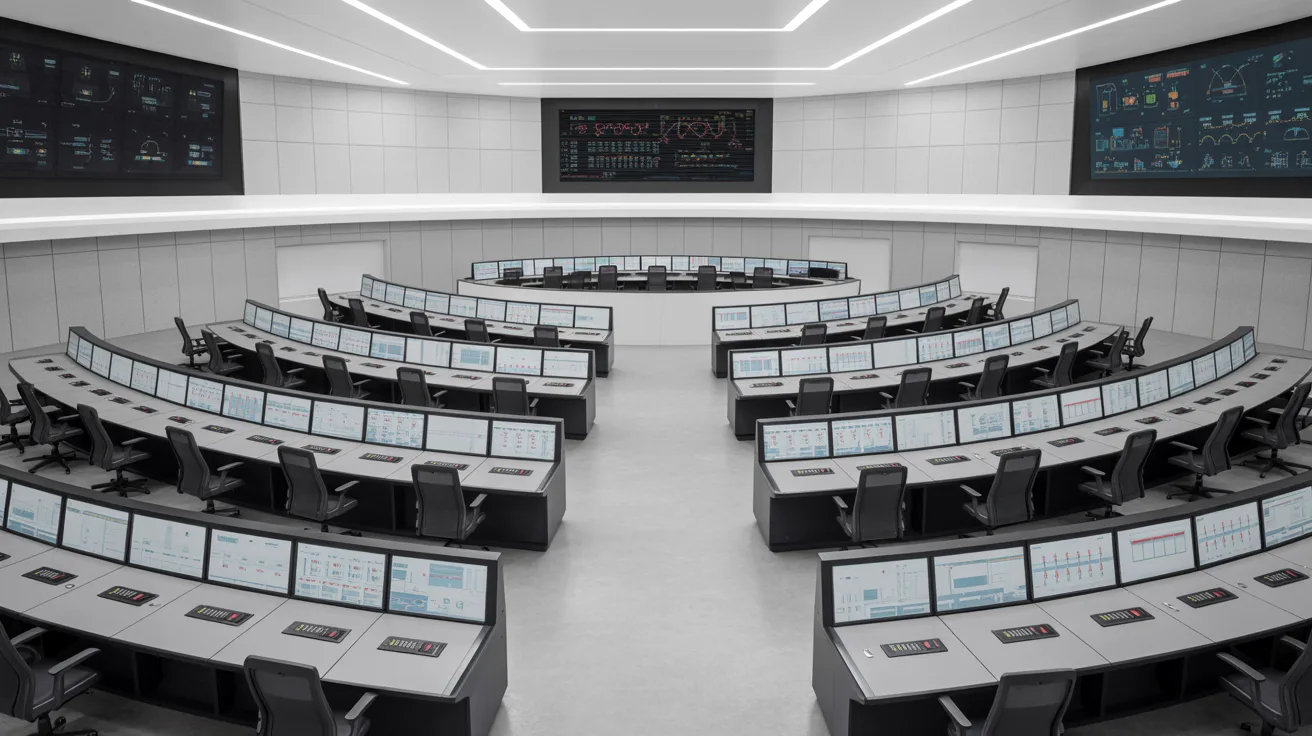
The way you plan your space shapes the way your team performs every single day.
Smart Zoning and Space Utilization
Good layout planning starts with how operators move through the room. Space should be used efficiently so there’s no crowding or wasted area.
Different zones should be set up based on operational functions, keeping related tasks and systems close together.
Clear Pathways and Equipment Placement
Clear pathways matter. When walkways are open and logical, disruptions and delays drop significantly. Equipment placement should be strategic so operators can reach what they need fast.
When all of this comes together, workflow improves and coordination between teams becomes much easier.
Benefits of Following Best Practices

Good practices don’t just improve the room. They improve everything that happens inside it.
Faster Decisions and Improved Safety
Clear information and a comfortable environment help operators decide faster. Less confusion means faster action.
Good lighting, logical layouts, and clear displays also cut down on human error, making operations safer overall.
Higher Productivity and Reduced Fatigue
Higher productivity follows naturally. When people are not fighting the space around them, they can focus on the work. Efficiency goes up.
Reduced fatigue means operators stay sharp longer. This is especially important in 24/7 environments where shift changes happen around the clock.
Better Team Coordination
Better team coordination comes from a space designed for communication. When everyone can see what they need and talk without shouting, teamwork improves.
Control Room Design Best Practices
Smart decisions made early in the design process save time, money, and stress later on.
- Design every workstation for long-term comfort. Adjustable furniture, good posture support, and thoughtful console layouts go a long way.
- Keep displays clean and organized. Too much on one screen creates confusion and slows operators down.
- Make sure every operator can see all critical systems from their station. No blind spots, no blocked views.
- Build for today but plan for tomorrow. Modular furniture and flexible infrastructure make future changes easier.
- Design consoles around the technology, not the other way around. When both work together, the space becomes cleaner and more functional.
- Involve operators during the planning stage. The people using the room every day know what works and what doesn’t.
- Every design decision should come back to safety, speed, and workflow efficiency. If a choice doesn’t improve at least one of them, question it.
Conclusion
If you are planning or updating a control room, I hope this gives you a clear starting point.
From my experience studying these spaces, the biggest difference often comes from the small details: a better chair, a cleaner display layout, or just better lighting.
Those changes add up. Start with one area, see the difference, and build from there.
If this helped you, share it with your team or drop a comment below. I would love to hear what changes you are planning for your control room design.
Frequently Asked Questions
What is the most important factor in control room design?
Operator comfort and ergonomics rank at the top. When operators are physically at ease, they perform better, make fewer mistakes, and stay alert for longer periods during demanding shifts.
How does lighting affect control room performance?
Poor lighting causes eye strain, screen glare, and reduced focus. Anti-glare, adjustable lighting helps operators stay sharp and read displays clearly throughout their entire shift without added fatigue.
Why should operators be involved in the design process?
Operators use the space daily and understand its real challenges. Their feedback helps designers avoid common mistakes and create a layout that actually supports how work gets done.
How often should a control room design be updated?
Technology and operational needs change over time. A design review every three to five years is a good baseline, with smaller updates made as new systems or tools are added.
What does scalable control room design mean?
Scalable design means the room can grow or change without a full rebuild. Modular furniture, flexible cabling, and upgradeable systems allow the space to adapt as the operation expands or shifts.