
The first pole barn I saw up close looked simple. Just posts, some horizontal boards, and metal siding.
Then I watched one collapse after a bad storm. The posts were fine. The roof was fine. The wall framing had never been done properly.
That’s when I realised how much rides on getting pole barn wall framing right. It’s not just about putting walls up. It’s about keeping them standing for decades.
This guide covers everything, step by step. The components, the process, and the mistakes that cost people thousands. Let’s make sure you don’t learn this the hard way.
What is Pole Barn Wall Framing?
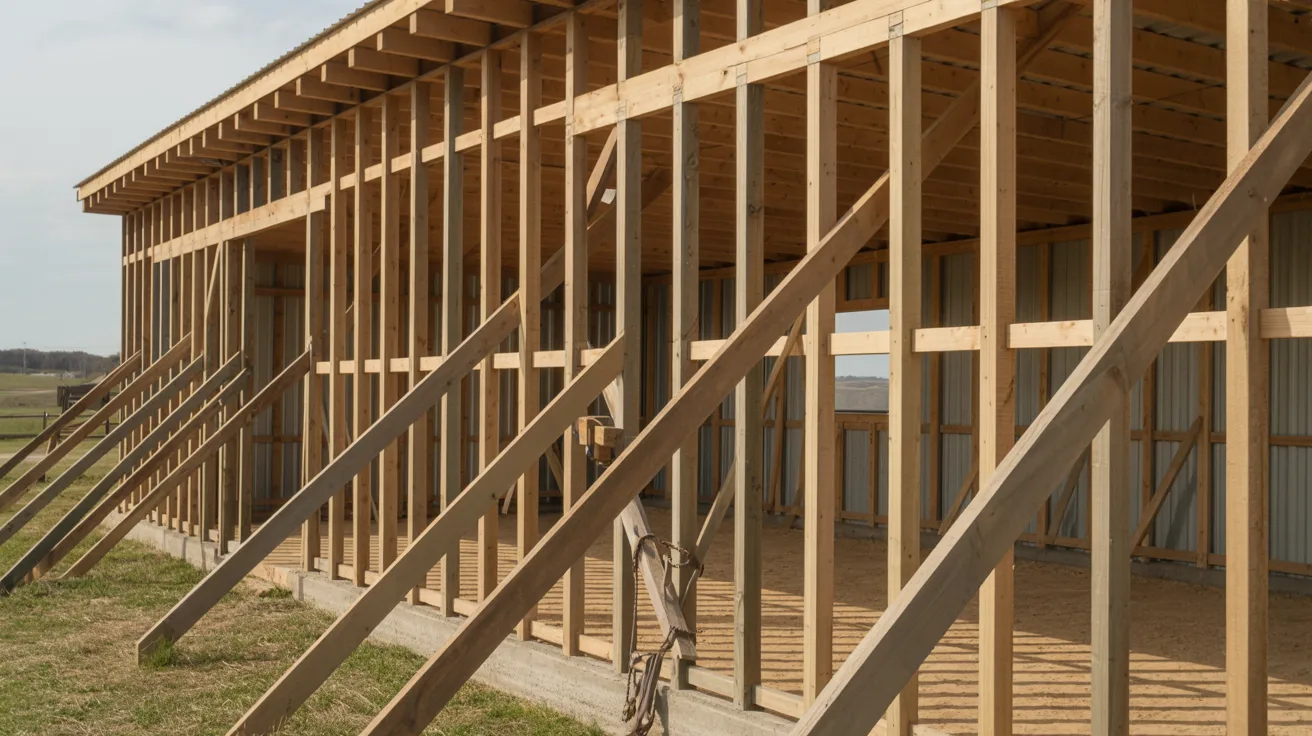
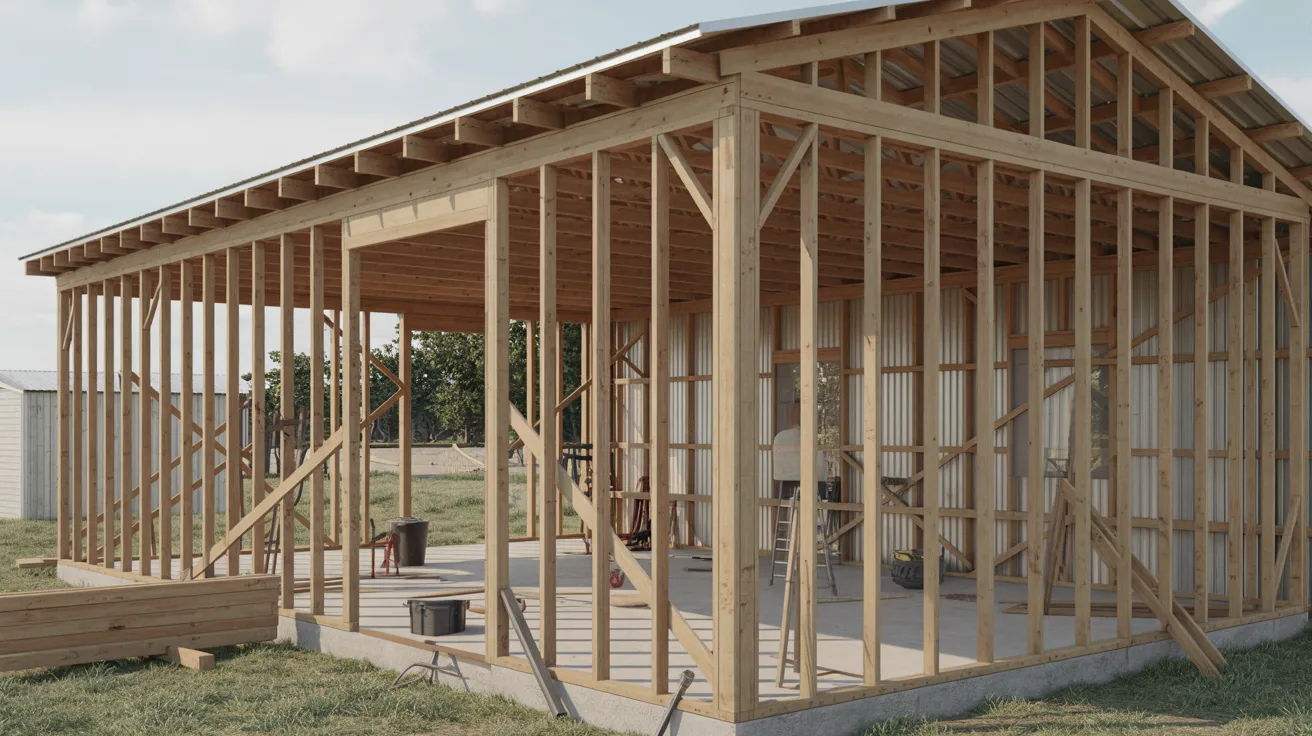
Pole barn wall framing is the system of posts, horizontal supports, and bracing that forms the skeleton of a pole barn’s walls. It’s what everything else, including the siding, insulation, and finishing, gets attached to.
The wall frame carries the load from the roof down to the ground. Without a solid frame, the whole structure becomes unstable over time, especially under wind, snow, or shifting soil conditions.
Compared to traditional stud framing, pole barn framing uses far fewer vertical members. Instead of closely spaced studs, it relies on widely spaced posts set deep into the ground, which makes it faster and cheaper to build without sacrificing strength.
Key Components of a Pole Barn Wall Frame
Every part of a pole barn wall frame has a specific job. Understanding what each one does helps you make better decisions during the build and catch problems early.
Here are the core components:
- Posts/Poles: The main vertical supports. They’re set into the ground or anchored to a concrete foundation and carry the structural load of the entire wall and roof.
- Girts: Horizontal boards or metal pieces that run between the posts. They provide the surface that siding gets attached to and add lateral stability to the frame.
- Braces: Diagonal or knee braces installed between posts and girts. They stop the frame from racking or shifting sideways under wind pressure.
- Sheathing/Cladding: The outer skin of the wall. This can be metal panels, wood boards, or composite siding attached directly to the girts.
- Anchoring methods: How the posts connect to the ground or foundation. Options include setting posts in concrete, using surface-mount brackets, or driving posts directly into the earth.
Together, these components form a frame that’s both strong and practical to build. Skipping or cutting corners on any one of them affects the performance of the whole wall.
Benefits of Proper Wall Framing
A well-framed pole barn wall does more than just hold the siding up. It determines how the building performs for years to come.
Here’s what you gain from getting the framing right:
- Structural strength and durability. Properly spaced posts and well-attached girts distribute loads evenly, preventing sagging, leaning, or failure under heavy wind or snow.
- Easier siding installation. When girts are straight and consistently spaced, attaching siding is straightforward. Poor framing makes every panel a struggle to fit.
- Resistance to weather and pests. Treated lumber and correct anchoring prevent rot, insect damage, and moisture from working their way into the frame over time.
- Cost efficiency over time. A strong frame needs fewer repairs and lasts longer. The savings over 20 or 30 years far outweigh the extra care taken during construction.
Cutting corners during framing always shows up later. Doing it right the first time is the cheapest long-term option.
Step-by-Step Process for Pole Barn Wall Framing
This is the part that matters most. Follow each step in order and you’ll end up with a frame that’s solid, square, and built to last. Don’t skip ahead.
Step 1: Planning and Measuring
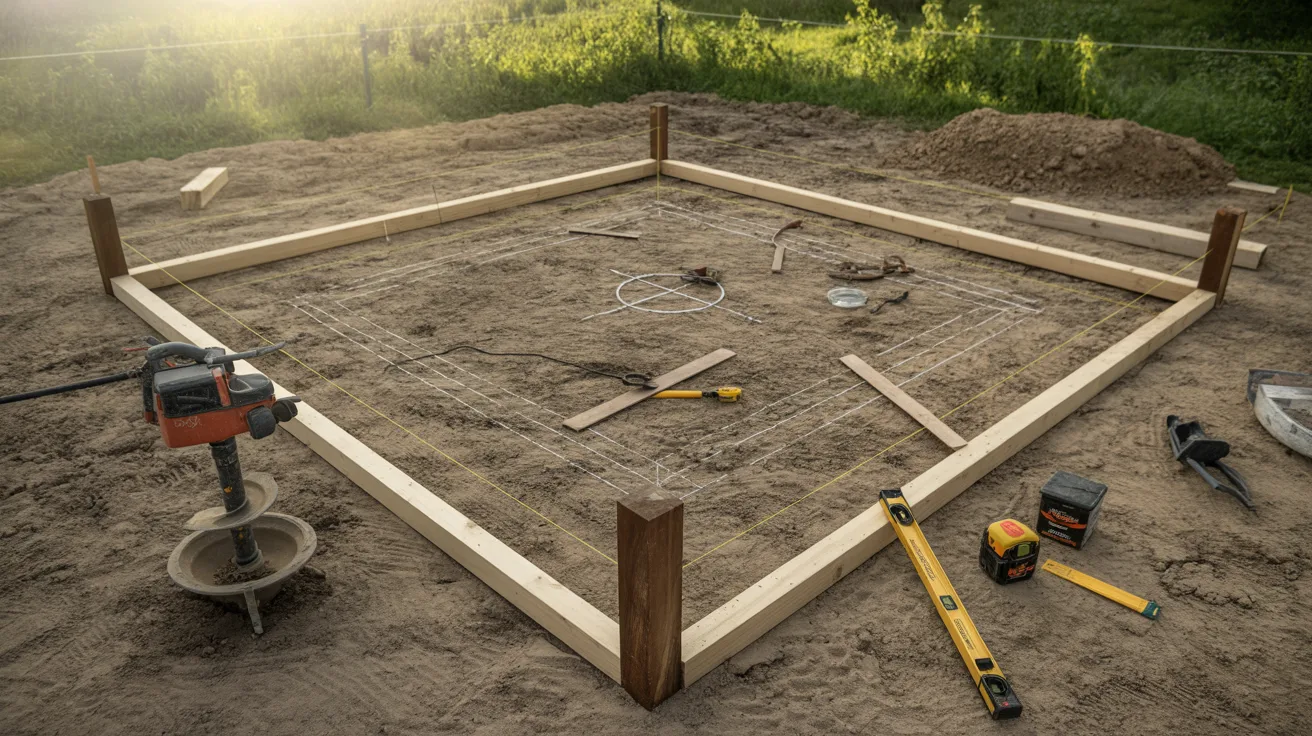
Start with the site. Clear the ground, mark the footprint of the barn, and check that everything is square before a single post goes in.
Decide on your wall height and post spacing at this stage. A common post spacing for pole barns is 8 to 12 feet, though this depends on your siding type and local wind load requirements.
Gather your tools before you start: tape measure, level, string lines, post hole digger or auger, and marking paint. Having everything ready before you start digging saves a lot of back-and-forth.
Step 2: Installing the Posts
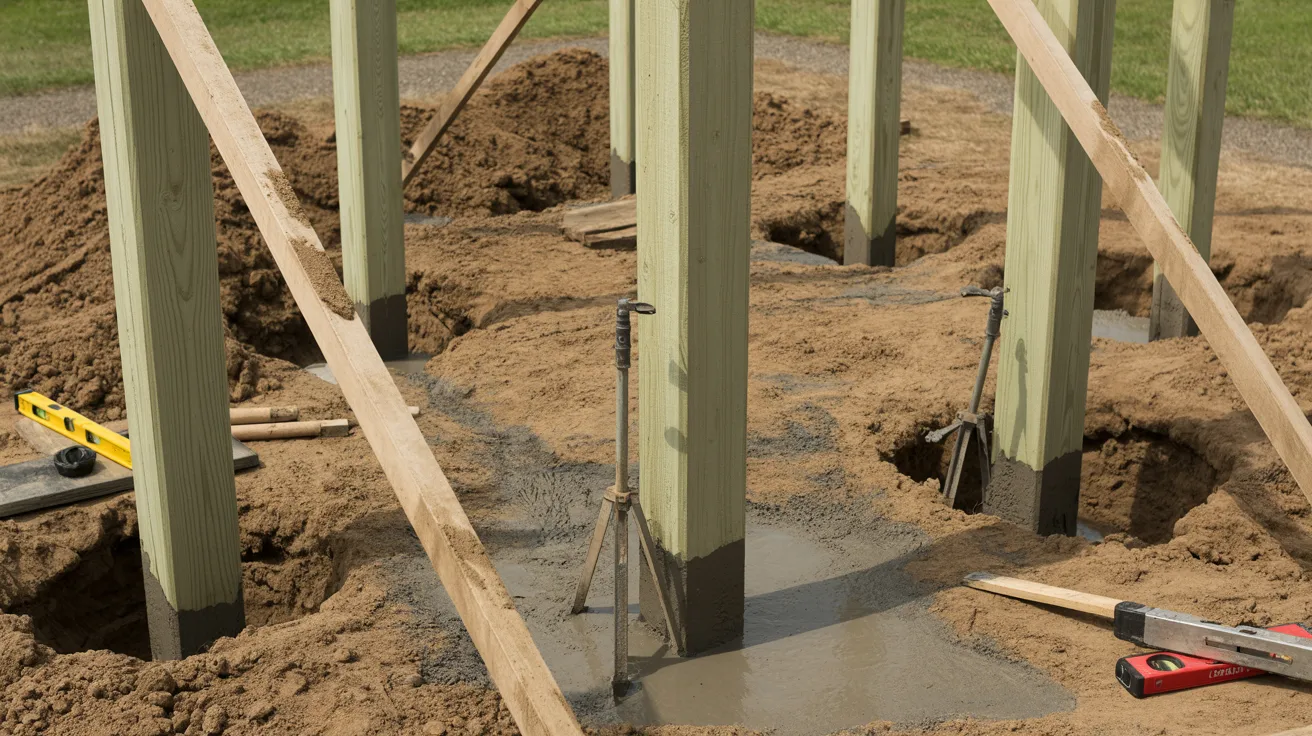
Dig your post holes to the required depth. Most building codes require a minimum of 3.5 to 4 feet below ground level, deeper in areas with heavy frost.
Set each post in concrete for maximum stability. Pour the concrete around the post, check it is plumb in both directions with a level, and brace it temporarily while the concrete cures.
Don’t rush this step. A post that sets even slightly out of plumb creates alignment problems for every girt and panel that follows. Take your time here and check twice.
Step 3: Adding Girts and Horizontal Supports
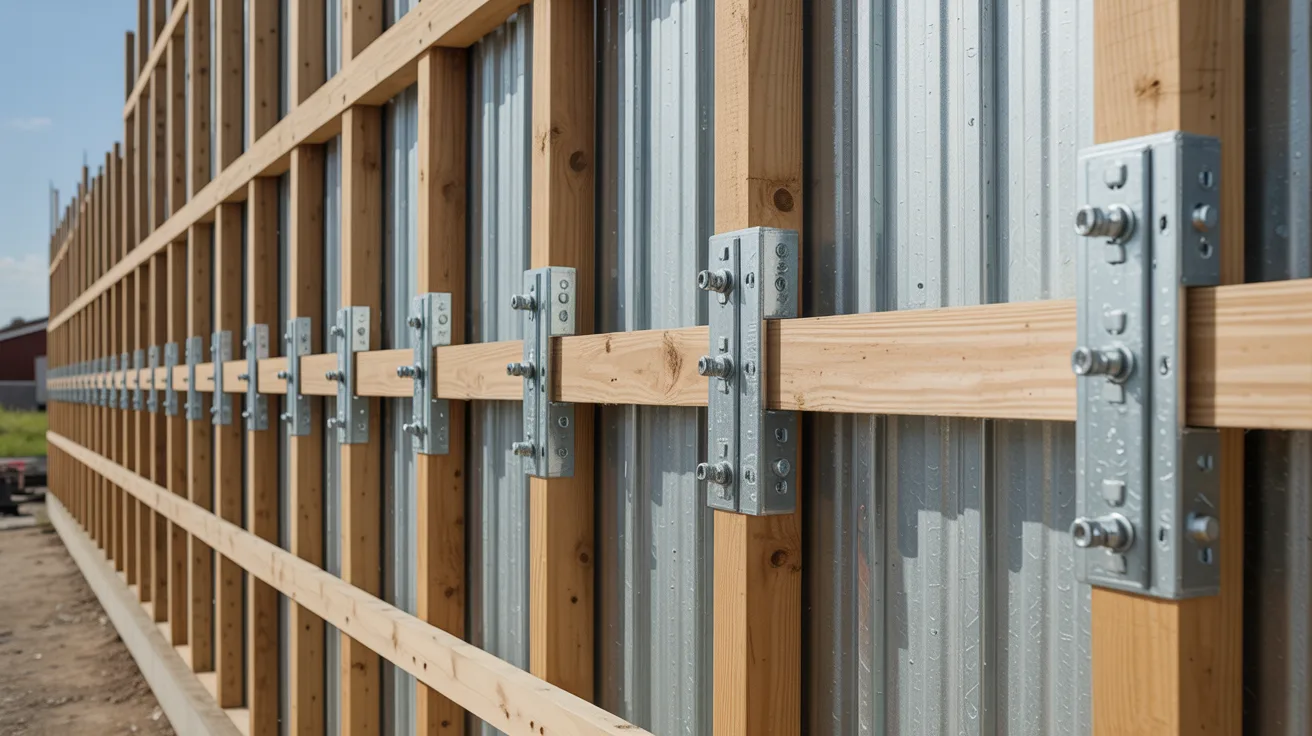
Once posts are set and cured, start attaching your girts. These horizontal supports run from post to post and are typically spaced every 24 to 36 inches vertically, depending on your siding requirements.
Attach girts using structural screws or bolts, not just nails. The connection between the girt and the post is a high-stress point that needs a secure fixing method.
Metal girts are stronger and won’t rot, but they cost more than wood. Wood girts work well when treated lumber is used and the barn is in a reasonably dry environment. Choose based on your climate and budget.
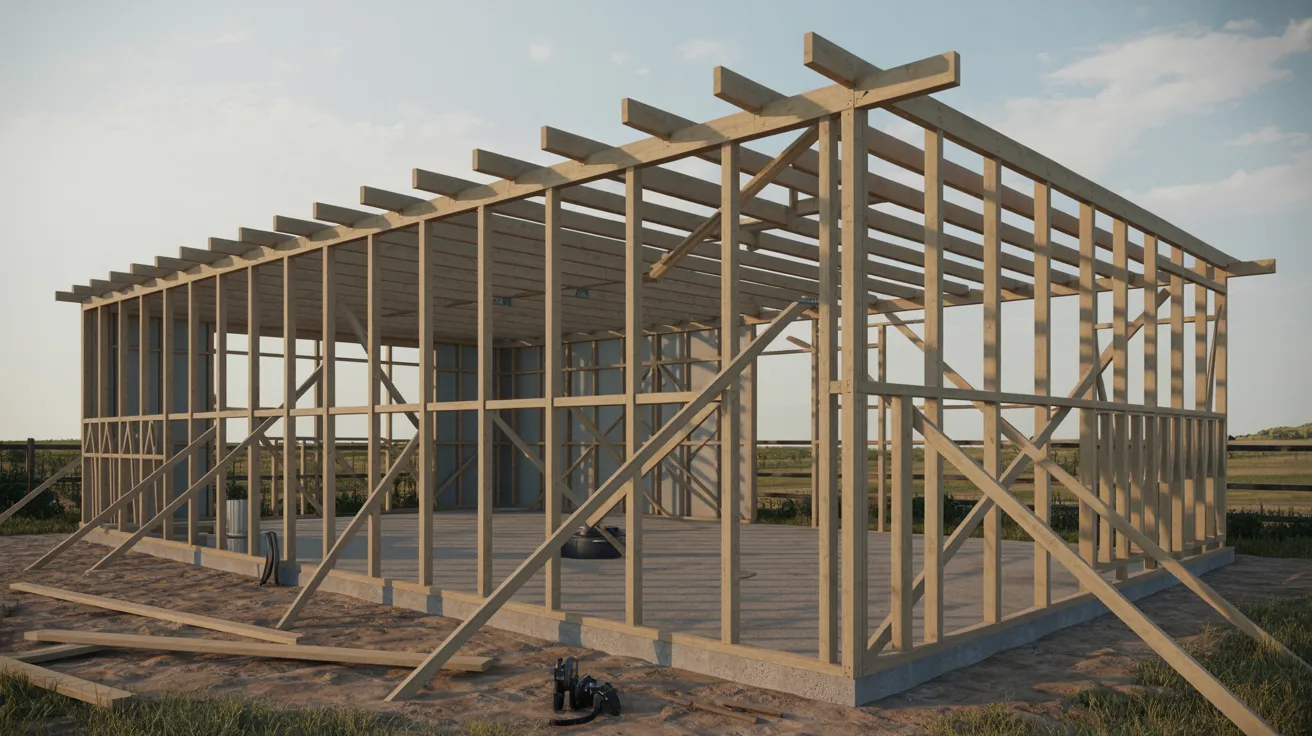
Step 4: Installing Braces for Stability
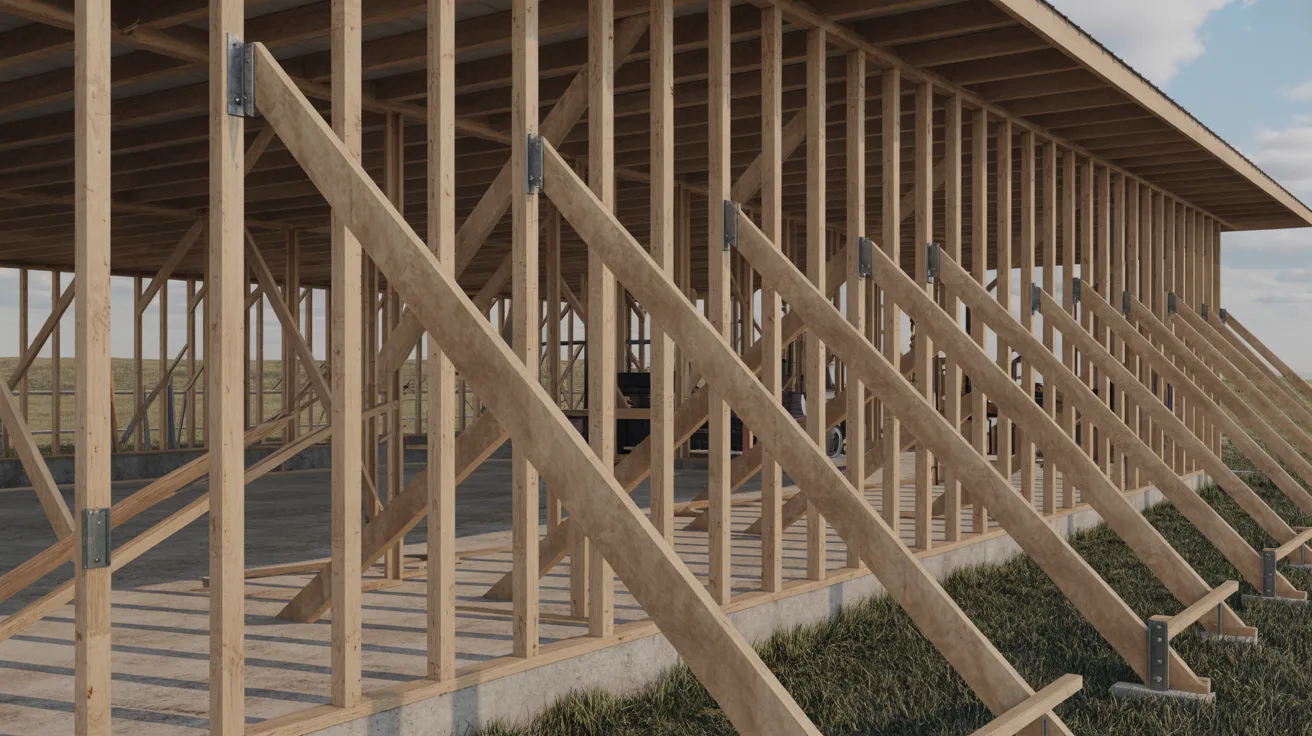
During construction, use temporary diagonal braces to hold posts plumb while you continue building. These can be removed once the permanent framing is in place.
Permanent braces are typically installed as diagonal knee braces running from the post down to the girt at a 45-degree angle. These prevent the frame from racking sideways when wind hits the wall.
Don’t skip permanent bracing. It’s one of the most commonly overlooked steps in pole barn wall framing and one of the biggest causes of long-term structural problems.
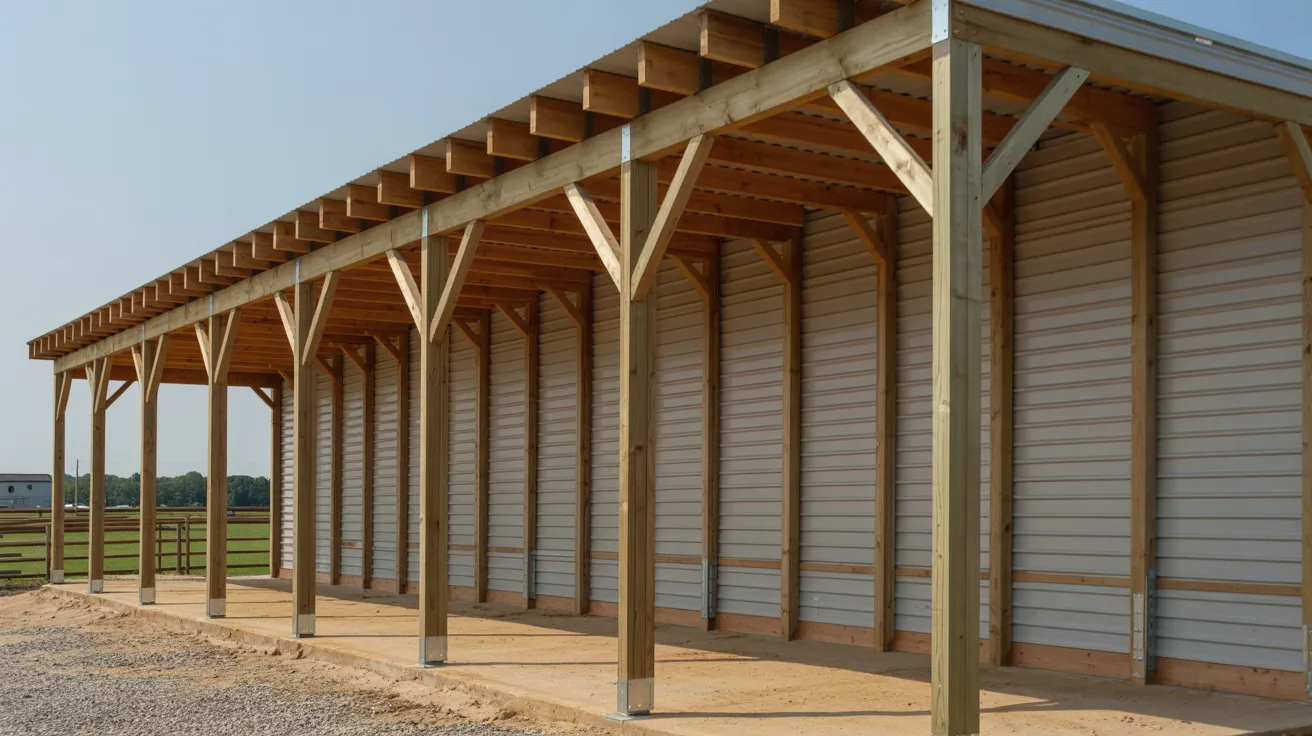
Step 5: Sheathing and Wall Covering
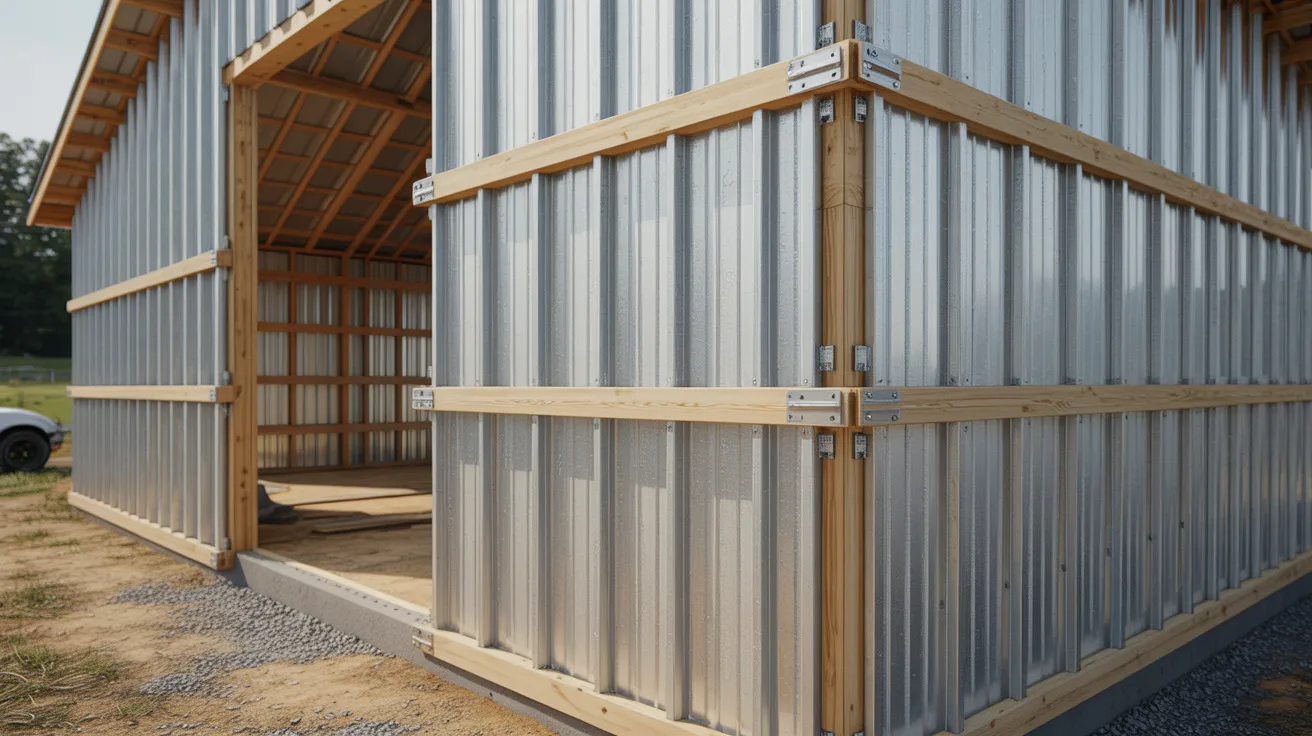
The most common siding choice for pole barns is metal panels. They’re durable, low maintenance, and attach directly to the girts with self-tapping screws.
Wood and composite siding are also options, particularly when appearance matters. Both require more maintenance than metal but can give a more traditional look.
Regardless of material, seal all edges, corners, and penetrations properly. Water getting behind the siding and into the frame is the fastest way to shorten the life of your pole barn walls.
Tools and Materials Needed
Having the right tools and materials before you start saves time and prevents costly mistakes halfway through the build.
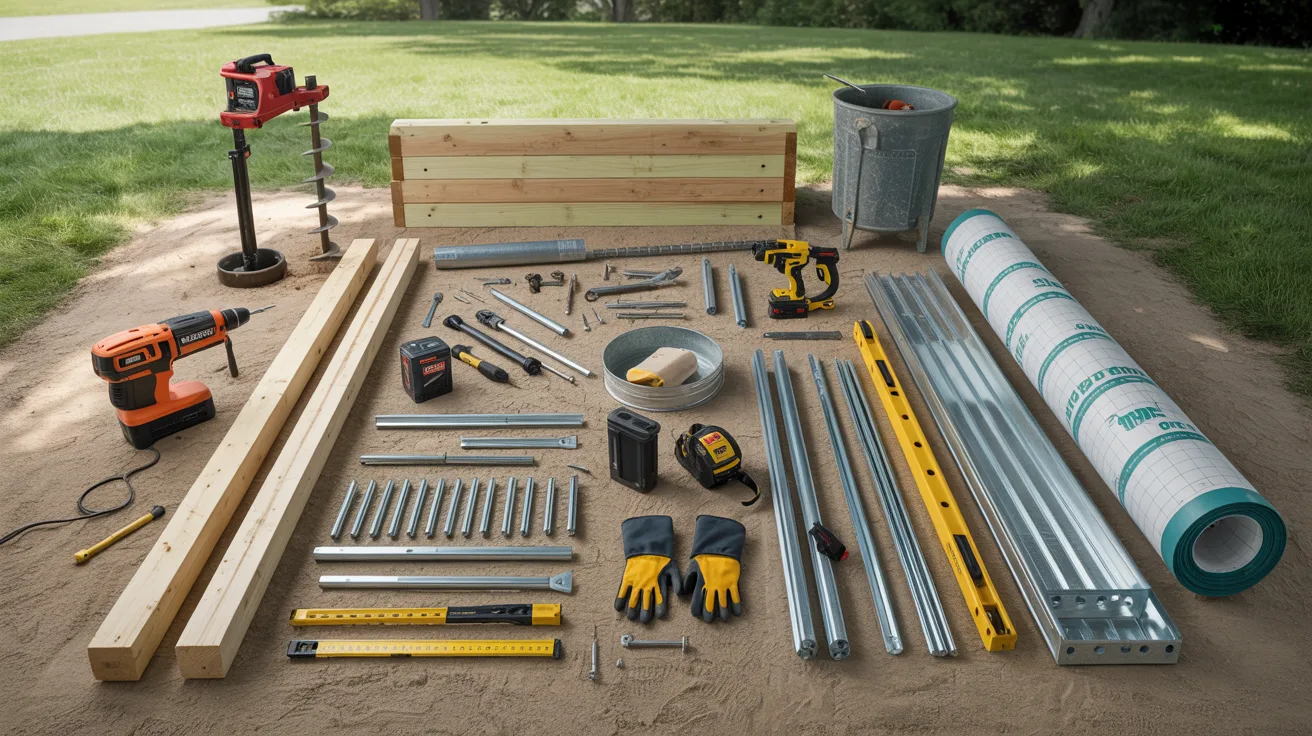
Here’s what you’ll need:
- Post hole digger or power auger
- Level (both standard and laser level for accuracy)
- Tape measure and string lines
- Power drill and impact driver
- Circular saw
- Safety gear like gloves, goggles, steel-toe boot
- Pressure-treated posts (sized for your load requirements)
- Wood or metal girts
- Diagonal braces
- Structural fasteners, bolts, and screws
- Chosen siding material (metal panels, wood boards, or composite)
- Concrete mix for post setting
- Rigid foam or batt insulation for climate-controlled barns
- House wrap or moisture barrier under the siding
- Trim pieces and flashing for a finished look
Don’t underestimate how much material you’ll need. Always add 10 percent to your estimates to account for cuts, waste, and mistakes.
Common Mistakes to Avoid in Pole Barn Wall Framing
Most problems with pole barn walls trace back to a handful of avoidable errors made during framing. Knowing them upfront keeps your project on track.
Watch out for these:
- Uneven post spacing. Inconsistent spacing creates weak points in the wall and makes siding installation much harder. Measure and mark every post position before you dig.
- Skipping braces. It looks fine without them until the first big wind storm. Bracing is not optional in a well-built pole barn.
- Improper anchoring. Posts that aren’t deep enough or properly set in concrete will shift over time, especially in areas with frost heave or soft soil.
- Ignoring local building codes. Post depth, spacing, and bracing requirements vary by location. Check with your local building department before you start. Failing an inspection after the fact is expensive.
A few extra hours spent on planning and checking avoids weeks of repair work later.
Tips for a Successful Pole Barn Wall Frame
Good pole barn wall framing comes down to consistency and attention to detail. The steps aren’t complicated, but they do require care.
Here are the tips that make the biggest difference:
- Double-check every measurement before cutting or digging. A small error at the start multiplies as you build.
- Use pressure-treated lumber for all ground-contact posts and any wood close to the soil. Untreated wood in contact with the earth rots faster than most people expect.
- Maintain consistent girt spacing across all walls. It keeps the siding installation straight and professional-looking.
- Check for plumb and level constantly throughout the build, not just at the start. Frames can shift as you add weight and fasteners.
- Follow detail pole barn wall framing instructions for each component. Skipping the details is where most DIY builds run into trouble.
Following detail pole barn wall framing instructions ensures your barn is safe and durable for the long term.
Conclusion
A pole barn built on solid wall framing will outlast one built in a hurry by decades. You’ve seen how it’s done.
Now the real question is: are you ready to start? Don’t let your project sit in the planning stage forever. Pick a start date. Order your materials. Take the first step.
And when you hit a snag, because most builds do at some point, drop your question in the comments. I’ll help you work through it.
If this guide helped you, share it with someone planning their own build.
Frequently Asked Questions
What is the best spacing for posts in pole barn wall framing?
Most pole barns use post spacing of 8 to 12 feet, though the right distance depends on your local wind load requirements and the type of siding you plan to use.
Can I use metal girts instead of wood for my pole barn walls?
Yes, metal girts are strong, rot-resistant, and a great long-term option, though they cost more upfront than treated wood girts.
How do I ensure my pole barn walls are level and plumb?
Use a quality level on each post during installation and brace them in position until the concrete cures fully. Checking alignment at multiple stages of the build prevents small errors from compounding.
Is it necessary to brace all walls permanently?
Yes, permanent bracing on all walls is important for resisting lateral wind loads and preventing the frame from racking over time.
What siding options work best for pole barn walls?
Metal panels are the most popular choice for durability and low maintenance. Wood and composite siding are also viable options, particularly when appearance is a priority, but they require more upkeep over time.