
A neighbor of mine ignored a small damp patch on his wall for two years.
Last spring, his entire bedroom wall had to be torn out. Mold, structural damage, the works. The repair bill was brutal. That’s what happens when exterior wall waterproofing gets overlooked.
Water doesn’t announce itself. It works quietly, slowly, and by the time you see the damage, it’s already deep inside your walls.
I put this guide together so you don’t learn this lesson the hard way. What I’m about to share could save you thousands. Read on.
Why Exterior Wall Waterproofing Is Important
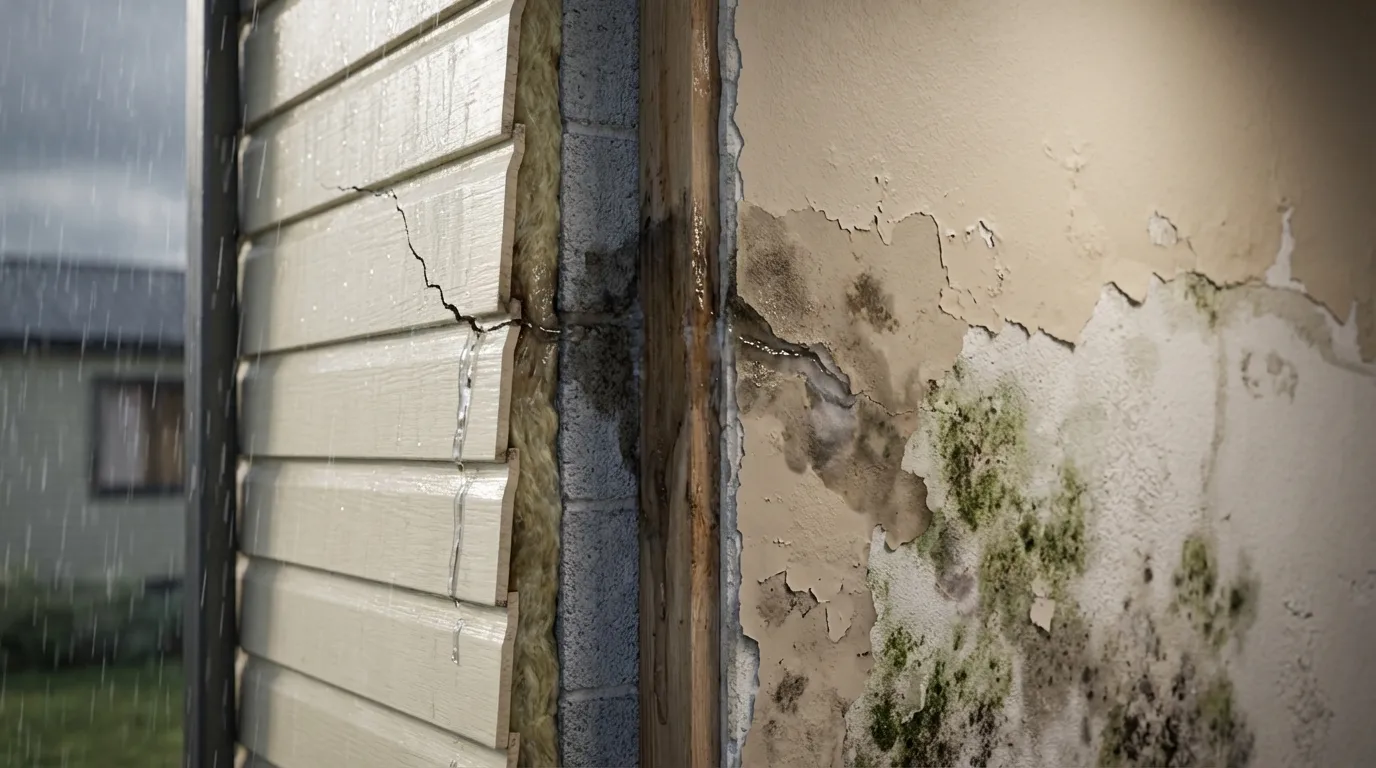
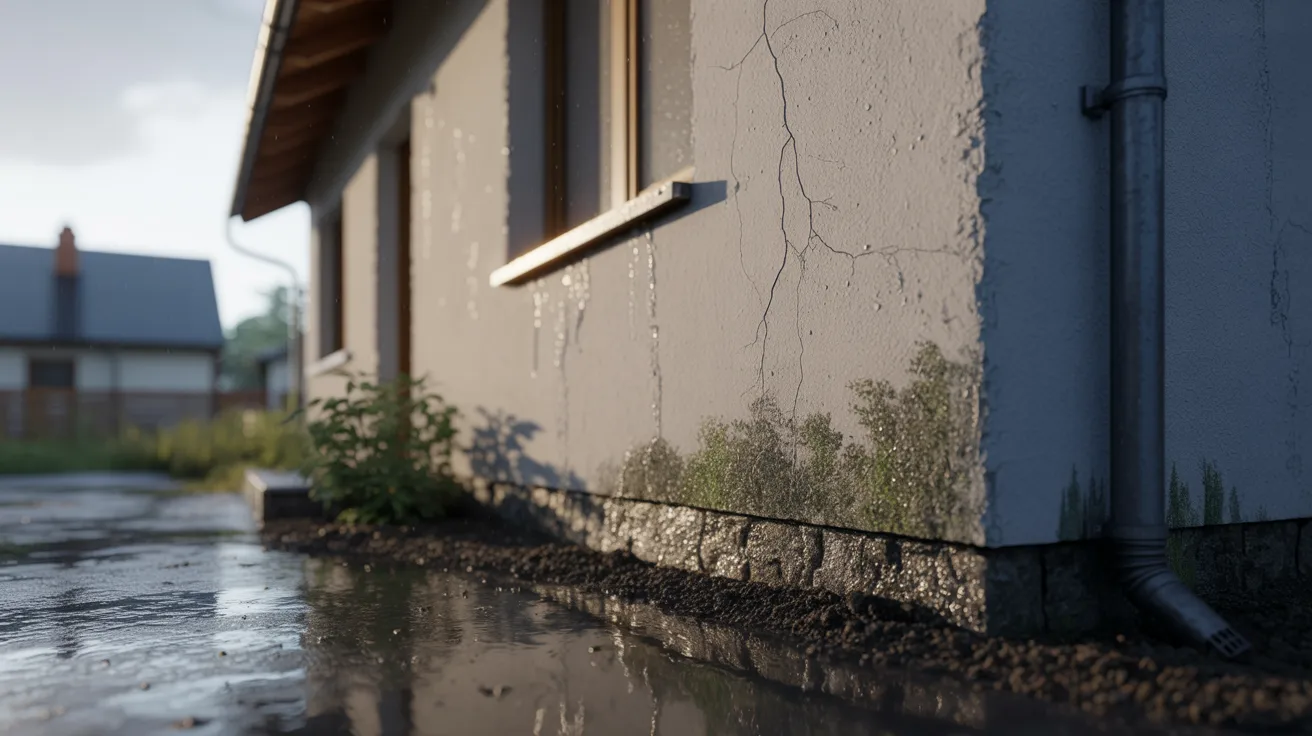
Water doesn’t need a big opening to cause big damage. Even a hairline crack in your wall is enough for moisture to creep in over time.
Once water gets inside, it leads to damp walls, peeling paint, and mold growth. Mold isn’t just ugly. It’s a health risk, especially for children and anyone with breathing problems.
According to studies, water damage is one of the most common and costly home repair issues worldwide. Many homeowners spend thousands fixing damage that proper waterproofing could have prevented for a fraction of the cost.
Beyond health and safety, water damage brings down your property value. A well-waterproofed home holds its value better and costs far less to maintain over time.
Step-by-Step Guide to Waterproof Exterior Walls
Getting this right is about following the right order. Skip a step and the whole thing underperforms. Here’s exactly how to do it properly.
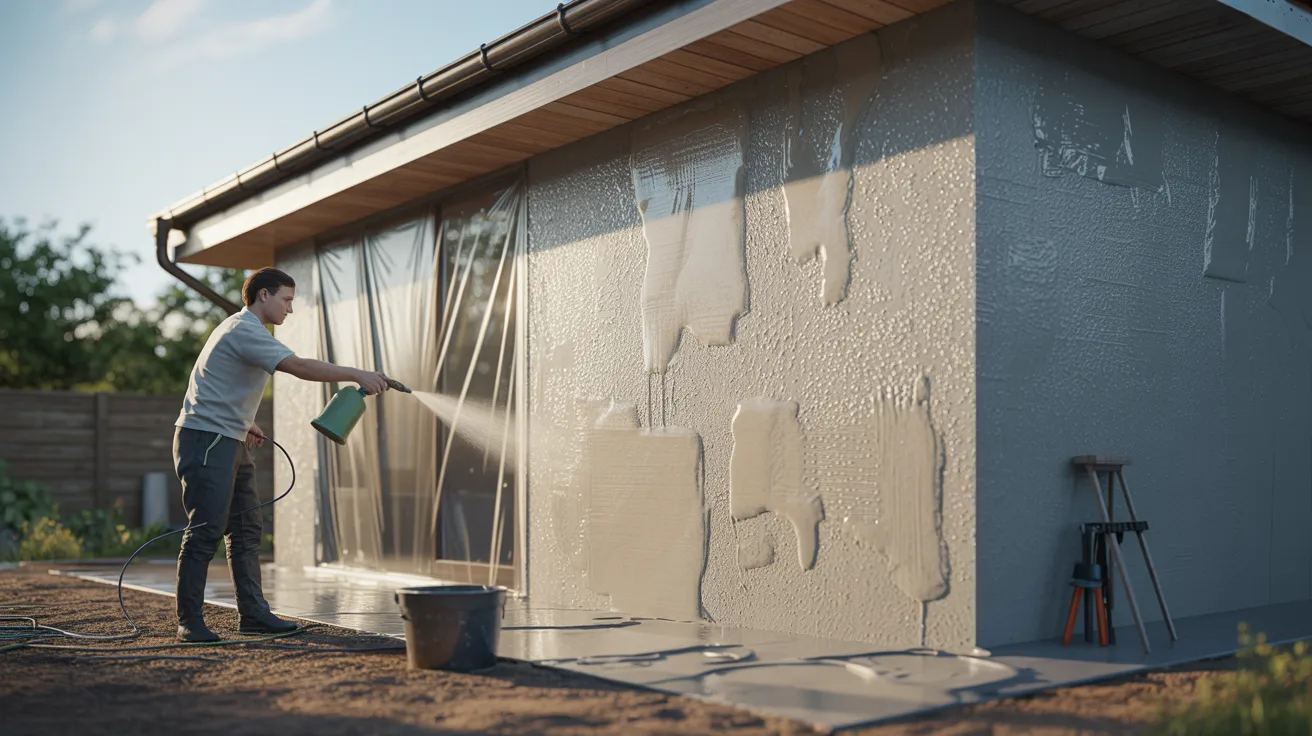
1. Inspecting and Preparing Walls
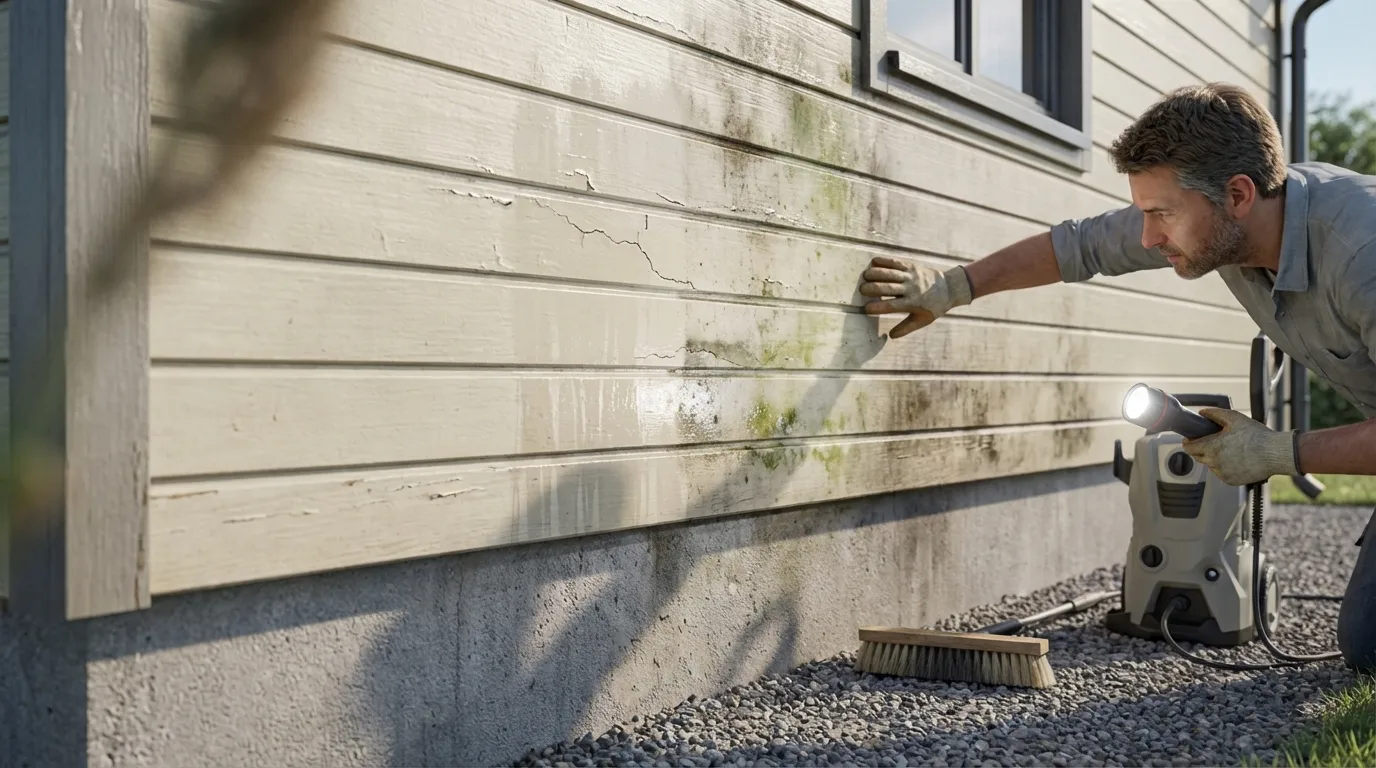
Start by looking closely at the entire wall surface. You’re looking for cracks, damp spots, bubbling paint, and any gaps around windows or fixtures.
Run your hand along the surface. If it feels soft, chalky, or uneven, that area needs attention before anything else.
Clean the wall thoroughly. Remove dust, loose paint, algae, and any mold using a stiff brush or pressure washer. A dirty surface will stop any waterproofing product from bonding properly.
2. Repairing Cracks and Damages
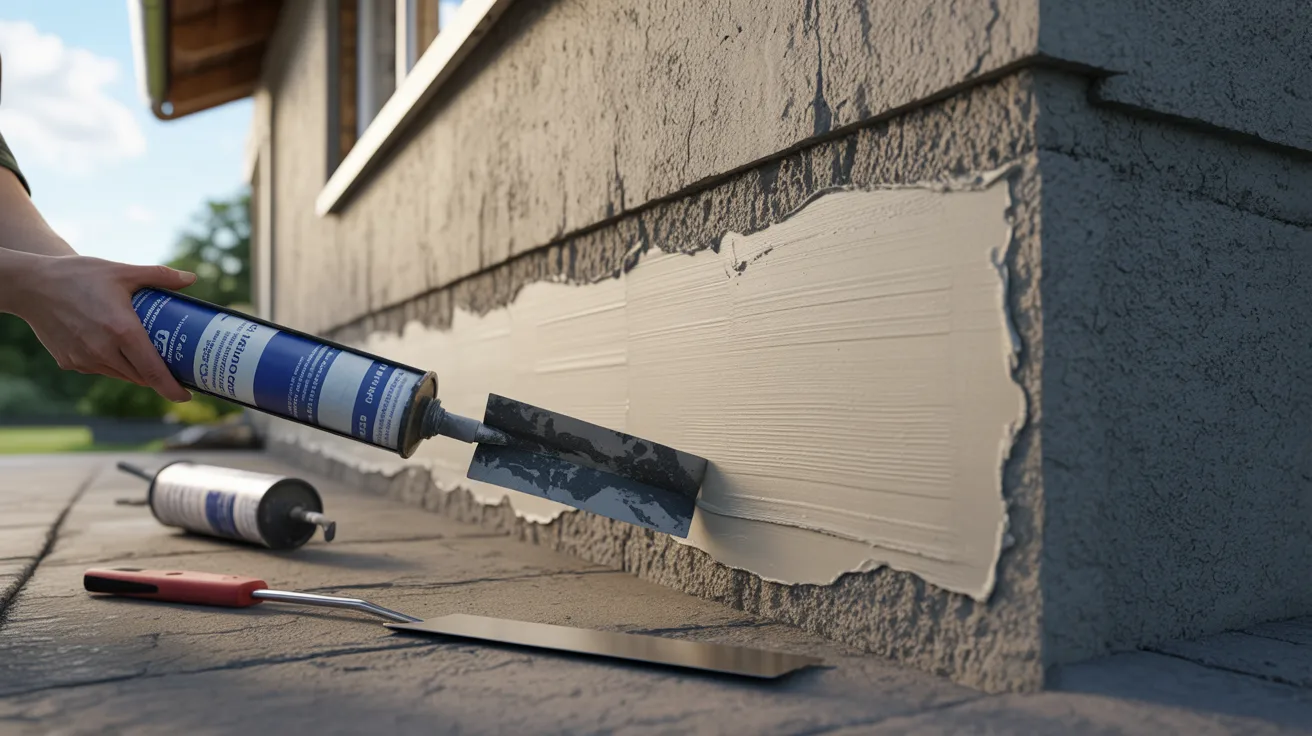
Don’t skip this part. Applying waterproofing over cracks is like putting a bandage over a wound without cleaning it first.
Fill all cracks and gaps using a waterproof filler or polymer-based sealant. Press it in firmly and let it dry completely before moving on.
Once filled, smooth out any uneven areas. A flat, clean surface gives your waterproofing coat the best possible base to stick to.
3. Choosing the Right Waterproofing Product
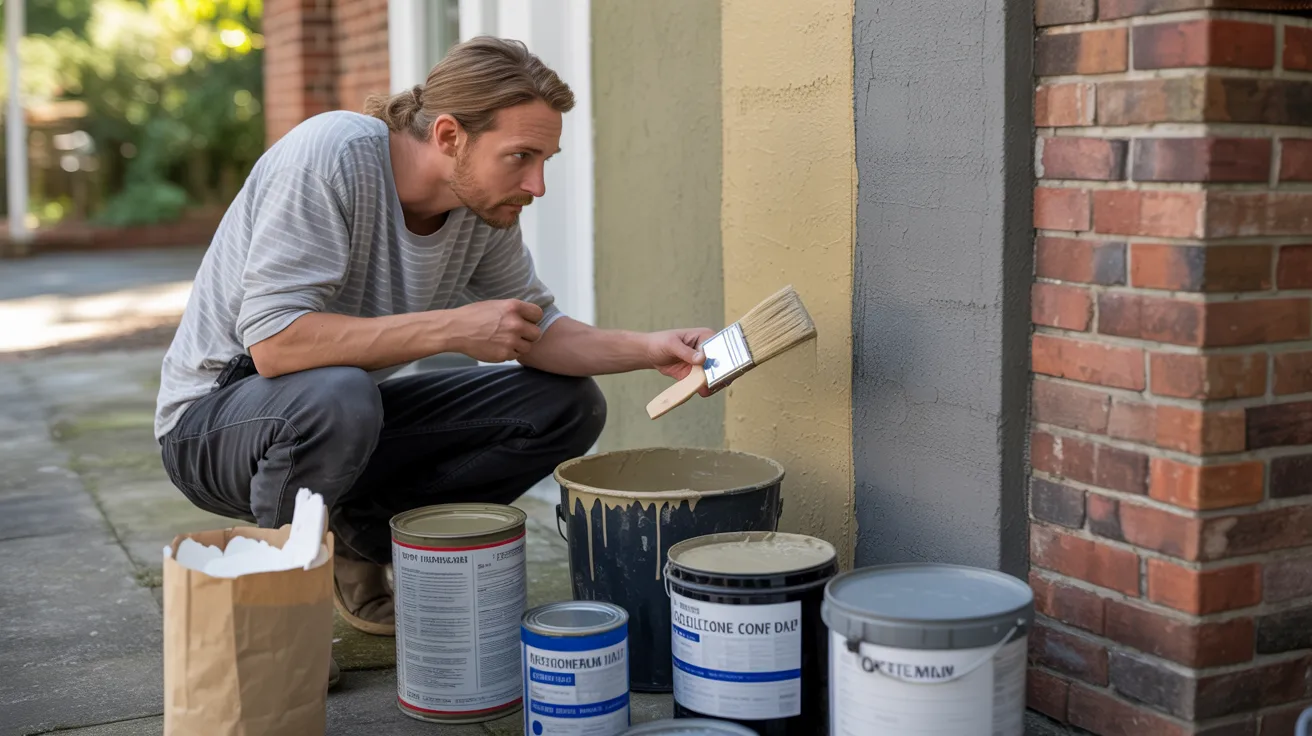
Not every product works on every wall. Brick, concrete, and plaster each respond differently to waterproofing materials.
For concrete walls, liquid-applied membranes or crystalline waterproofing work well. For brick and plaster, silicone-based or cementitious products are usually the better fit.
Read the product label carefully. If it doesn’t specifically mention your wall type, ask the supplier or look for a product that does.
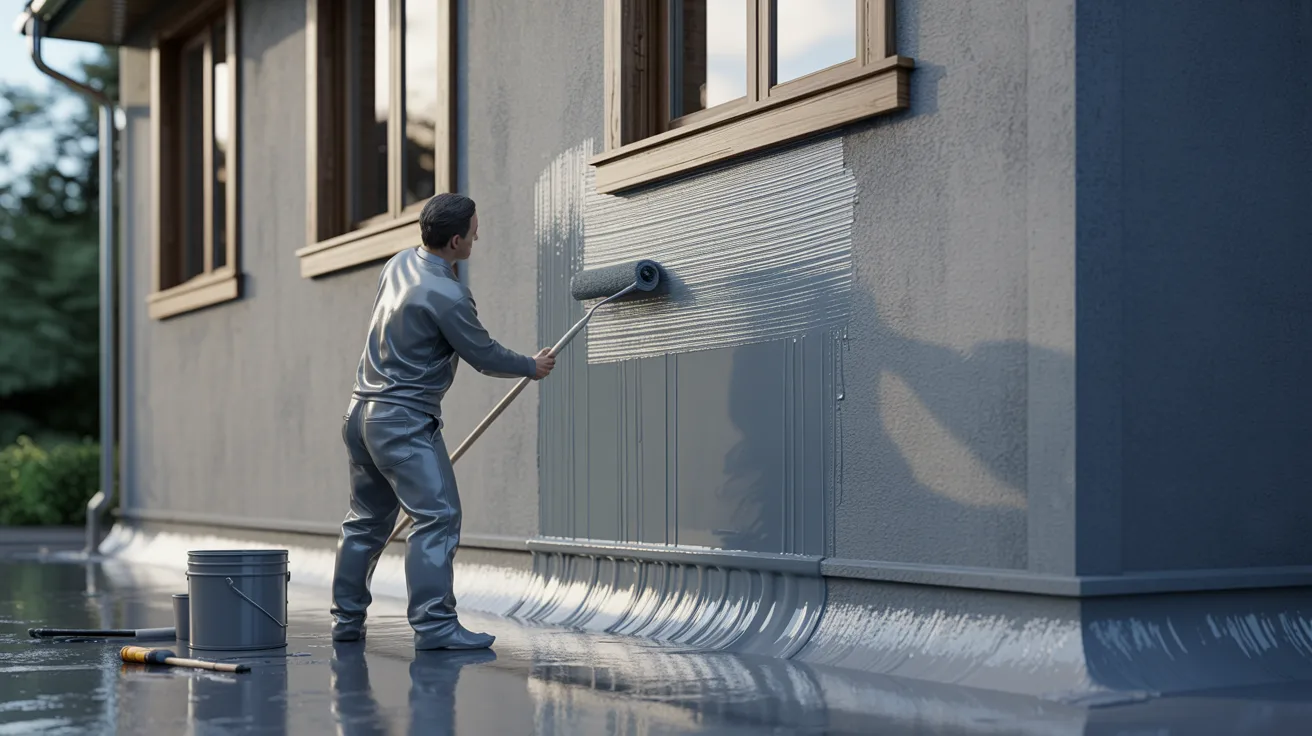
4. Applying Primer or Base Coat
Primer is not optional. It seeps into the wall surface and creates a strong bonding layer for the waterproofing coat to grip onto.
Apply the primer evenly using a brush or roller. Make sure there are no dry patches or pooling.
Let it cure fully before applying the next layer. Most primers need at least 4 to 6 hours. Check the product instructions for exact timing.
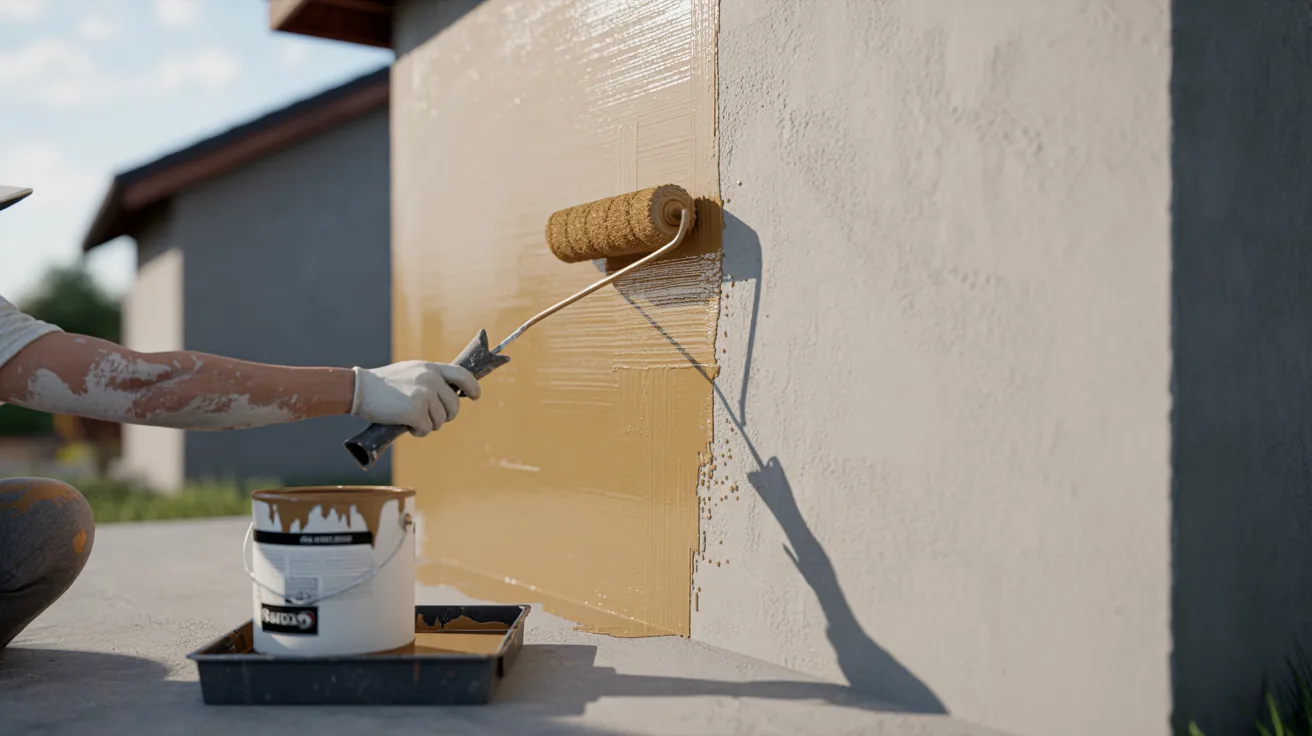
5. Applying the Waterproofing Layer
Apply your chosen waterproofing product in smooth, even strokes. Work from top to bottom to avoid drips creating uneven layers.
Most products need at least two coats for reliable protection. Let the first coat dry completely before applying the second. Rushing this step reduces effectiveness significantly.
Pay extra attention to corners, joints, and areas around windows. These spots are where water most commonly finds a way in.
6. Protecting Walls and Curing
After the final coat, the wall needs time to cure properly. Don’t wash it down or expose it to heavy rain during this period.
Most waterproofing products reach full strength within 24 to 72 hours. Some cementitious products take up to 7 days for complete curing.
If the weather is very hot and dry, lightly mist the surface with water during the curing period. This stops the coating from drying out too fast and cracking.
7. Finishing Touches
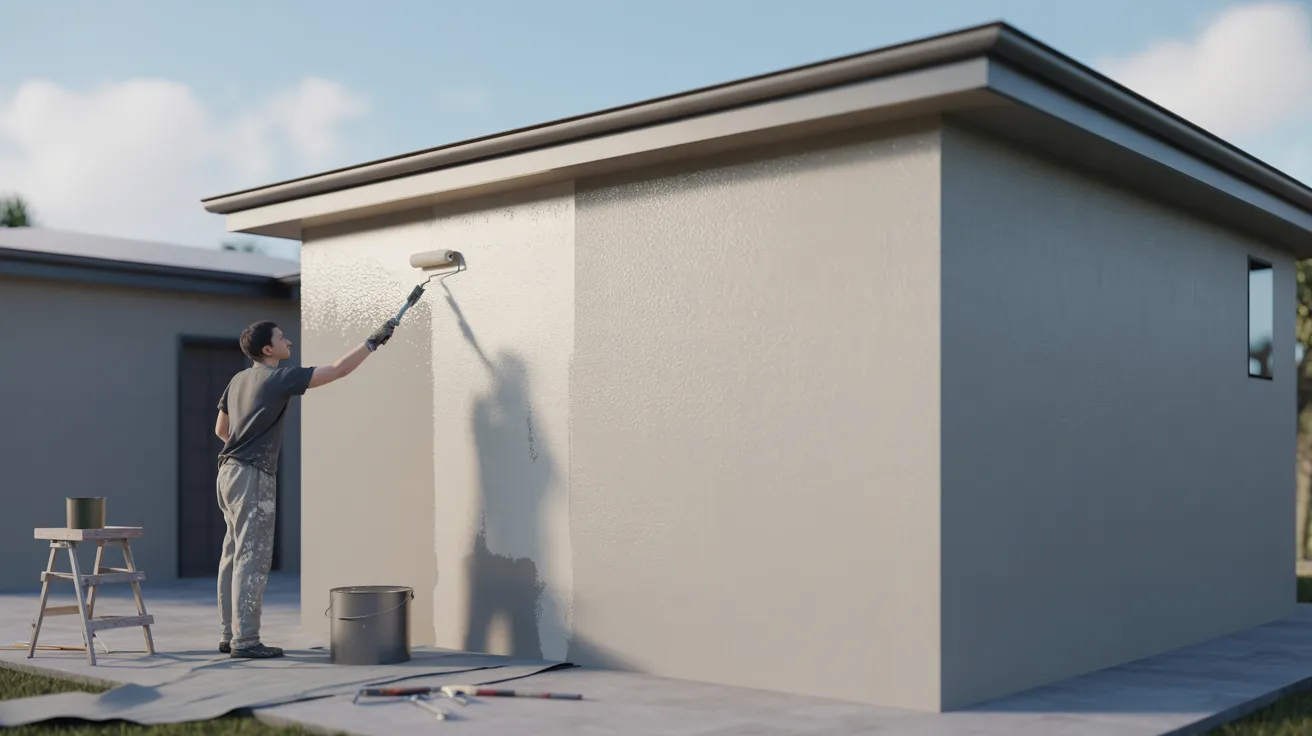
Once cured, you can apply a top coat of exterior paint if needed. Make sure the paint you choose is compatible with the waterproofing layer beneath it.
Check the wall every six months for any new cracks or signs of wear. Catching small issues early keeps repair costs low.
Reapply waterproofing coatings every 3 to 5 years depending on your climate and the product used. Regular upkeep is far cheaper than a full repair job.
Types of Exterior Wall Waterproofing Methods
There’s no single best method for every home. The right choice depends on your wall type, your climate, and your budget.
Here’s a breakdown of the most widely used options:
- Cementitious Waterproofing: Easy to mix and apply. Works well on concrete walls and is a popular choice for beginners.
- Liquid Applied Membrane: Creates a seamless, flexible coating that moves with the wall. Great for surfaces that expand and contract with temperature changes.
- Bituminous Coating: Strong moisture resistance, especially suited for walls in high-humidity or below-grade areas.
- Crystalline Waterproofing: Penetrates deep into the concrete and blocks water at the source. Very effective for long-term protection.
- Sheet Membranes: Thick, heavy-duty sheets applied to large surfaces. Best for major waterproofing projects.
- Polyurethane Coatings: Highly flexible and durable. Handles both water and UV exposure well.
- Silicone-Based Waterproofing: Repels water while still allowing the wall to breathe. A good option for older brick and stone walls.
Each method has its strengths.
For most standard homes, a liquid applied membrane or silicone-based product covers the needs well.
For serious moisture problems or basement walls, crystalline or bituminous options are worth the extra investment.
Common Mistakes to Avoid in Exterior Wall Waterproofing
Even good products fail when applied the wrong way. I’ve seen this happen more times than I can count. A little awareness goes a long way here.
The most common mistakes that lead to waterproofing failure are:
- Applying products over wet or damp surfaces. The coating won’t bond. It will peel off within weeks.
- Using the wrong product for your wall type. A product designed for concrete won’t perform the same on brick or plaster.
- Skipping the primer or base coat. This is one of the most frequent shortcuts people take, and it almost always leads to early failure.
- Ignoring cracks before applying the coating. Water will find those cracks no matter how good the product is on the rest of the wall.
Take your time with prep. The application itself is the easy part. What happens before the first coat is what determines how long it lasts.
Maintenance Tips for Long-Lasting Waterproofing
Waterproofing is not a one-time job. Treating it that way is what leads to expensive problems down the line.
Staying on top of maintenance keeps your exterior wall waterproofing performing for years longer than it would otherwise.
Here’s what I recommend:
- Inspect your walls at least twice a year. Look for new cracks, discoloration, or damp patches after heavy rain.
- Clean exterior walls regularly. Algae, dirt, and moss trap moisture against the surface and speed up wear.
- Repaint walls as needed. A fresh coat of compatible exterior paint adds another layer of protection.
- Reapply waterproofing coatings every 3 to 5 years. Climate, wall material, and product type all affect how often this is needed.
Think of maintenance as protecting your investment. A few hours every year is far better than weeks of repair work later.
Conclusion
Most people wait until the damage is visible. By then, it’s already expensive. You don’t have to be one of them.
You’ve got the knowledge now. The only thing left is to act on it before the next rain season does the damage for you. Go check your walls today. Not tomorrow. Today.
And if you’re unsure where to start or what product fits your situation, leave a comment below. I read every single one and I’ll point you in the right direction.
Your walls are worth protecting.
Frequently Asked Questions
What is the best method for exterior wall waterproofing?
There’s no single answer, as it depends on your wall material and moisture level. Liquid applied membranes and crystalline waterproofing are among the most reliable options for most homes.
How often should I reapply waterproofing on exterior walls?
Most waterproofing coatings last 3 to 5 years before needing reapplication, though this varies based on climate, product quality, and wall condition.
Can I waterproof walls myself, or should I hire a professional?
Basic waterproofing is manageable as a DIY project if you follow the steps carefully. For large surfaces, severe damage, or below-grade walls, hiring a professional is the safer choice.
Are all waterproofing products suitable for every wall material?
No, different products are formulated for different surfaces. Always check that the product you choose is compatible with your specific wall type before applying.
What signs indicate that my exterior walls need waterproofing?
Damp patches, peeling paint, white salt deposits on the surface, visible cracks, and mold growth are all clear signs your walls need waterproofing attention.