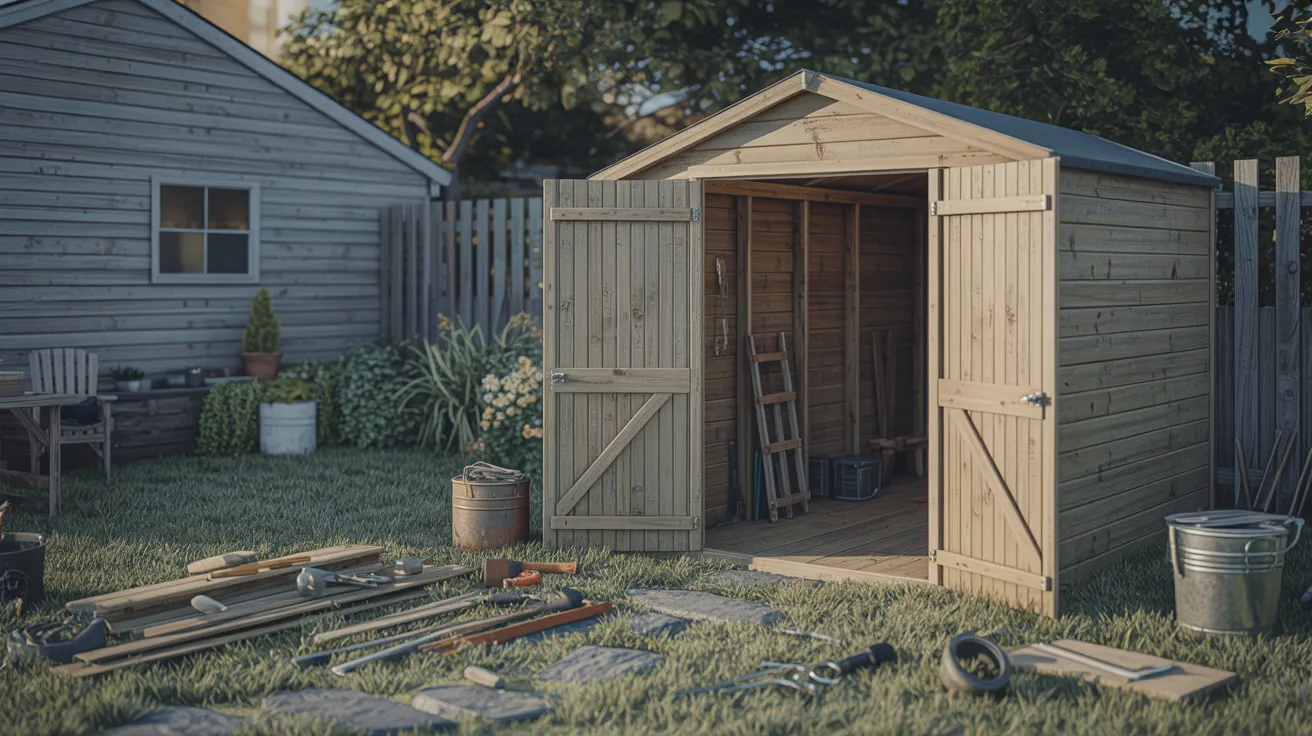


My shed sat untouched for two years. Cold in winter, stuffy in summer, and way too dark to actually use.
The day I started finishing the shed interior, everything shifted. I didn’t expect such a big difference from insulation, panels, and a few lights. But the results were hard to ignore.
Now it’s one of the most used spaces on my property.
If your shed is sitting there doing half a job, this guide will change that. Every step is laid out clearly, and the results are worth it.
Planning Your Shed Interior Finish
Before buying anything, figure out what the shed is actually for. A garden storage space needs very different finishes than a home office or workshop. Your purpose drives every decision after this.
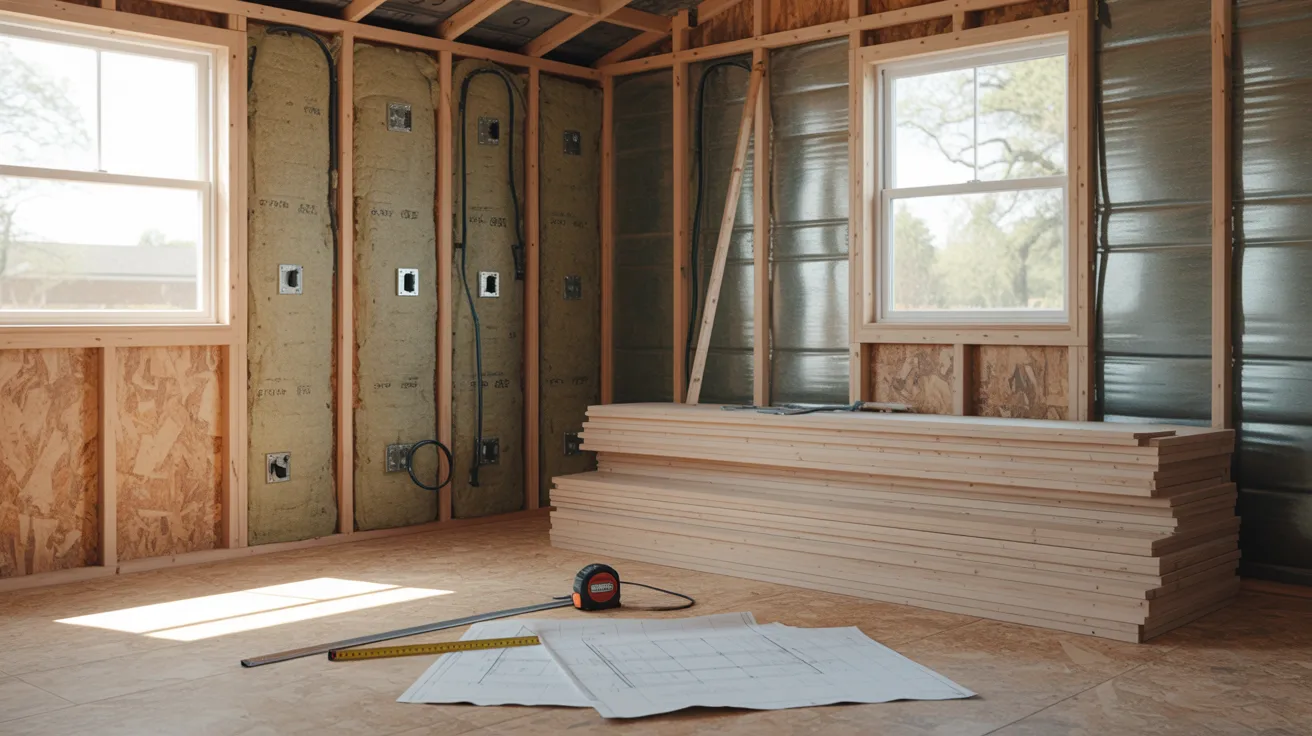
Measure the interior carefully. Knowing your square footage helps you estimate insulation, paneling, and flooring costs before you commit to a budget.
Think through the key elements upfront. Insulation, electrical outlets, lighting, and wall finishes all need to be considered together, not one at a time.
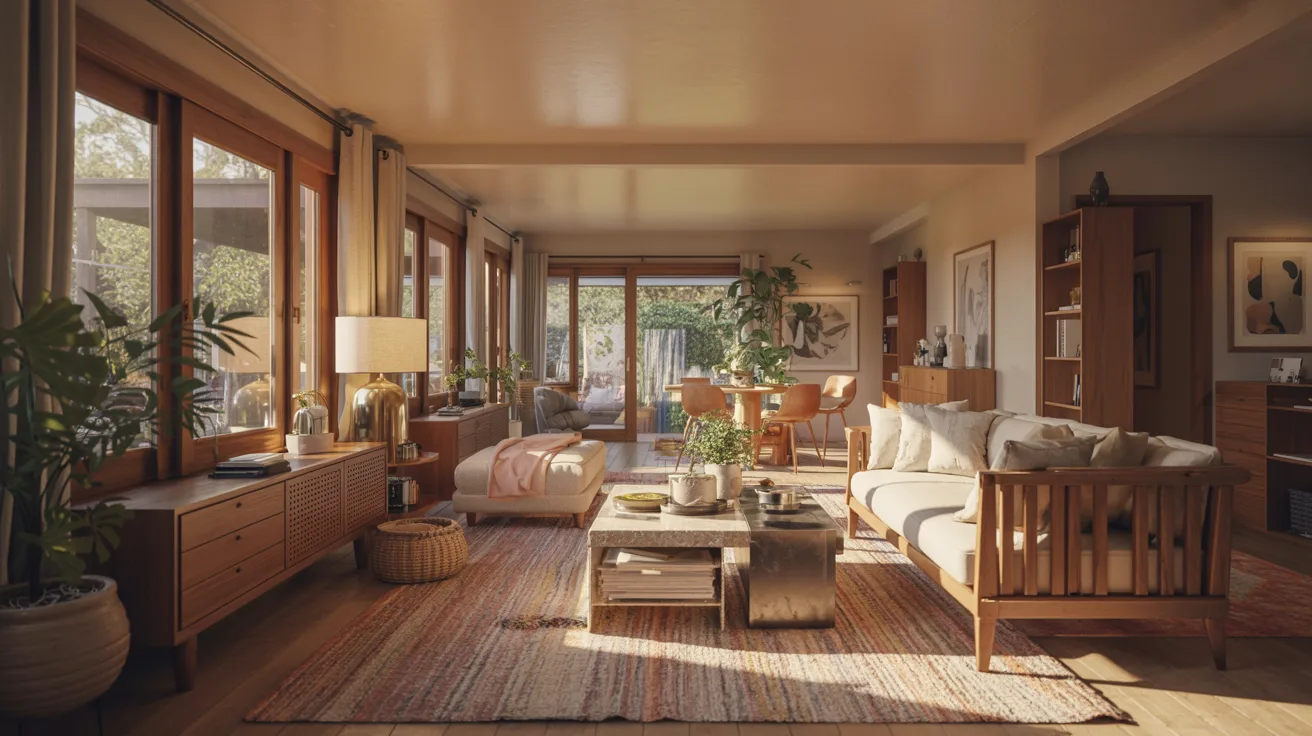
Even simple outdoor sheds can be upgraded with smart interior finishes for real comfort and usability. You don’t have to do everything at once. Start with what matters most and build from there.
Insulation for a Comfortable Shed Interior
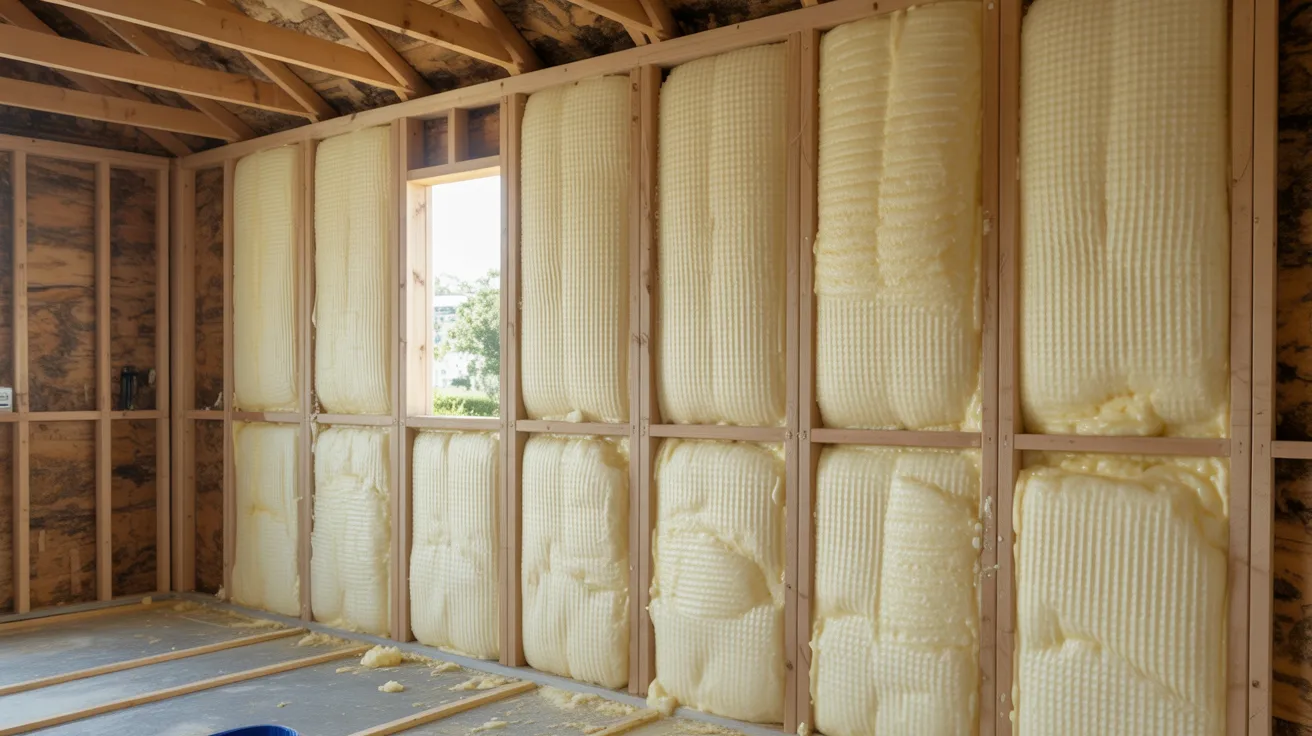
Without insulation, your shed will be freezing in winter and unbearable in summer. Good insulation is what makes finishing a shed interior actually worth the effort.
Foam board insulation is a popular choice for sheds. It’s easy to cut, fits between wall studs well, and provides solid thermal resistance for the cost.
Fiberglass batts work in standard stud-framed walls and are widely available. Spray foam is the best option for sealing gaps and odd-shaped spaces, though it costs more.
When finishing a shed interior, adding proper insulation ensures year-round usability. It also reduces noise and protects stored items from temperature extremes.
Electrical Wiring and Lighting
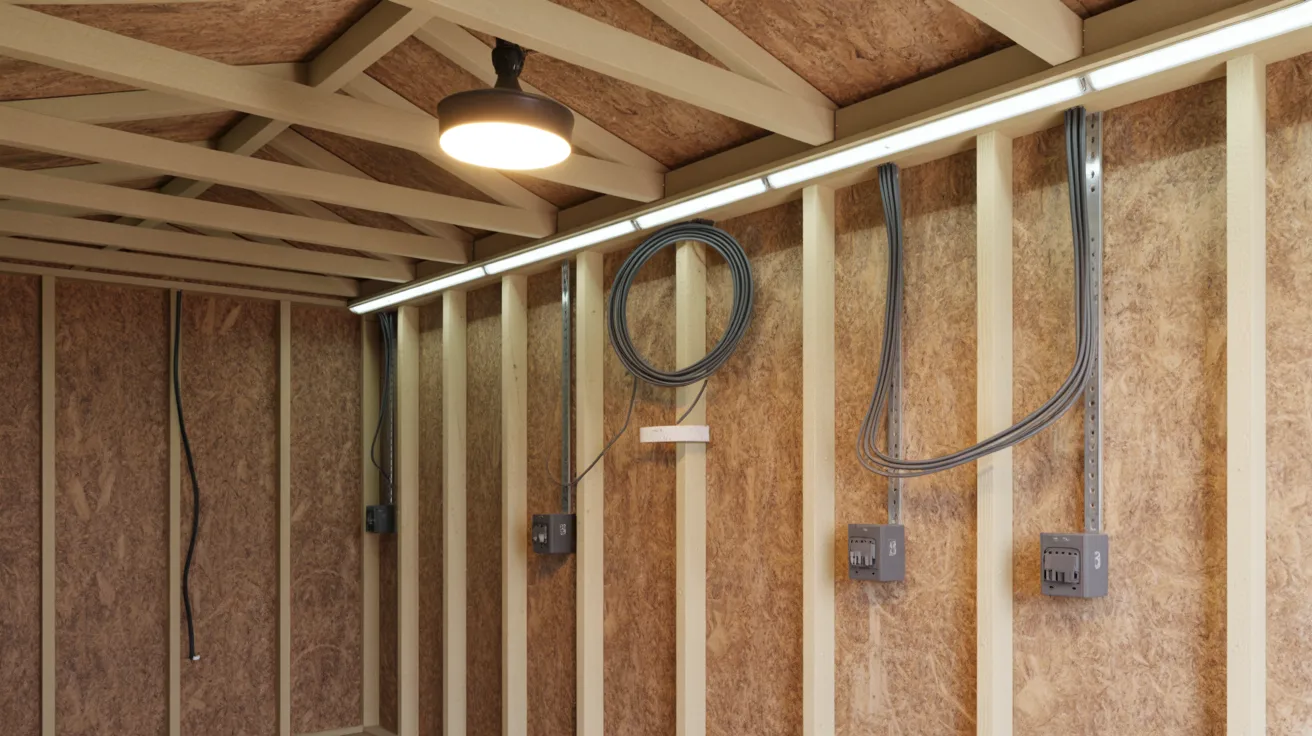
Before running any wire, check your local building codes. Some areas require a permit for shed electrical work, and doing it without one can create problems when you sell your home.
You have a few wiring options. Overhead wiring runs through the ceiling joists. Conduit mounts along the walls and looks clean. Surface-mounted wiring is the easiest to install but less tidy.
For lighting, LED strips work well along the ceiling perimeter. A single overhead LED fixture handles general light. Task lighting near a workbench makes detailed work much easier.
Finishing a shed interior often includes installing practical electrical wiring, especially if you’re setting it up as a workshop or studio. Even one or two outlets makes a big difference.
Wall and Ceiling Paneling
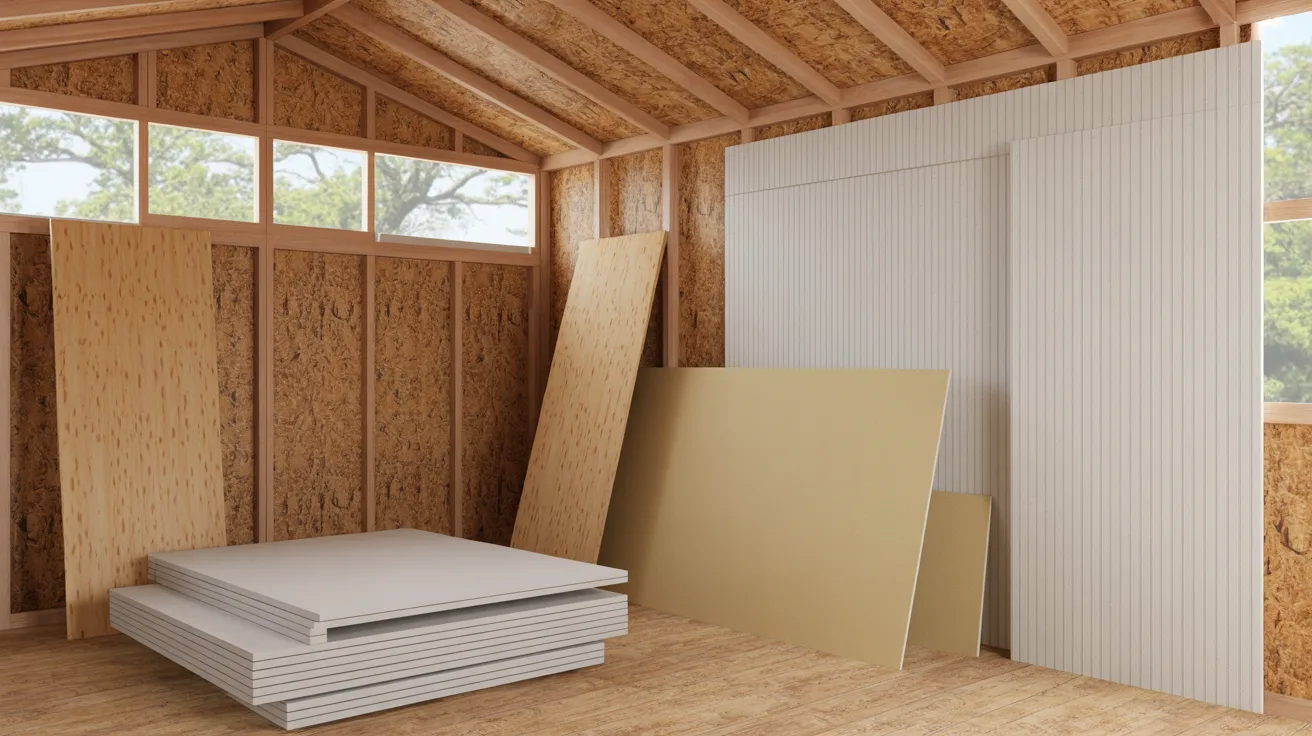
Plywood is the most common wall panel for sheds. It’s tough, affordable, and takes paint well. A half-inch sheet handles most shed walls without any problems.
MDF gives a smoother finish but doesn’t handle moisture as well as plywood. It’s better suited for dry, climate-controlled sheds than for damp or poorly ventilated ones.
Beadboard adds character and works well in cottage-style or garden shed setups. Drywall is an option too, but it’s heavier and more vulnerable to moisture than the other choices.
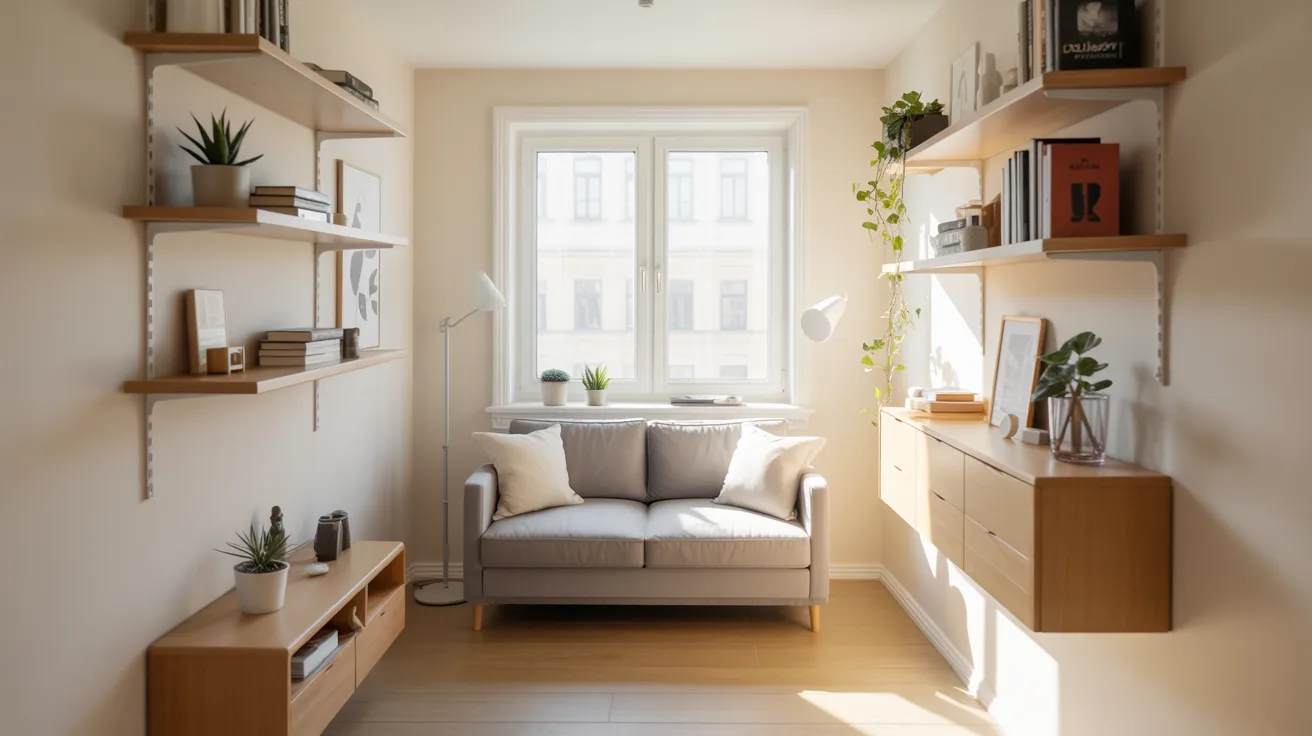
Finishing a shed interior with wall panels takes it from bare and cold to clean and usable. Even a single layer of painted plywood makes the space feel completely different.
Flooring Options for a Shed Interior
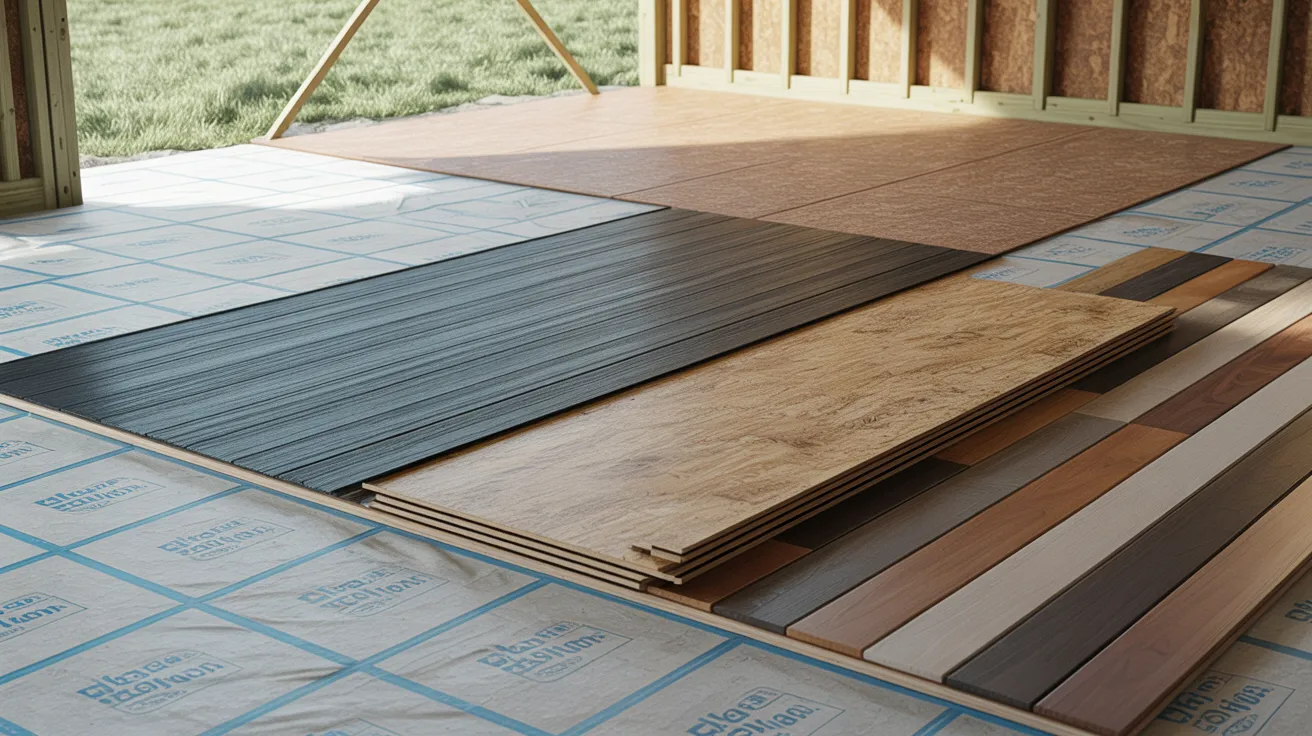
The floor is one of the most used surfaces in any shed, so it’s worth getting right. Start with subfloor prep before laying anything down.
- Level the floor before adding any material. Uneven surfaces cause panels to shift and buckle over time.
- Install a moisture barrier over concrete or dirt floors. A simple plastic sheet under the subfloor prevents dampness from coming up.
- Vinyl planks are durable, water-resistant, and easy to clean. A great all-around choice for most shed interiors.
- Laminate flooring looks good and holds up well in dry sheds. Not ideal if your shed sees a lot of moisture.
- Plywood sheets over a leveled subfloor are the most budget-friendly option and work fine for workshops.
- Composite decking boards work well in small outdoor sheds that see more foot traffic and weathering.
Even simple shed interiors benefit from durable, easy-to-clean flooring. It makes the space look finished and feel much more comfortable underfoot.
Adding Storage and Functional Features
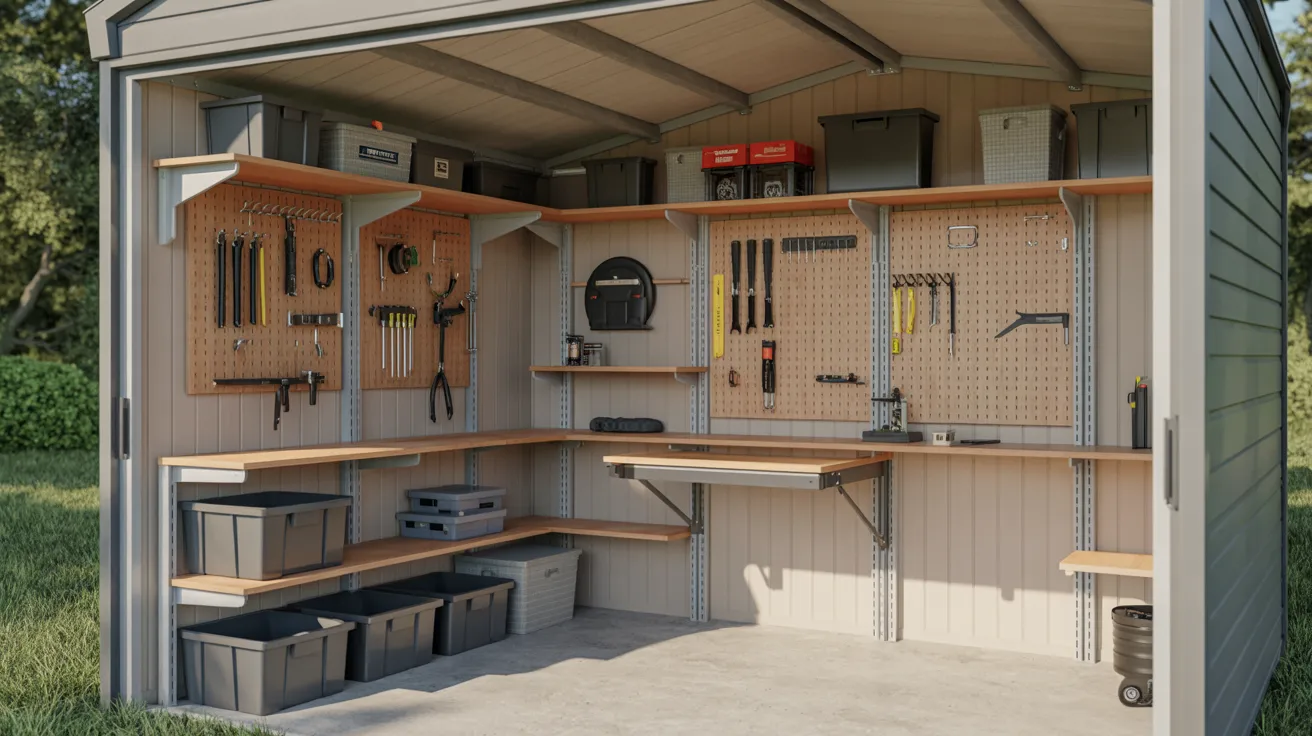
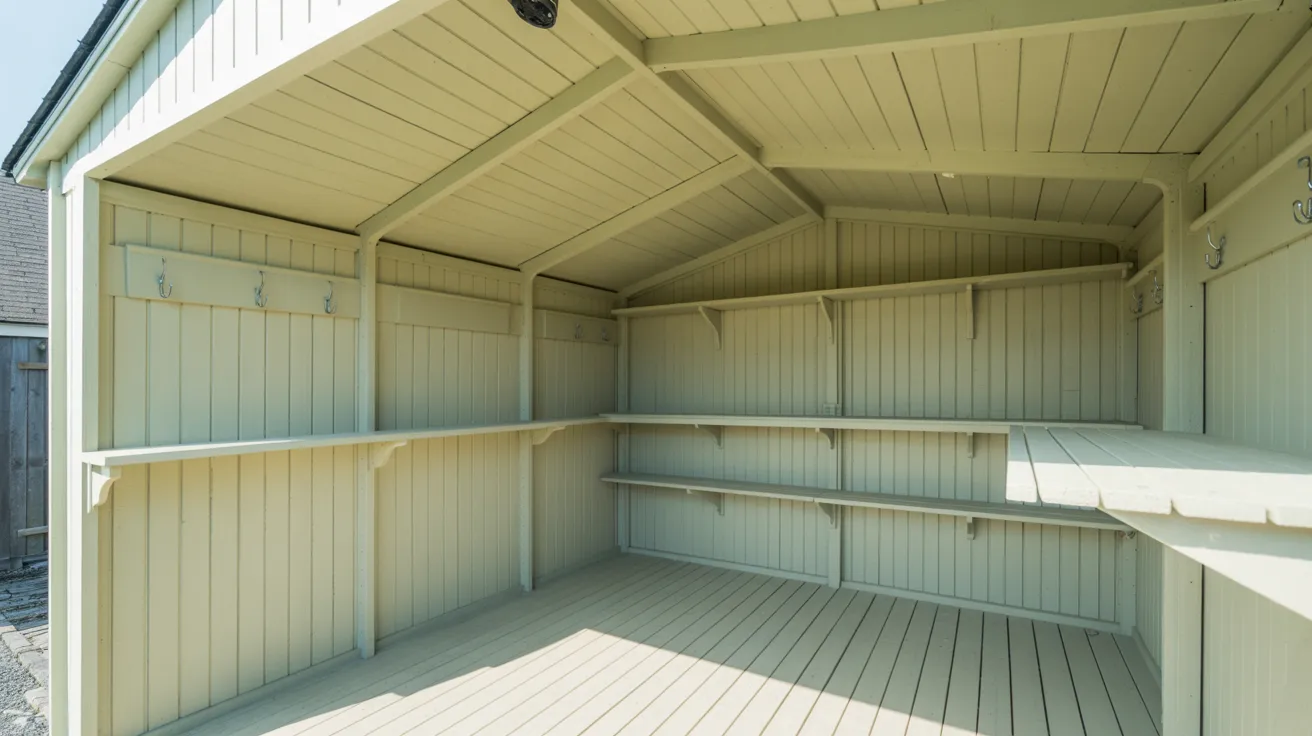
Built-in shelves along the walls make the most of vertical space. Install them at different heights to handle everything from small hand tools to large bins and bags.
Hooks on the walls and ceiling keep bulky items like bikes, hoses, and ladders off the floor. This frees up floor space for actual work or movement.
If your shed is small, look for furniture that does more than one thing. A fold-out workbench, a storage ottoman, or a wall-mounted cabinet can serve multiple purposes in a tight footprint.
When finishing a shed interior, maximizing storage with shelves and hooks keeps the space practical from day one. Plan where everything goes before you start drilling.
Painting and Finishing Touches
Use a paint or sealant rated for interior use and designed to handle temperature changes. Sheds see more humidity and heat swings than most indoor spaces, so standard wall paint often doesn’t hold up as well.
Light colors make small sheds feel bigger and brighter. White or light grey on the walls and ceiling reflects light well and makes the space easier to work in.
If any wall or ceiling panels are near areas where moisture could get in, apply a waterproof sealant before painting. Prevention is much easier than fixing water damage later.
Before calling the project done, do a full inspection. Check that all wiring connections are secure, insulation has no gaps, and panels are firmly fastened with no loose edges.
Conclusion
I’ll be honest. I put off finishing my shed interior for way too long. Once I finally did it, I couldn’t believe I waited.
The hardest part is just starting. After that, each step builds on the last and the progress comes faster than you’d think.
So don’t let your shed sit there being half useful. Pick one step from this guide and start this weekend.
Done yours already? Tell me about it in the comments. What did you tackle first? I’d love to hear how it turned out.
Frequently Asked Questions
Do I need a permit to finish my shed interior?
It depends on your local building codes, especially if electrical or structural work is involved. Always check with your local authority before starting.
What is the best insulation for a shed?
Foam board and spray foam are both excellent for small sheds due to their moisture resistance and ease of installation. Fiberglass batts work well in standard stud-framed walls too.
Can I finish a shed interior myself?
Yes, most of the work is manageable with basic tools and careful planning. For electrical wiring, hiring a licensed electrician is the safer option if you’re not experienced.
How do I prevent moisture issues inside the shed?
Install a vapor barrier under the floor and behind the walls, seal any gaps around windows and doors, and make sure ventilation allows air to move through the space.
What is the most durable flooring option for a shed?
Vinyl planks over a leveled subfloor are hard to beat for durability and moisture resistance. Composite decking is a solid choice for smaller outdoor sheds that see heavier use.